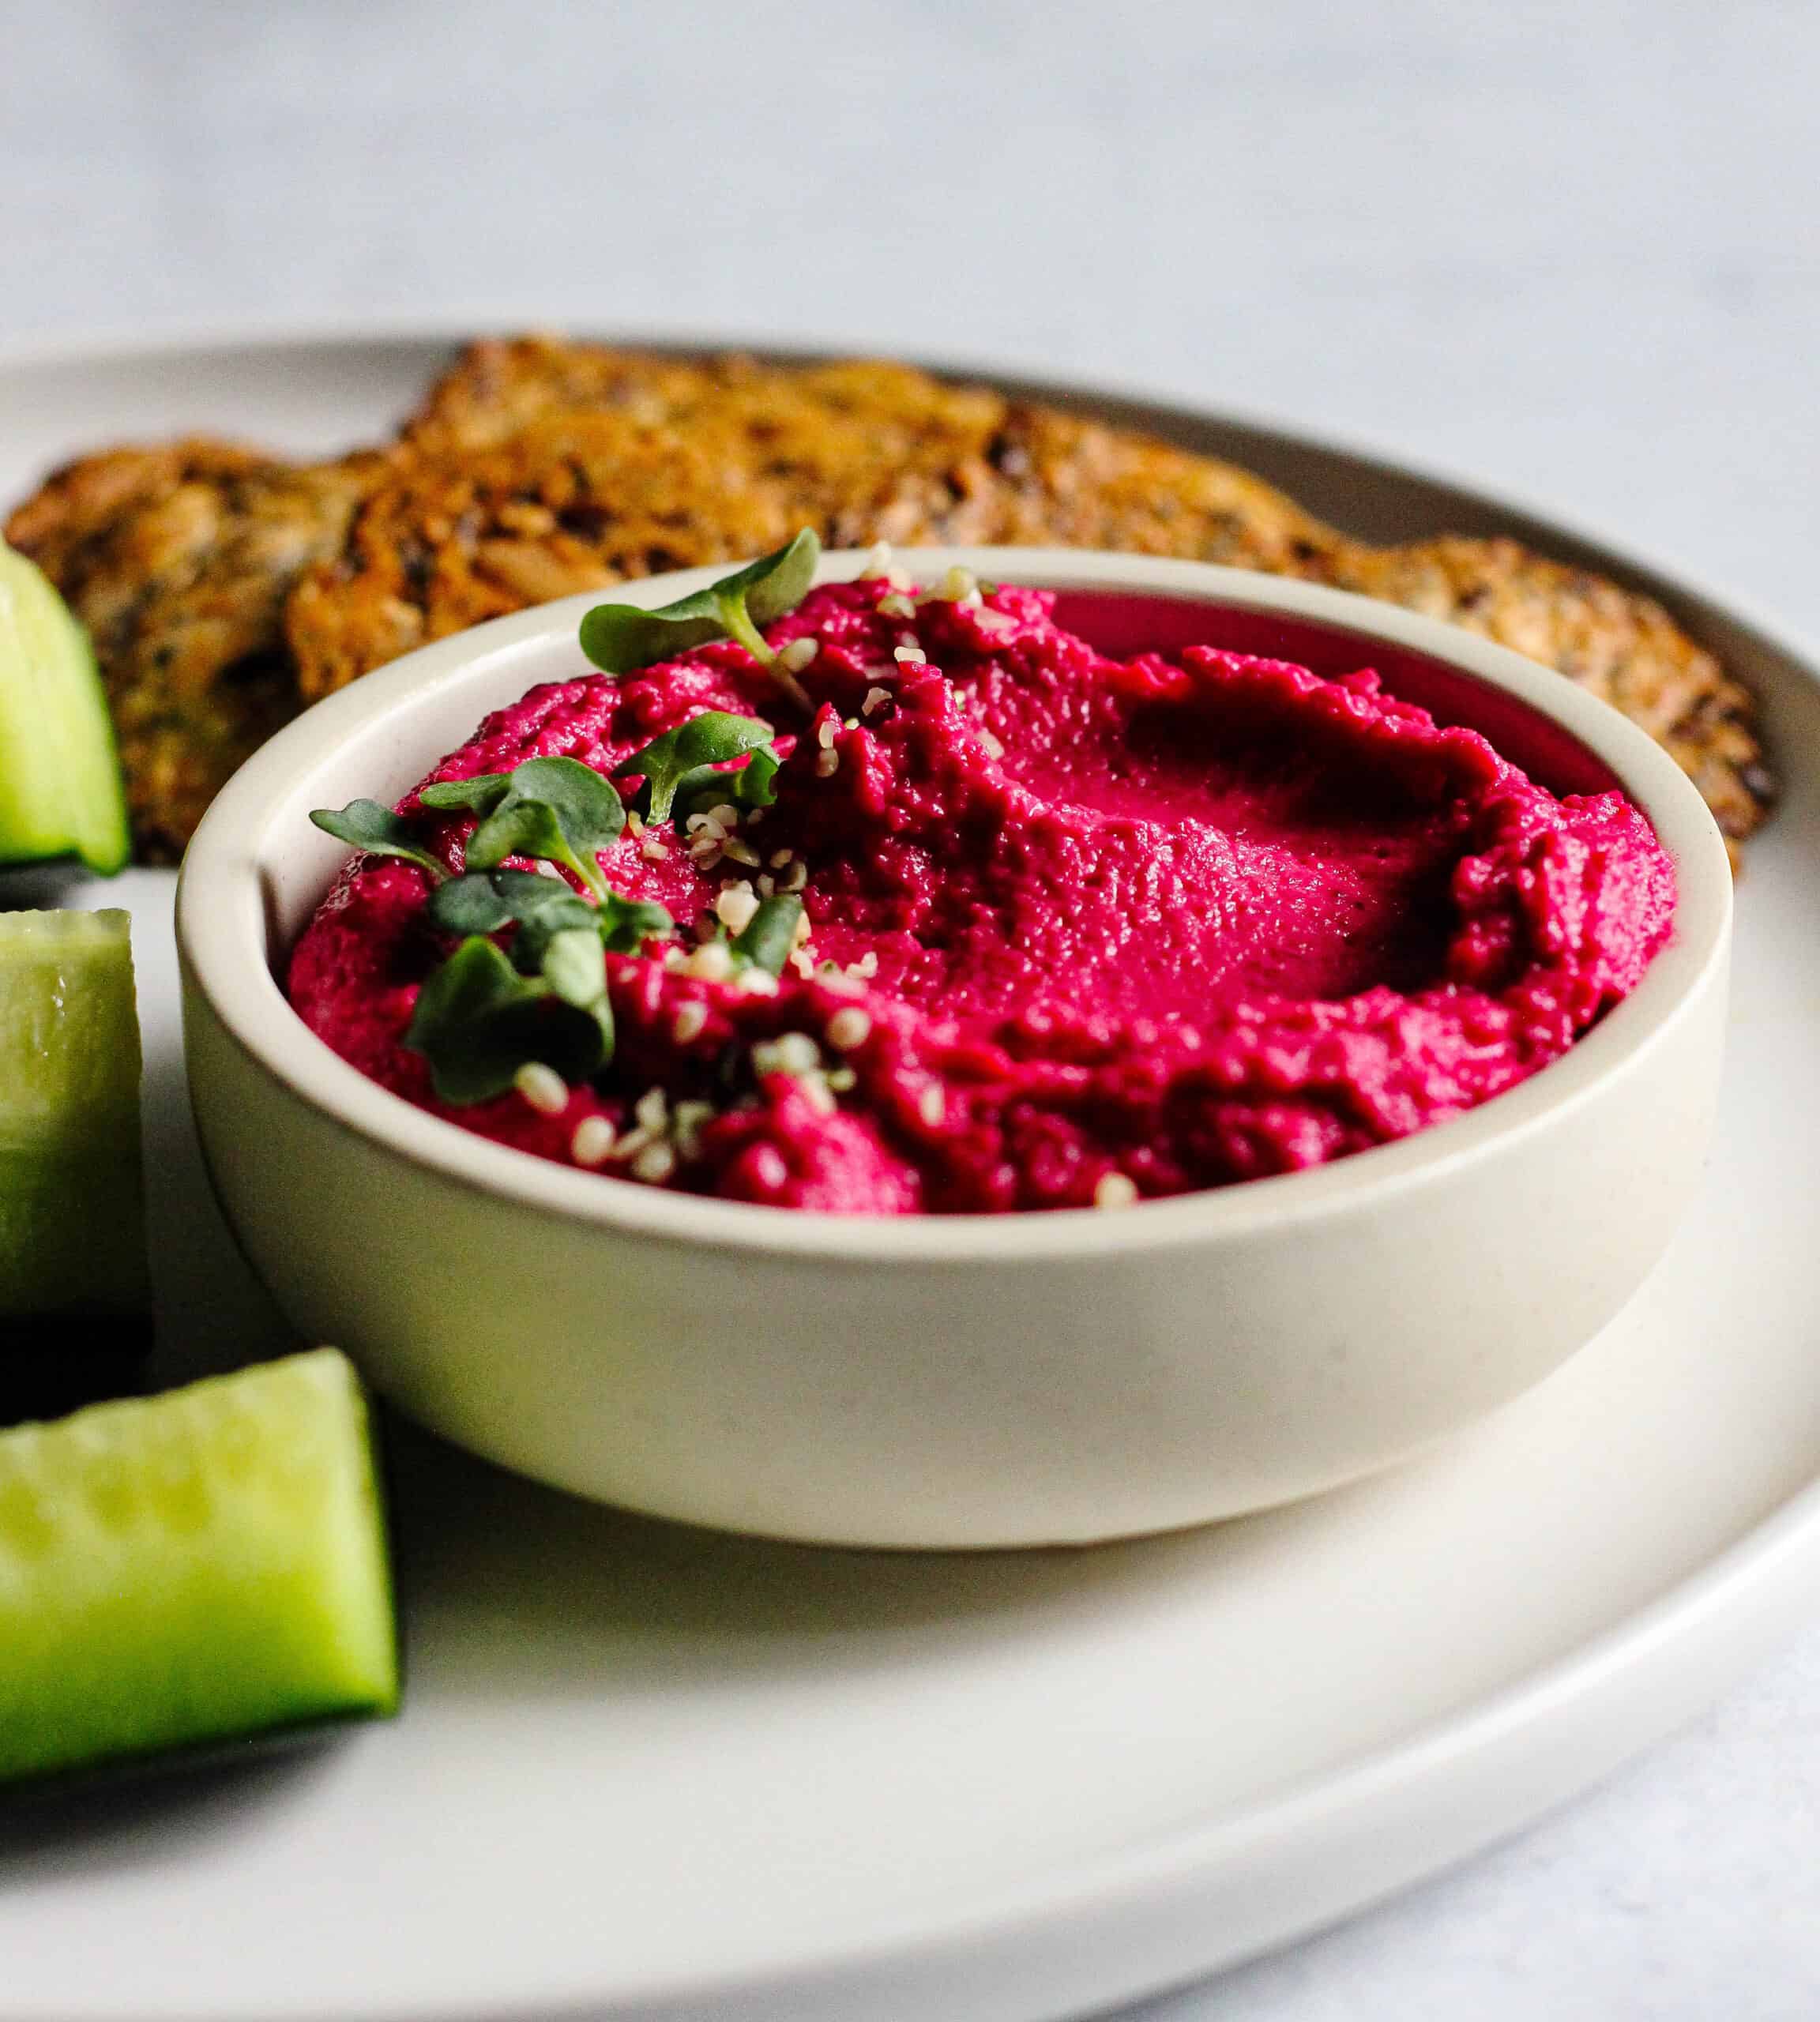
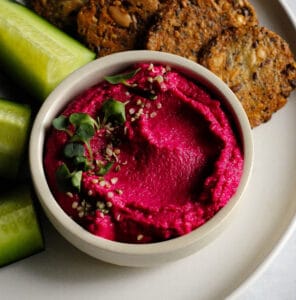
If you're looking for a gorgeous appetizer that will wow your guests, or a healthy snack to prepare for the week, you'll love this Easy Beet Hummus with Lemon. With just a small amount of preparation, you'll have a delicious, fresh, homemade hummus with beautiful natural color and bright lemon flavor. It stays fresh in the refrigerator for up to a week, so it's great to make ahead of time for entertaining or meal prep.
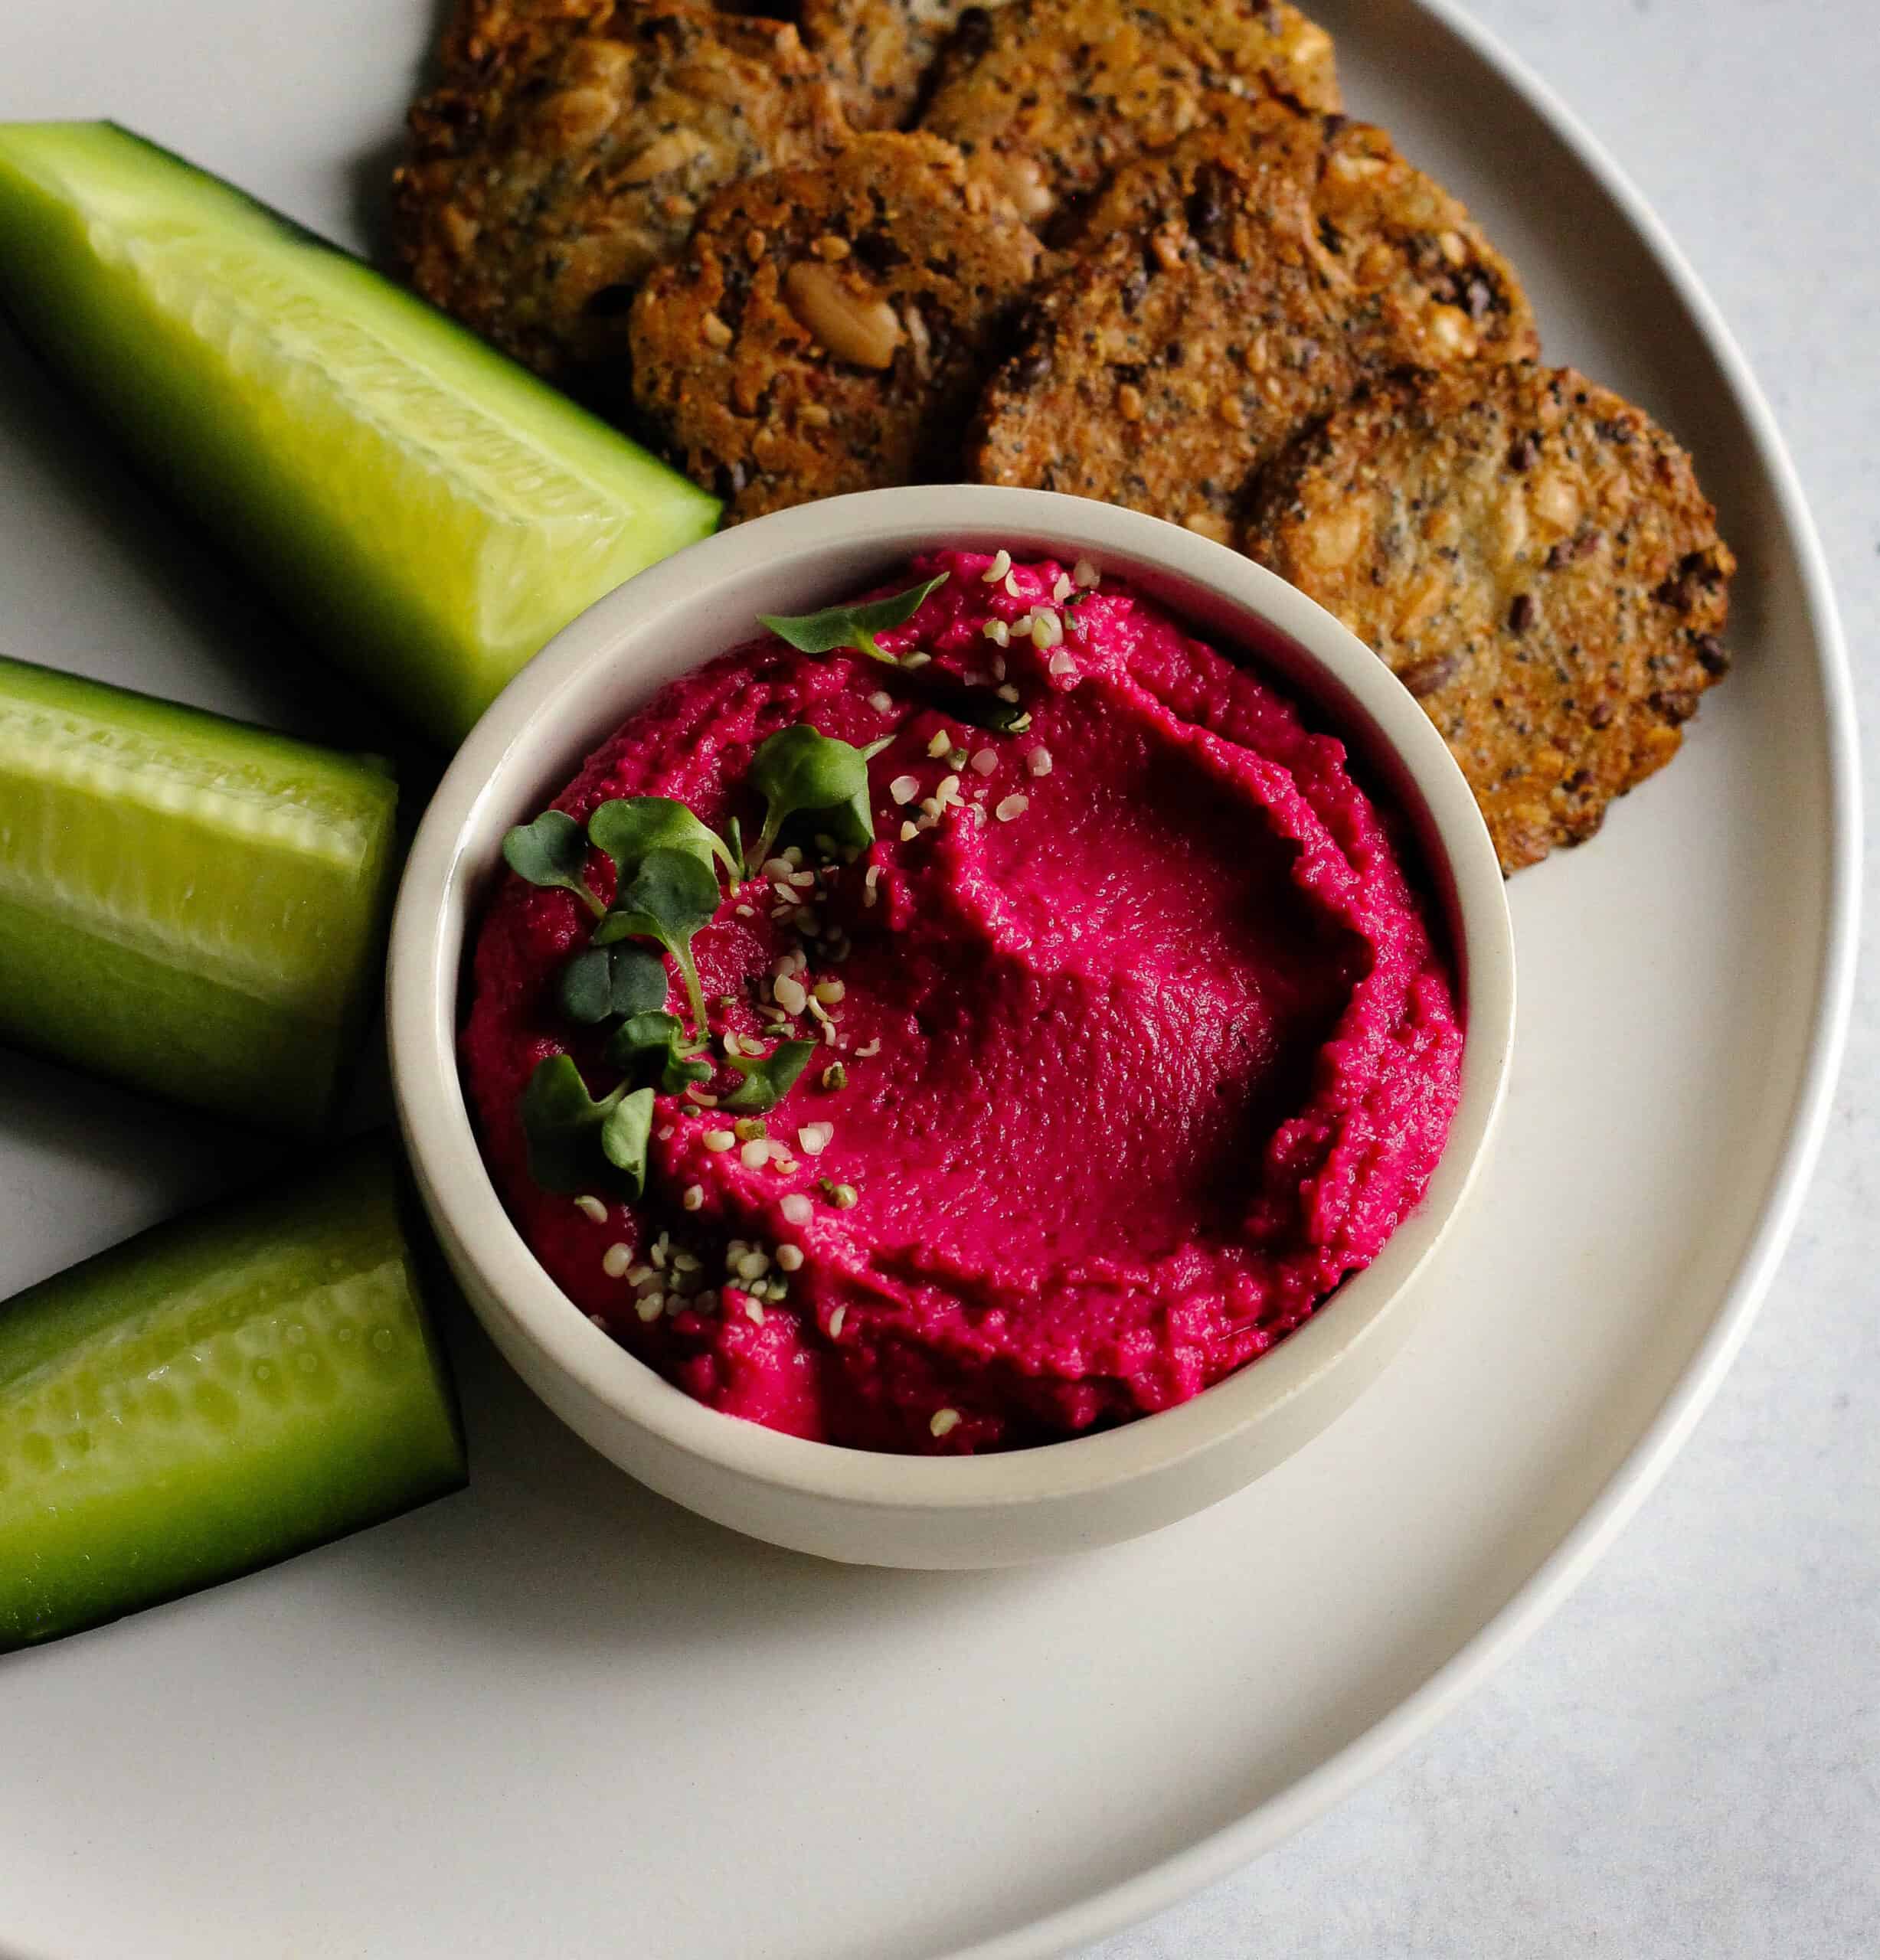
Hummus is a delicious Middle Eastern dip that works great as an appetizer with crispy vegetables, fresh pita, and crackers. It also makes a wonderful spread for sandwiches, and I love to add a scoop to my salads and Buddha bowls.
Most stores these days offer a variety of hummus in a wide range of flavors. The downside is that most of these options are full of inflammatory oils, preservatives, and additives that have negative effects on our bodies. Making hummus at home is not only easy, it's also more delicious and better for our health.
Jump to:
Ingredients
You only need a few simple, easy-to-find ingredients to make this hummus recipe. I recommend roasting your own beet rather than using store-bought because it provides a more earthy flavor and that bright, beautiful, pink color. That said, I have tested this with ready-to-eat beet and it does work if you're short on time. Just be aware that using a store-bought beet will make your hummus a bit less flavorful and not as vibrant.
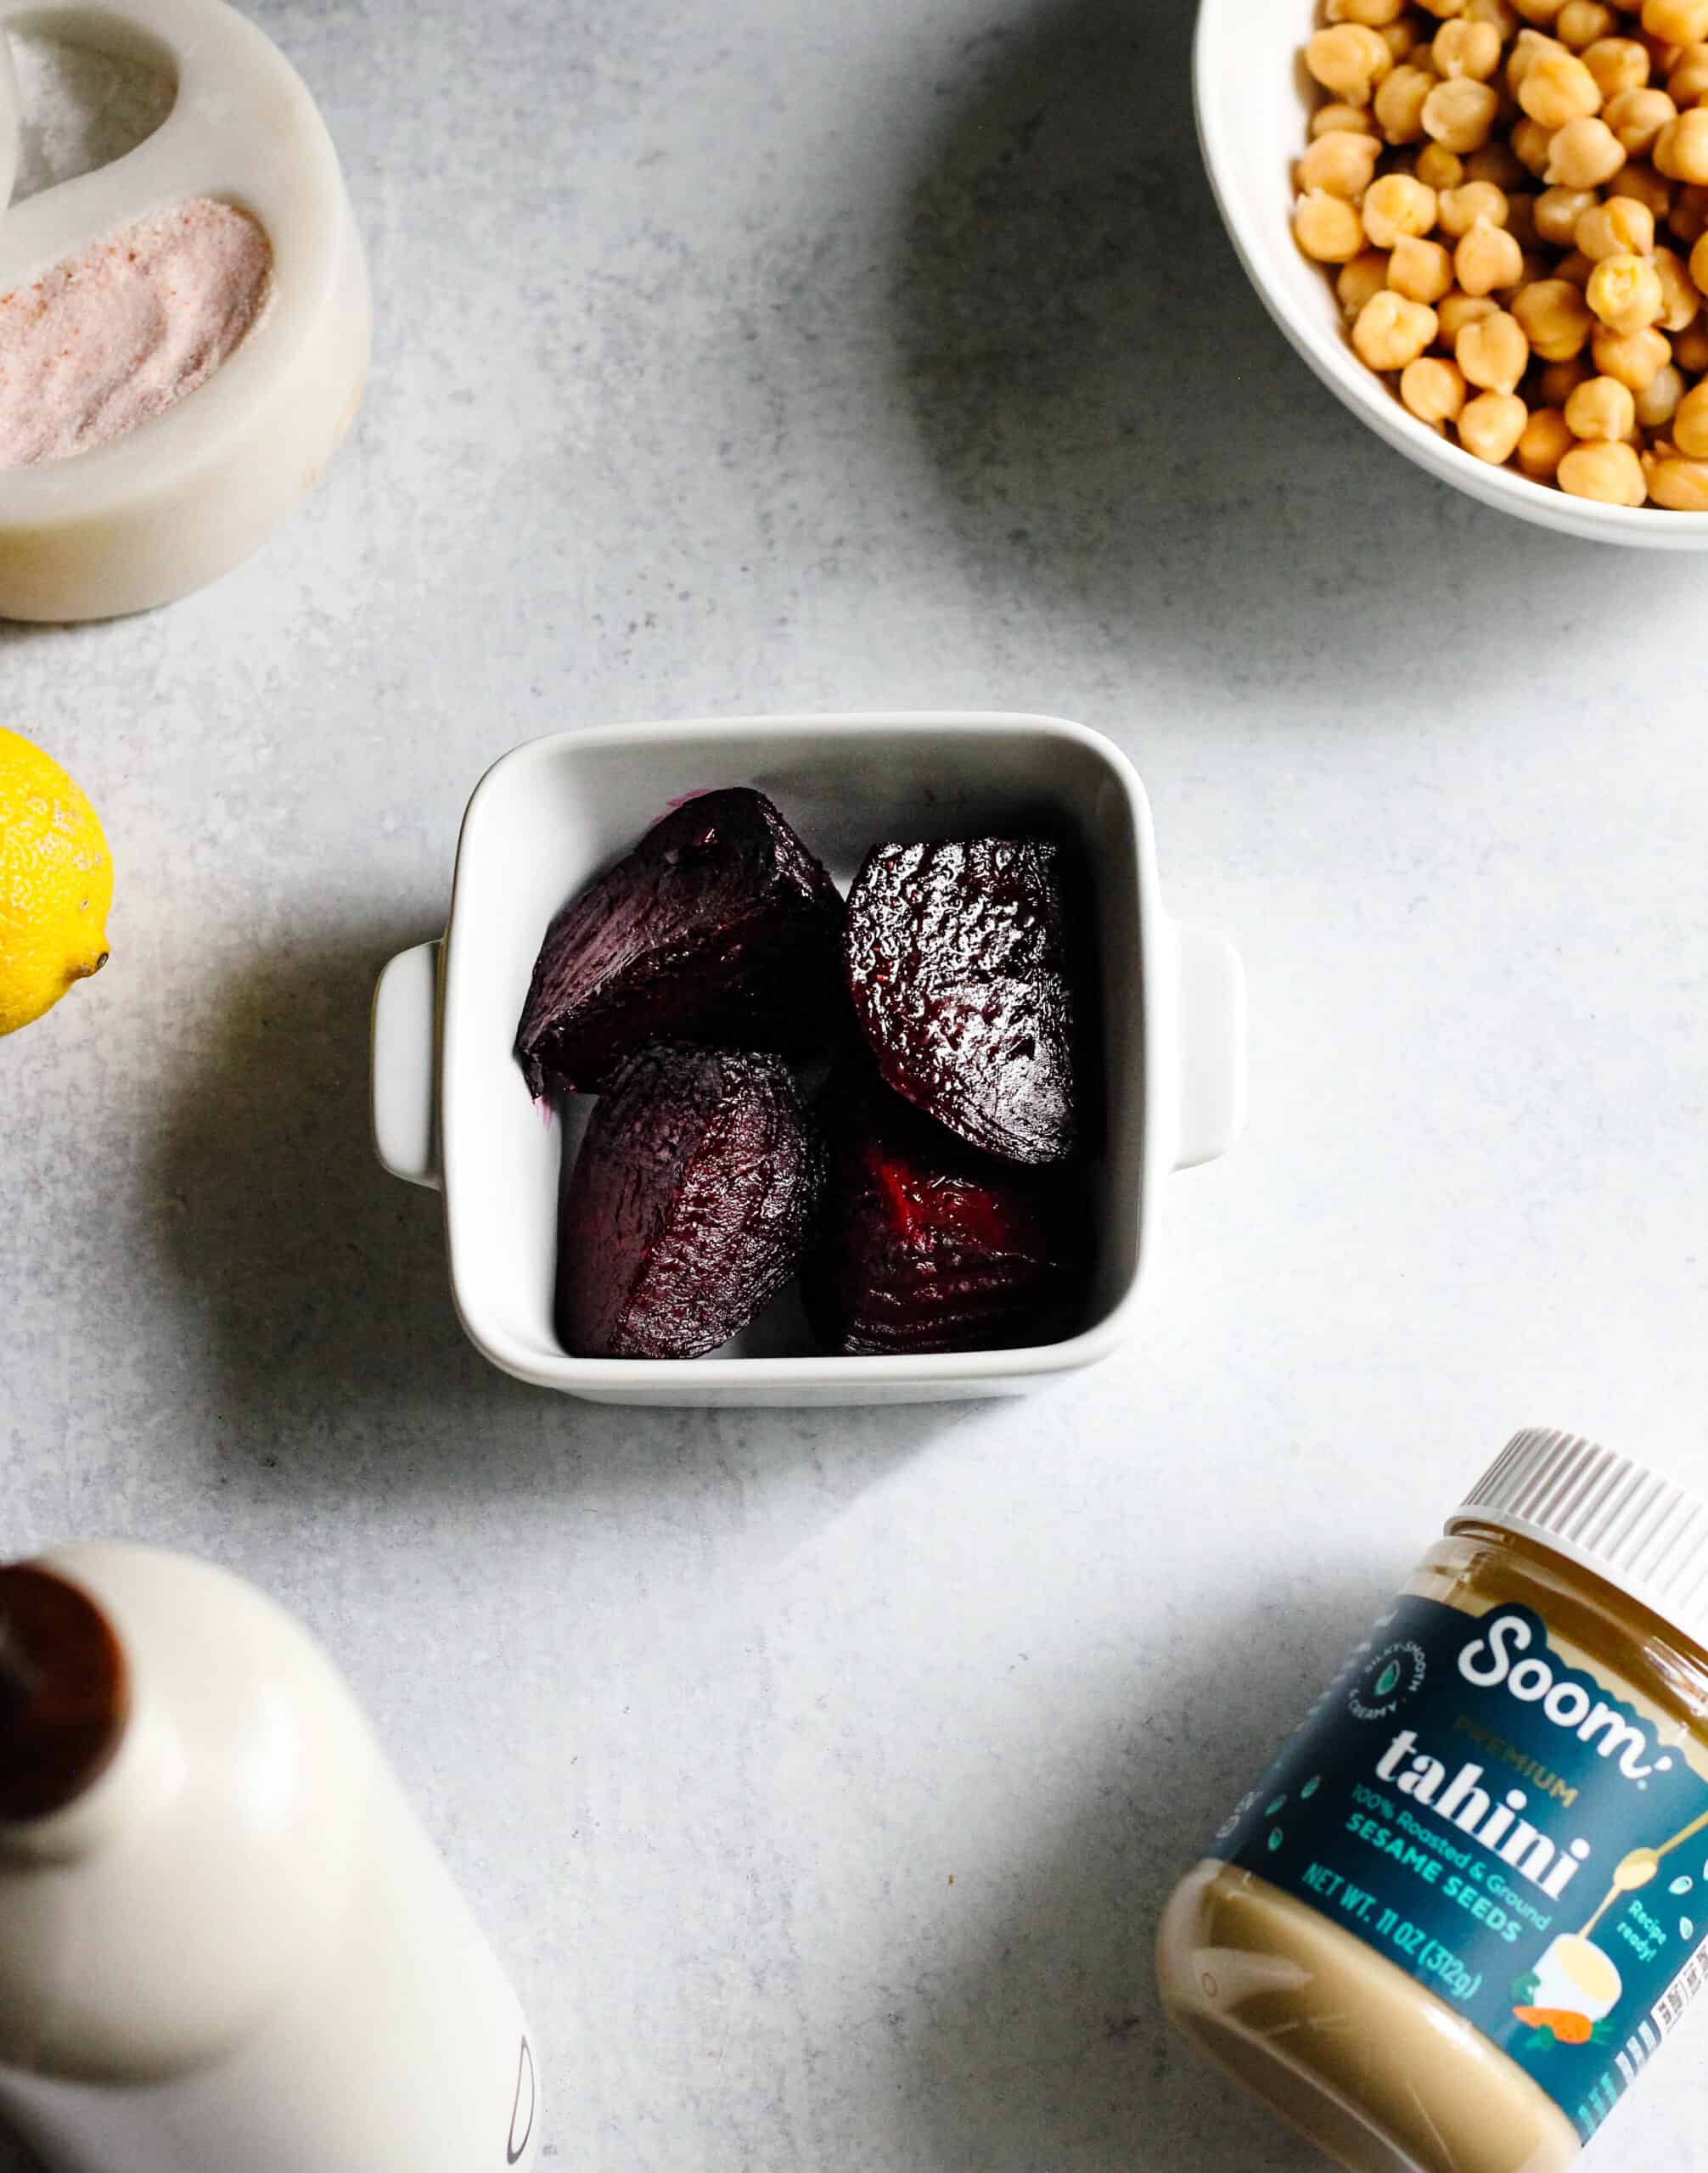
- fresh beet
- canned chickpeas
- tahini
- olive oil
- lemon
- salt
- pepper
See the recipe below for quantities.
Instructions
Making this hummus requires minimal effort, but you will need to plan ahead to roast your beet. I like to roast a few extra to add to salads throughout the week. You'll roast the beet for about an hour, give it a few minutes to cool to the touch, then peel. Then blend everything until smooth, and that's it!
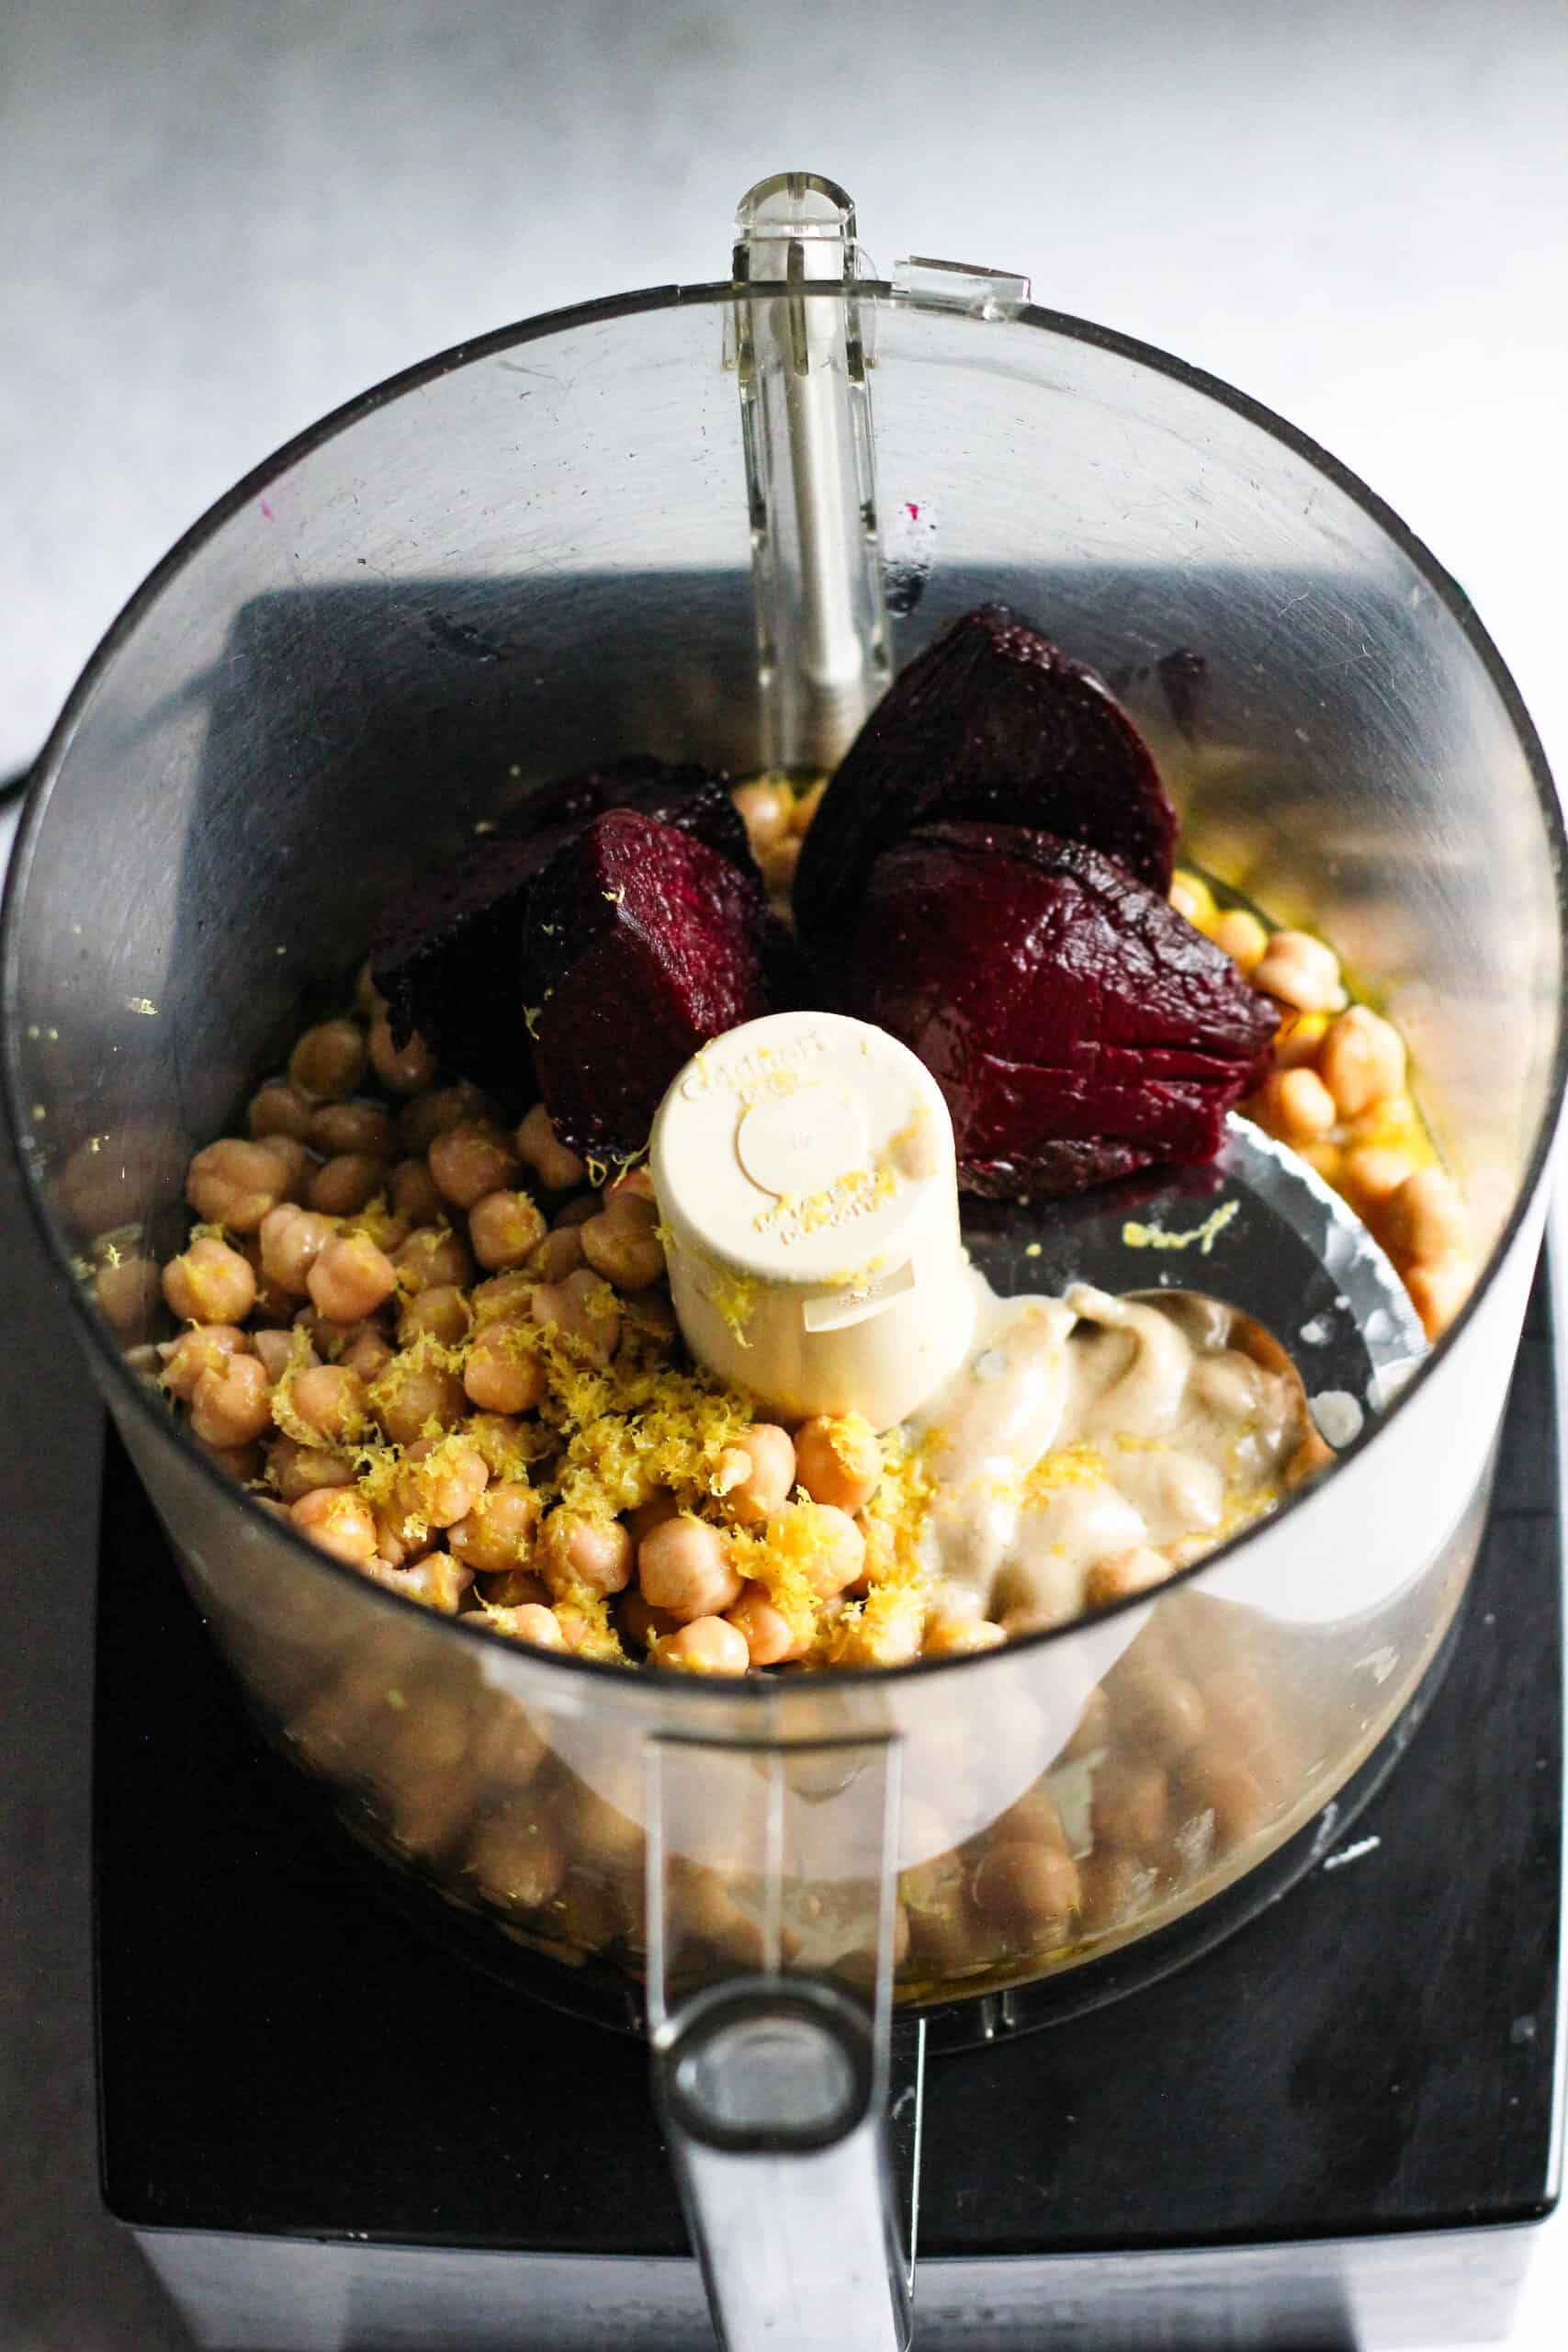
Add all of your ingredients into a food processor.
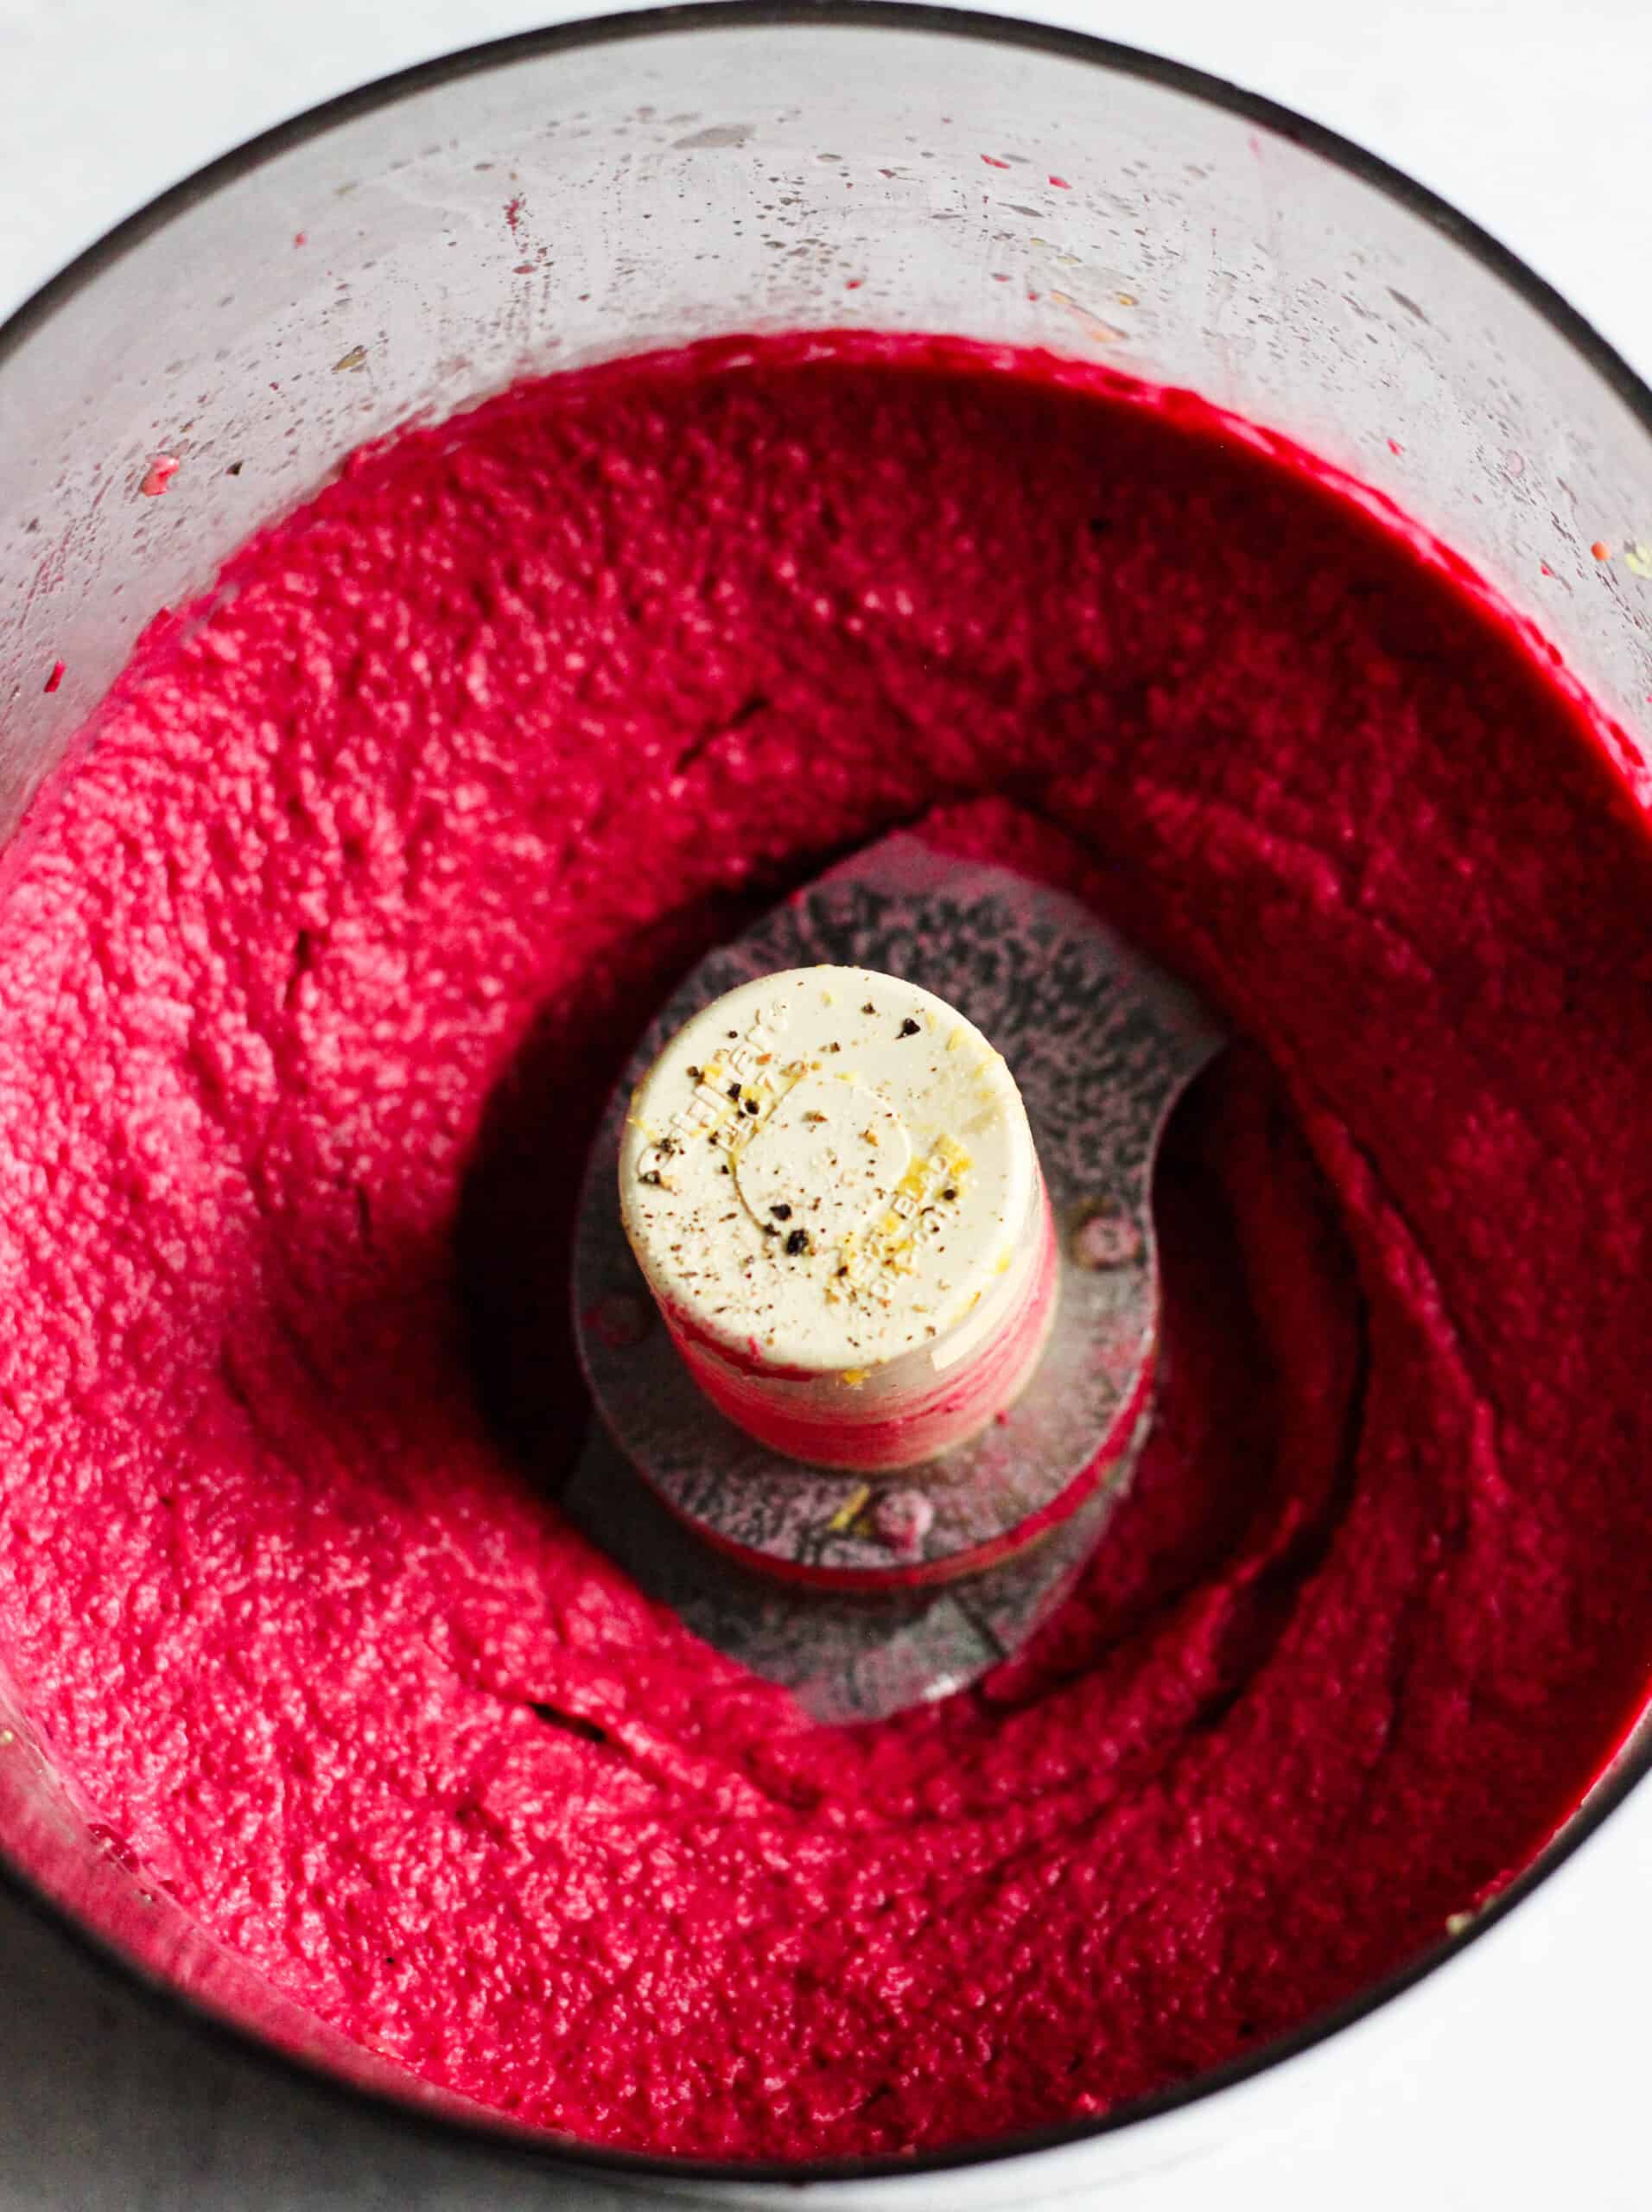
Blend everything together until it's nice and smooth.
Once your hummus is blended you'll want to cover it and let it chill in the refrigerator a few hours before serving. I love to make this a day before I'm entertaining because it gives time for the flavors to marry together, and it means less work before my guests arrive.
Variations
Traditional hummus typically contains fresh garlic, but you'll notice that I'm omitting it in this recipe. I intentionally made this hummus without garlic to avoid reflux symptoms but feel free to add a clove or two if you'd like.
- Hummus without tahini - if you are avoiding sesame seeds you can try this recipe for hummus without tahini
- Garnishes - try adding a drizzle of extra virgin olive oil and some finely diced roasted beets on top. You can also top it with a sprinkle of hemp hearts.
Equipment
You'll need a small baking dish to roast the beets. I use my Corningware baking dish, which I love because it comes with a lid for baking and a lid for storing. If you don't have a baking dish with a lid you can use a piece of tin foil to cover the dish.
You'll also need a good food processor with a stainless steel blade. I've had this Cuisinart for years and use it often for many different recipes. A high-powered blender like a Vitamix will work, but I achieved better, smoother results in the food processor.
Storage
Leftover hummus should be stored tightly covered in the refrigerator for no more than 7 days. When I prepare this for weekly snacks, I like to pre-portion the hummus into glass storage containers so they're ready to grab and go.
I prefer not to freeze this hummus because it changes the texture and flavor. If you would like to freeze it, I don't recommend storing it for longer than 4 months. Once thawed the oil may separate, but you can give it a good stir and a drizzle of extra virgin olive oil to help refresh it.
Top tip
Be sure to blend your hummus until it's very creamy. Give it a taste test when you're done blending and if it doesn't feel silky smooth on your tongue keep blending. If the mixture looks a bit dry, try adding a dash of water.
FAQ
This hummus pairs great with freshly chopped vegetables such as carrots, cucumbers, celery, and peppers. I also like it with soft pita bread, pita chips, or some gluten free crackers.
Healthy means something different to everybody, but for me, this is a healthful snack when enjoyed in moderation. It's a delicious way to add fiber, folate, iron, antioxidants, and vitamin C to your diet. Some studies suggest that consuming beets can also help improve cardiovascular health and hypertension.
I don't recommend it. Canned beets won't provide the same earthy flavor that a freshly roasted beet will. The color will also be dull in comparison to the vibrant, beautiful pink color of the fresh beet. Canned beets also absorb a lot of moisture from the liquid in the can, so the hummus may be a bit more runny.
Other recipes to try
Easy Beet Hummus with Lemon
Ingredients
- 1 small beet
- 15 oz chickpeas canned, drained and rinsed
- 1 large lemon zest and juice
- 1 teaspoon kosher salt
- black pepper a few grinds
- 2 tablespoon tahini
- ¼ cup extra virgin olive oil plus 1 teaspoon for drizzling
Instructions
- Preheat your oven to 375°F
- Scrub your beet under cold water and leave the peel on. Cut off the ends then cut the beet in half.
- Toss your beets in a small baking dish with 1 teaspoon olive oil and a little salt and pepper.
- Cover your dish and bake for about 1 hour, until the beets are soft and tender.
- Allow the beets to cool a bit, then pull the skins off. I recommend using gloves or some paper towels so you don't stain your hands.
- Add your peeled, roasted beet to a food processor along with the remaining ingredients, except for the ¼ cup olive oil.
- Blend until smooth.
- Once the mixture looks nice and smooth begin to drizzle in your olive oil. Keep blending until the olive is incorporated. If the mixture looks dry try adding a splash of water.
- Taste for salt and pepper, and enjoy!




Leave a Reply