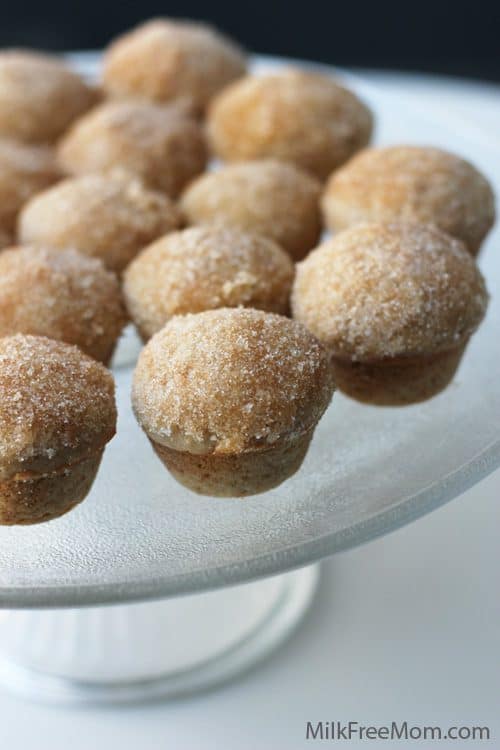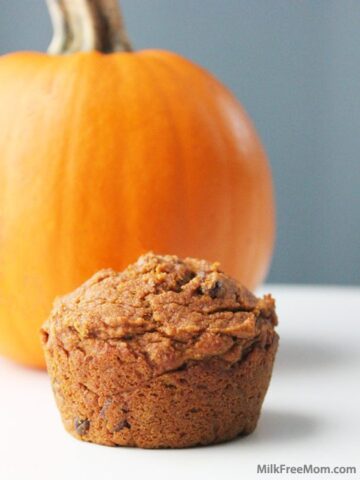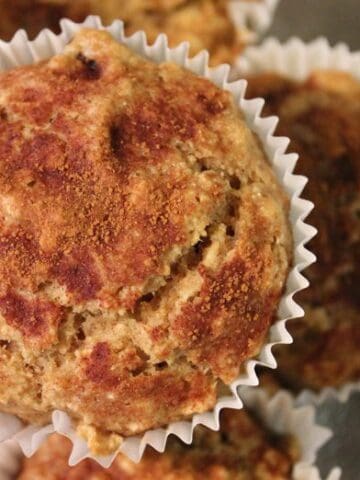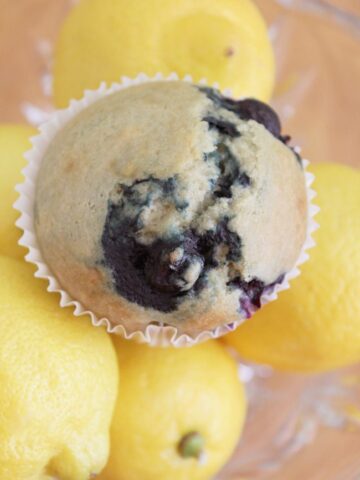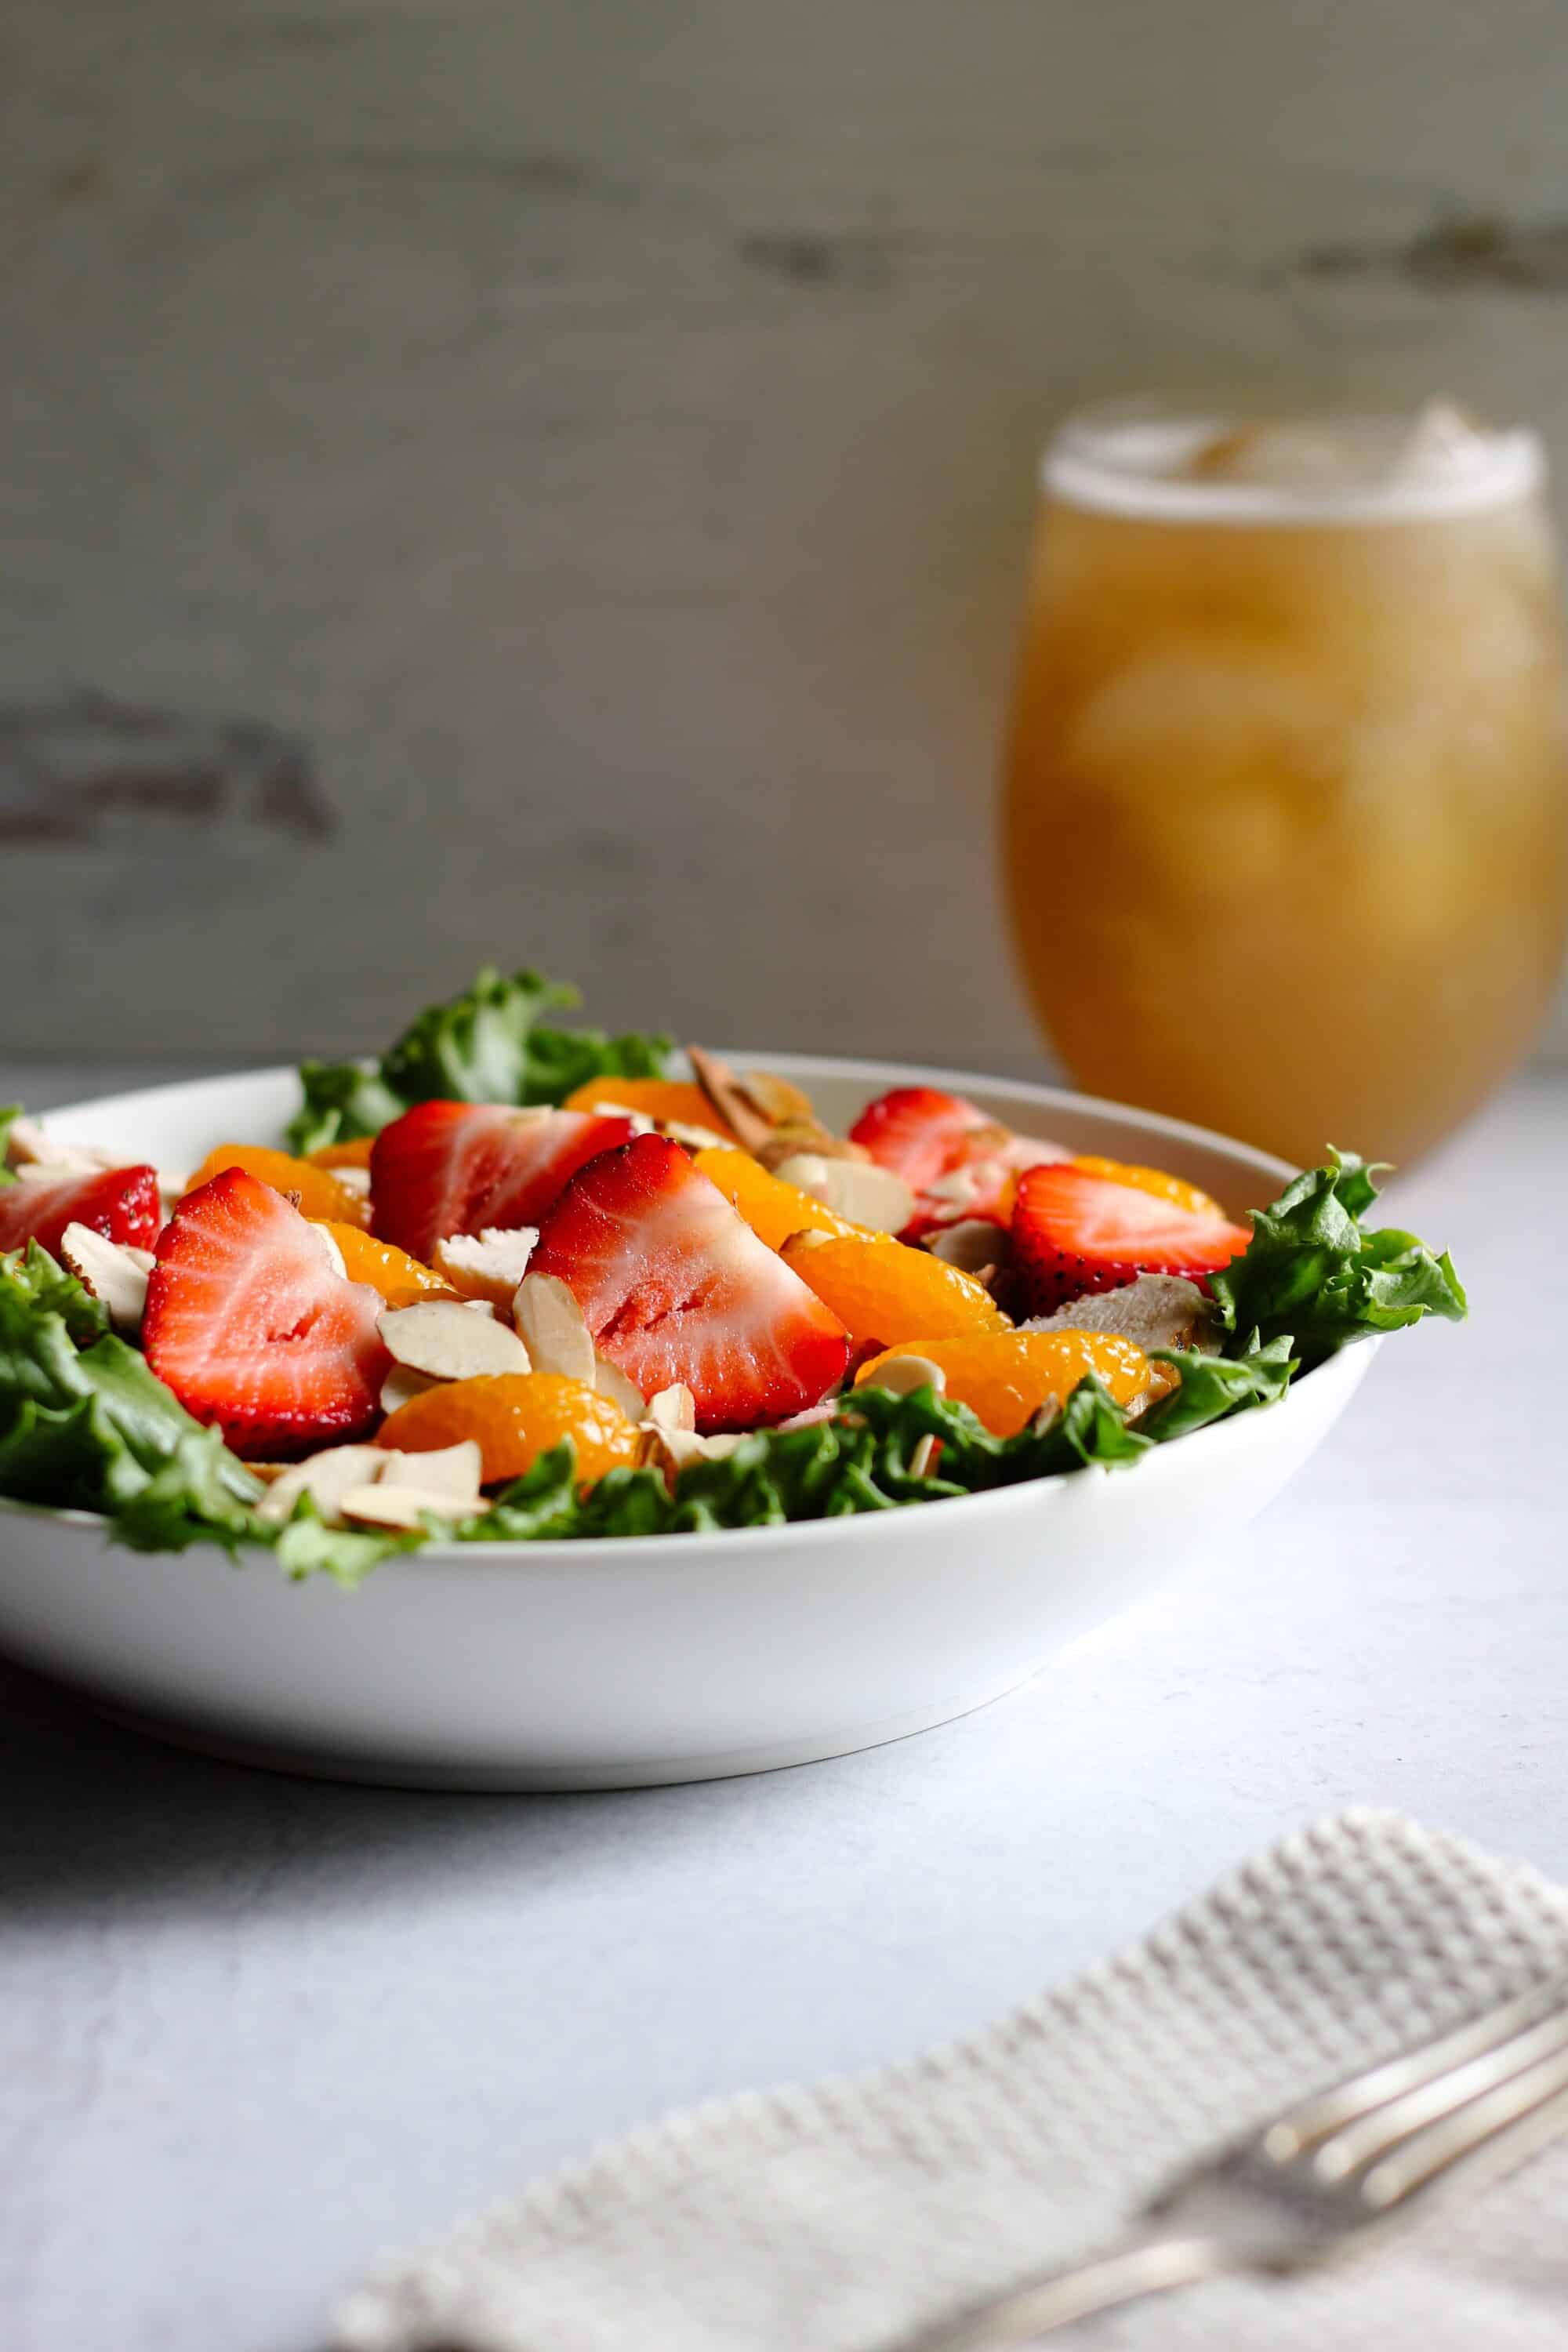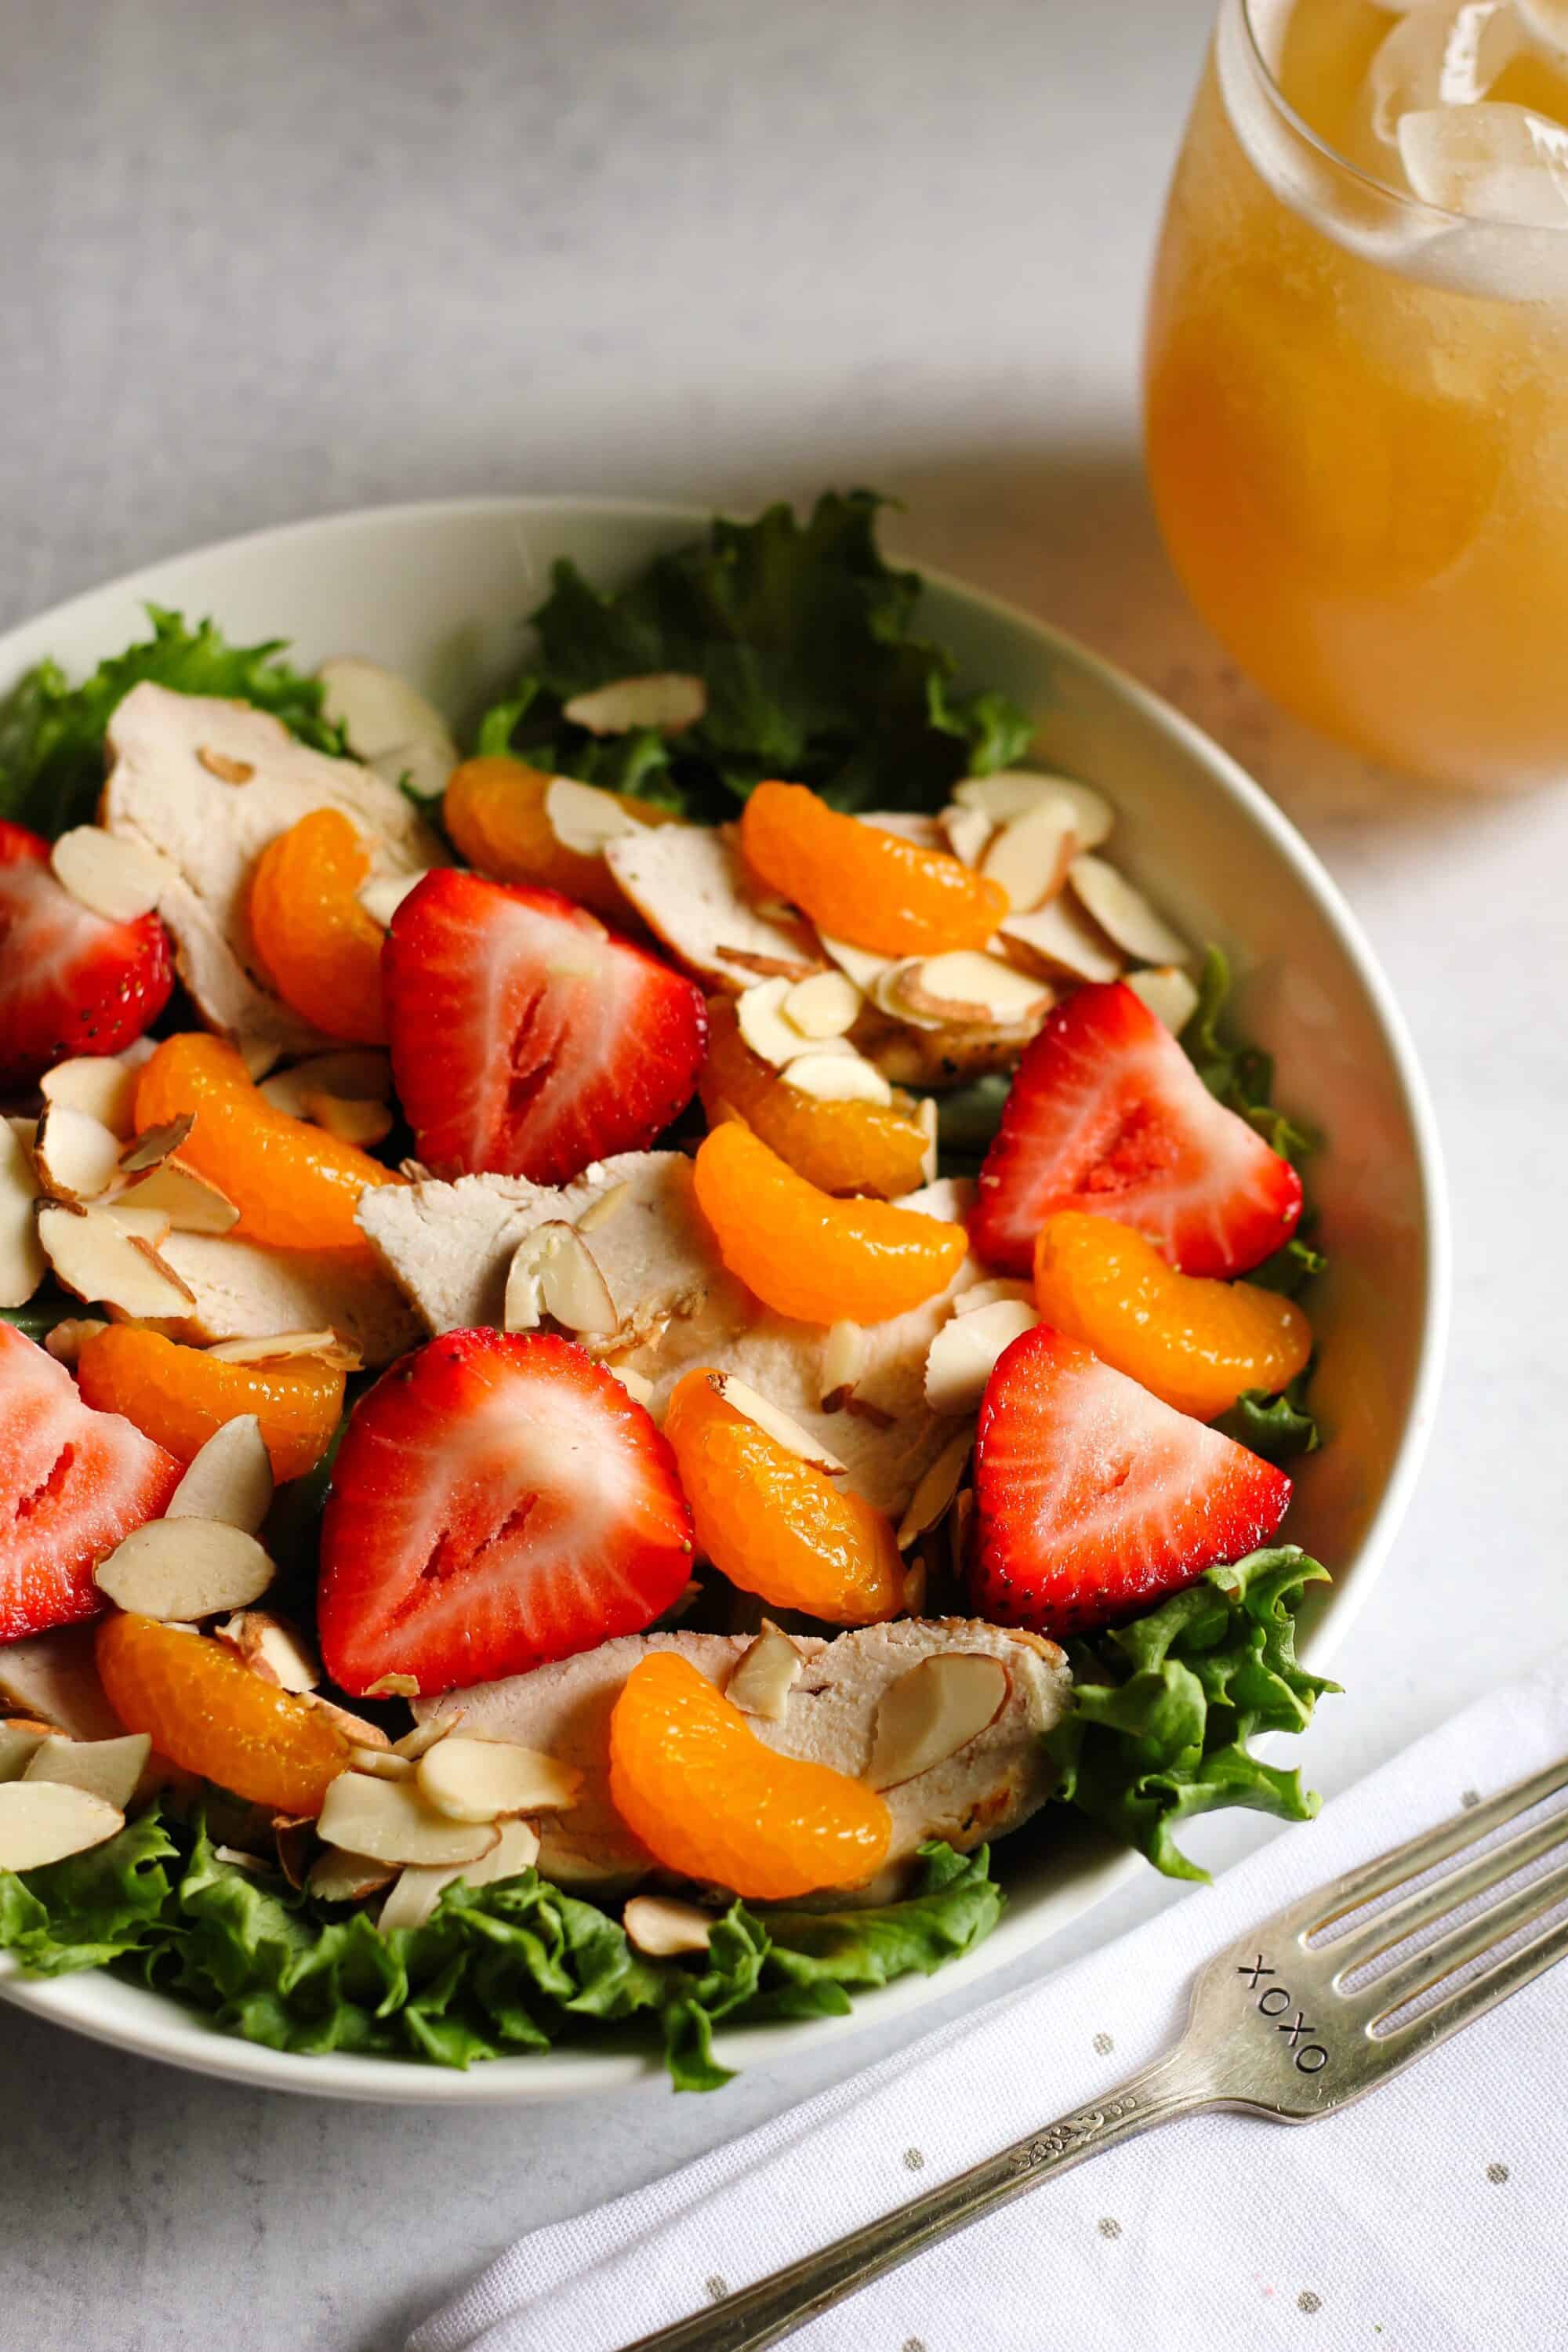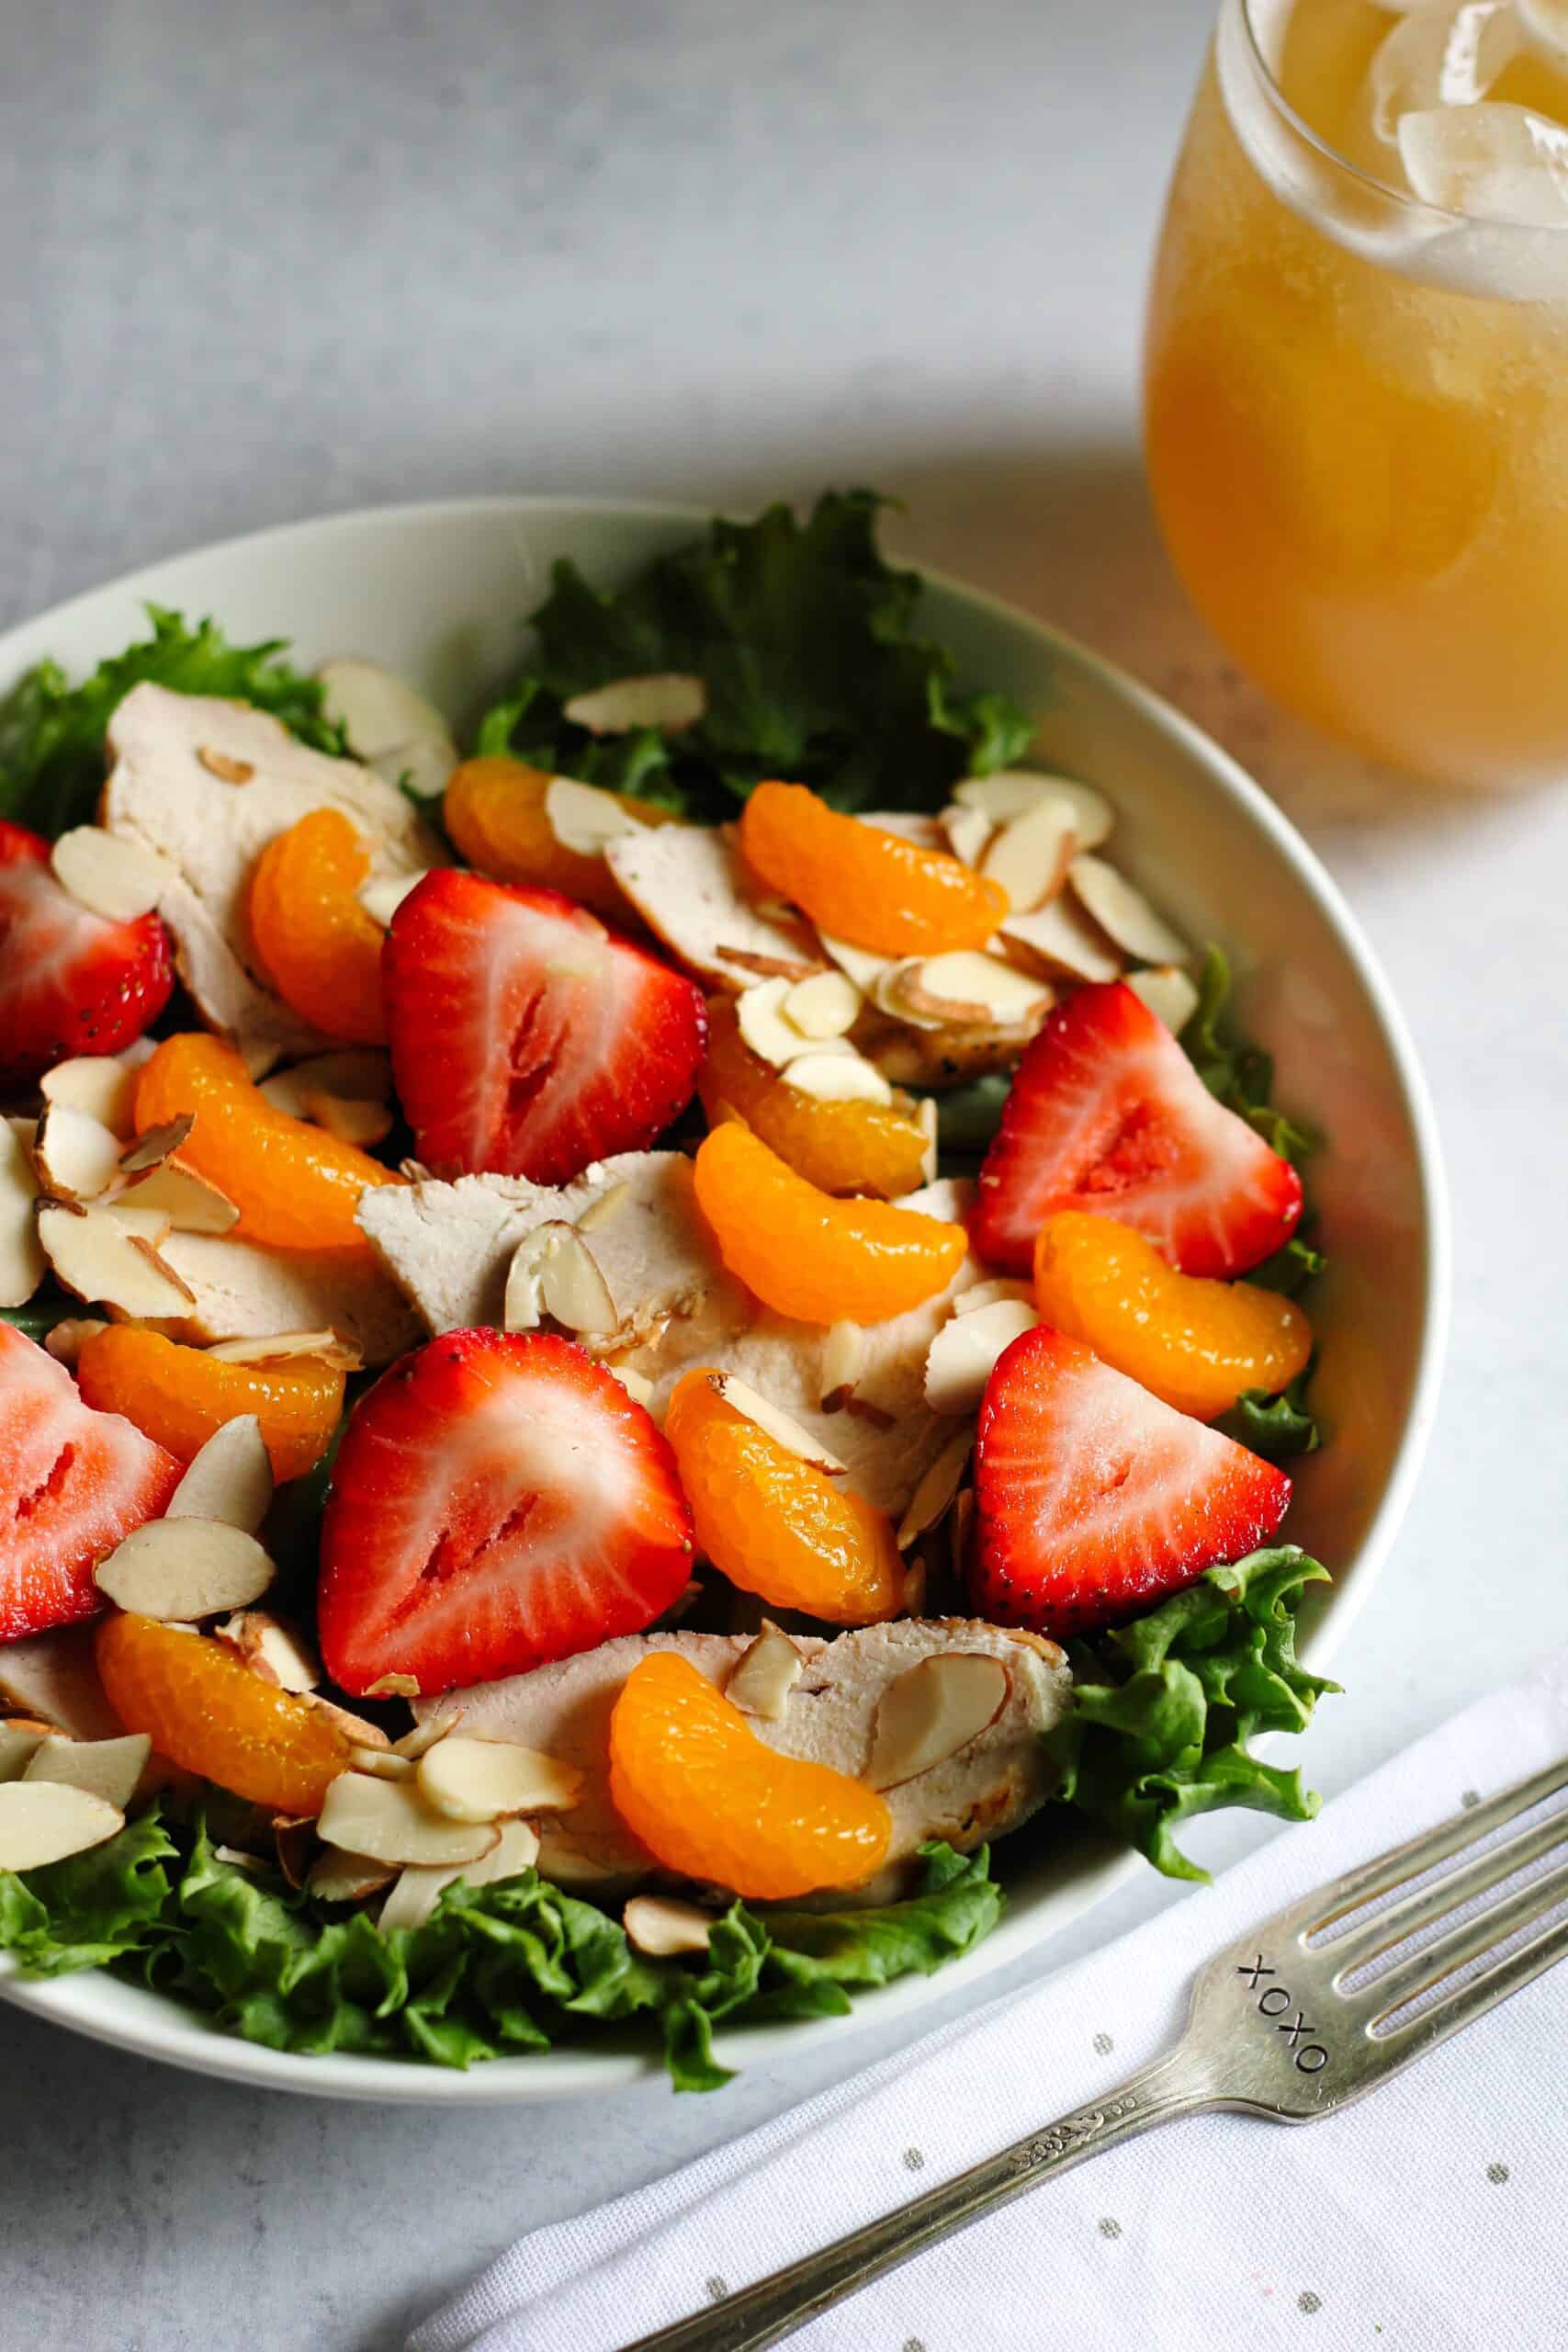
I am in love with these muffins. They're sweet, they're tasty, AND their miniature. I love making mini muffins because they're the perfect size for my snacking toddler, and they let me fulfill a craving without completely blowing the day's caloric intake. If you're not eating them right out of the oven (which you will, trust me), pop it in the microwave for about 7 seconds to warm them up.
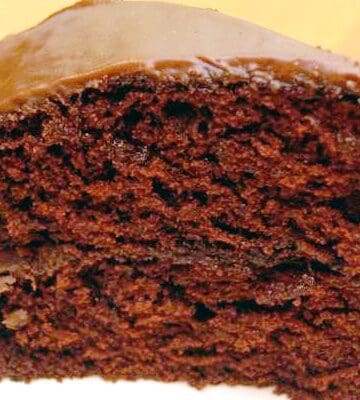
Cinnamon Sugar Mini Donut Muffins
Makes 24 mini muffins
1 ¾ cups all-purpose flour
1 ½ teaspoon baking powder
½ teaspoon salt
½ teaspoon allspice (you can substitute nutmeg as well)
½ teaspoon cinnamon
¾ cup unsweetened applesauce
¾ cup sugar
¾ cup dairy free milk (I used Vanilla Hemp Milk)
For the cinnamon sugar topping:
½ cup melted dairy free butter (Earth Balance)
¾ cup sugar
1 teaspoon cinnamon
Preheat your oven to 350°F, and line or spray your mini muffin tin.
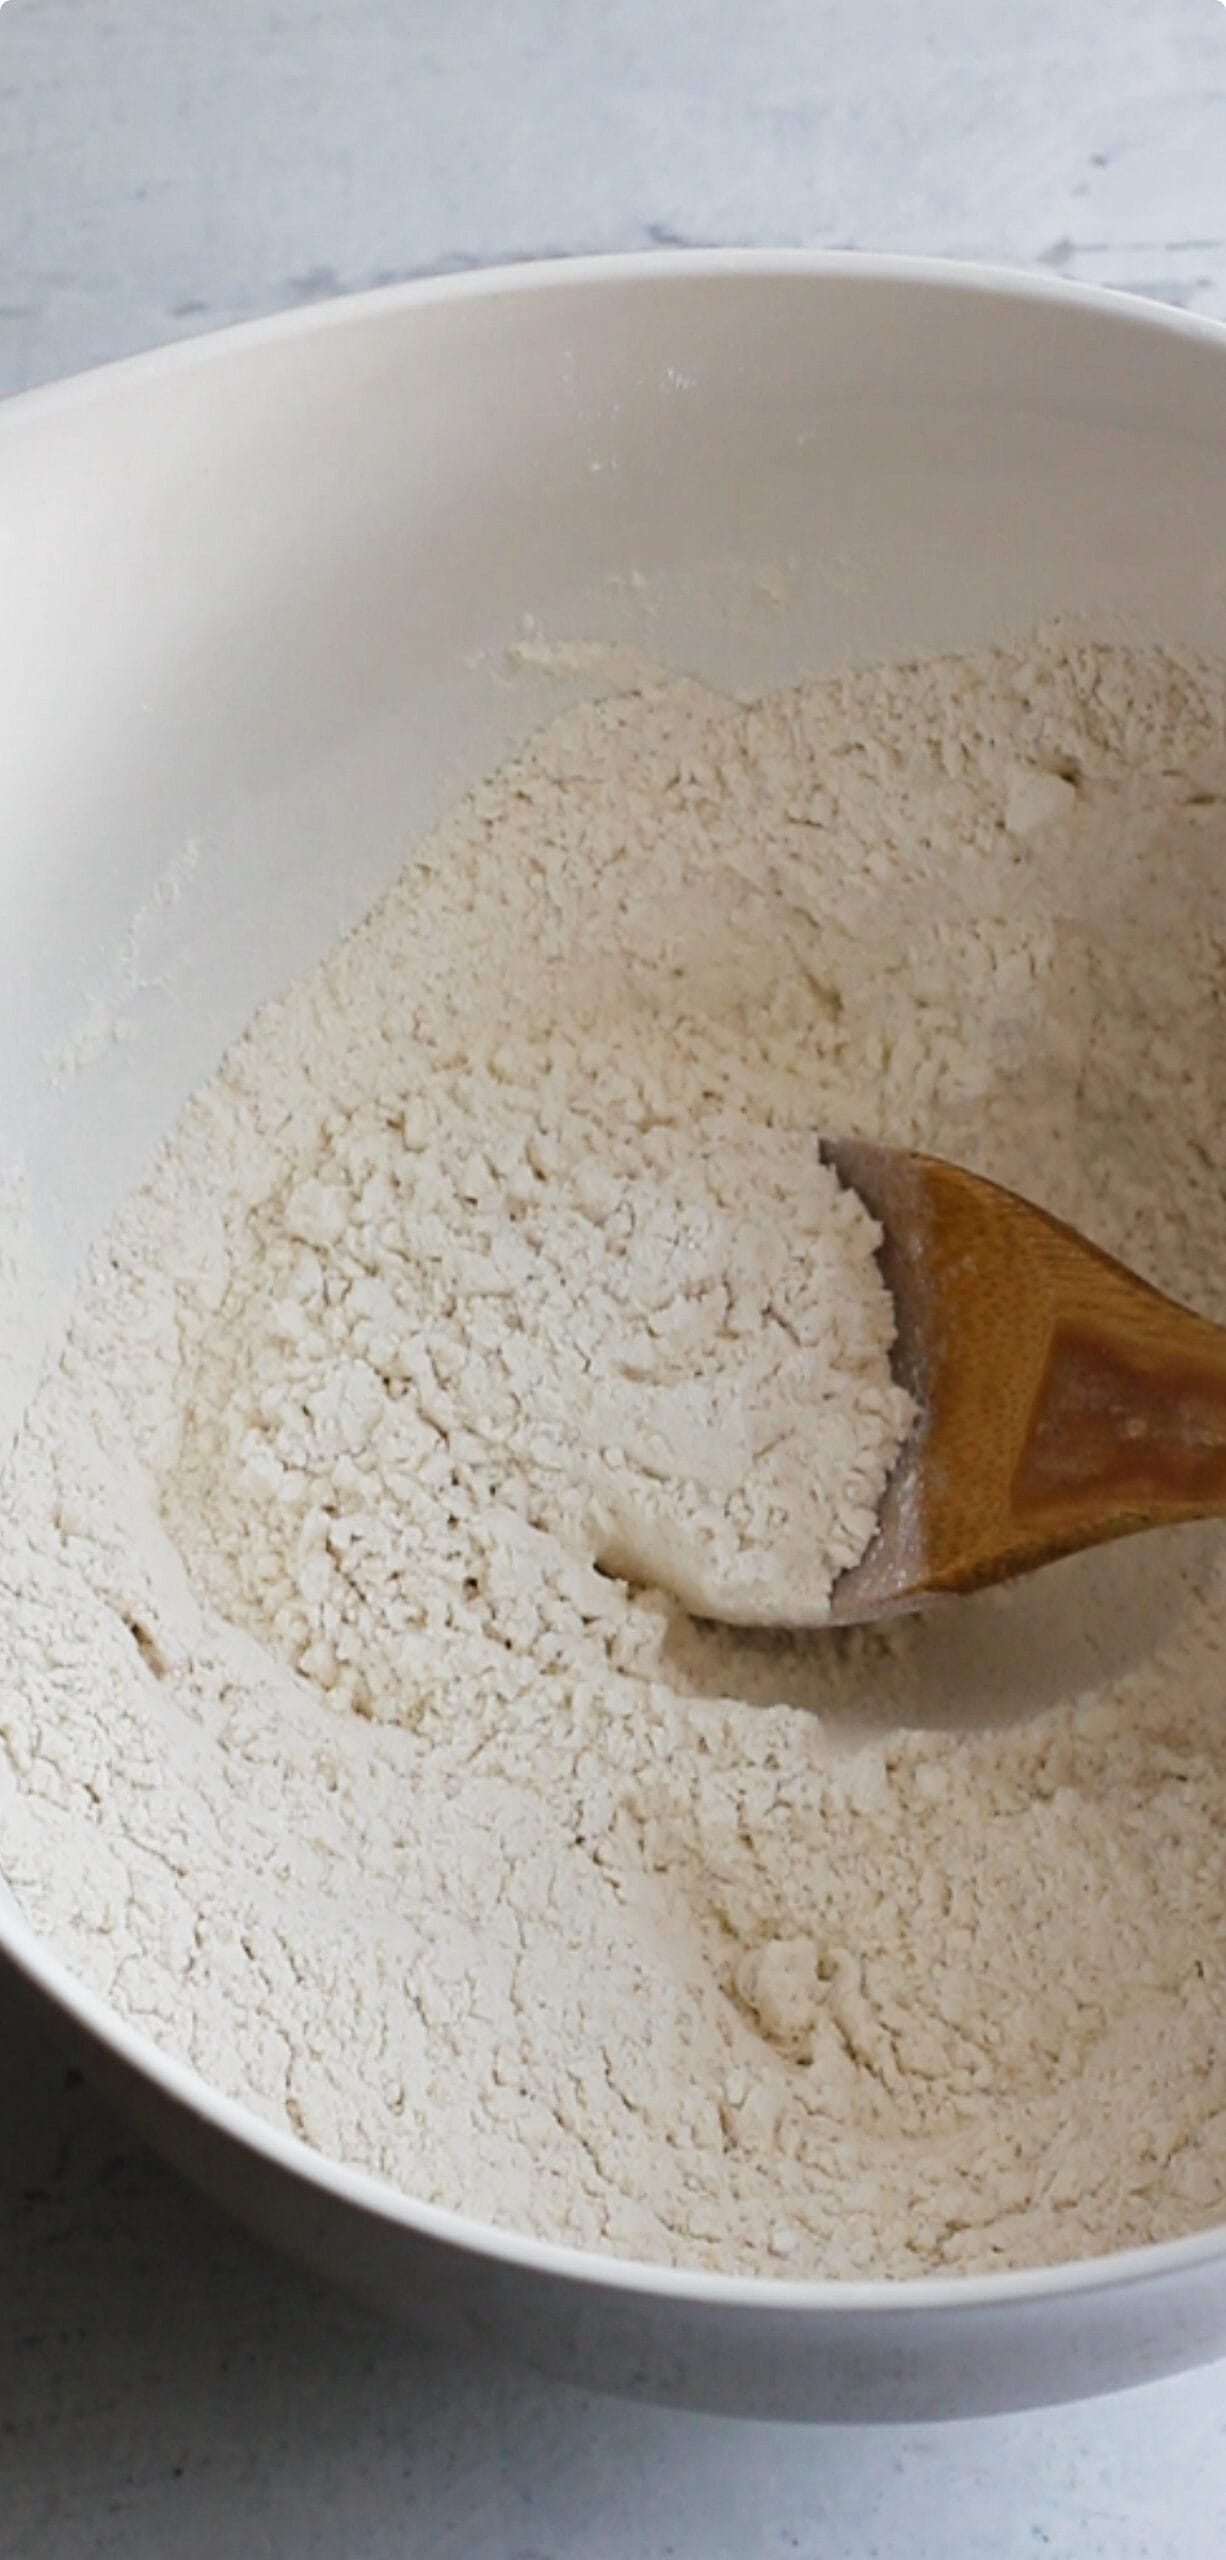
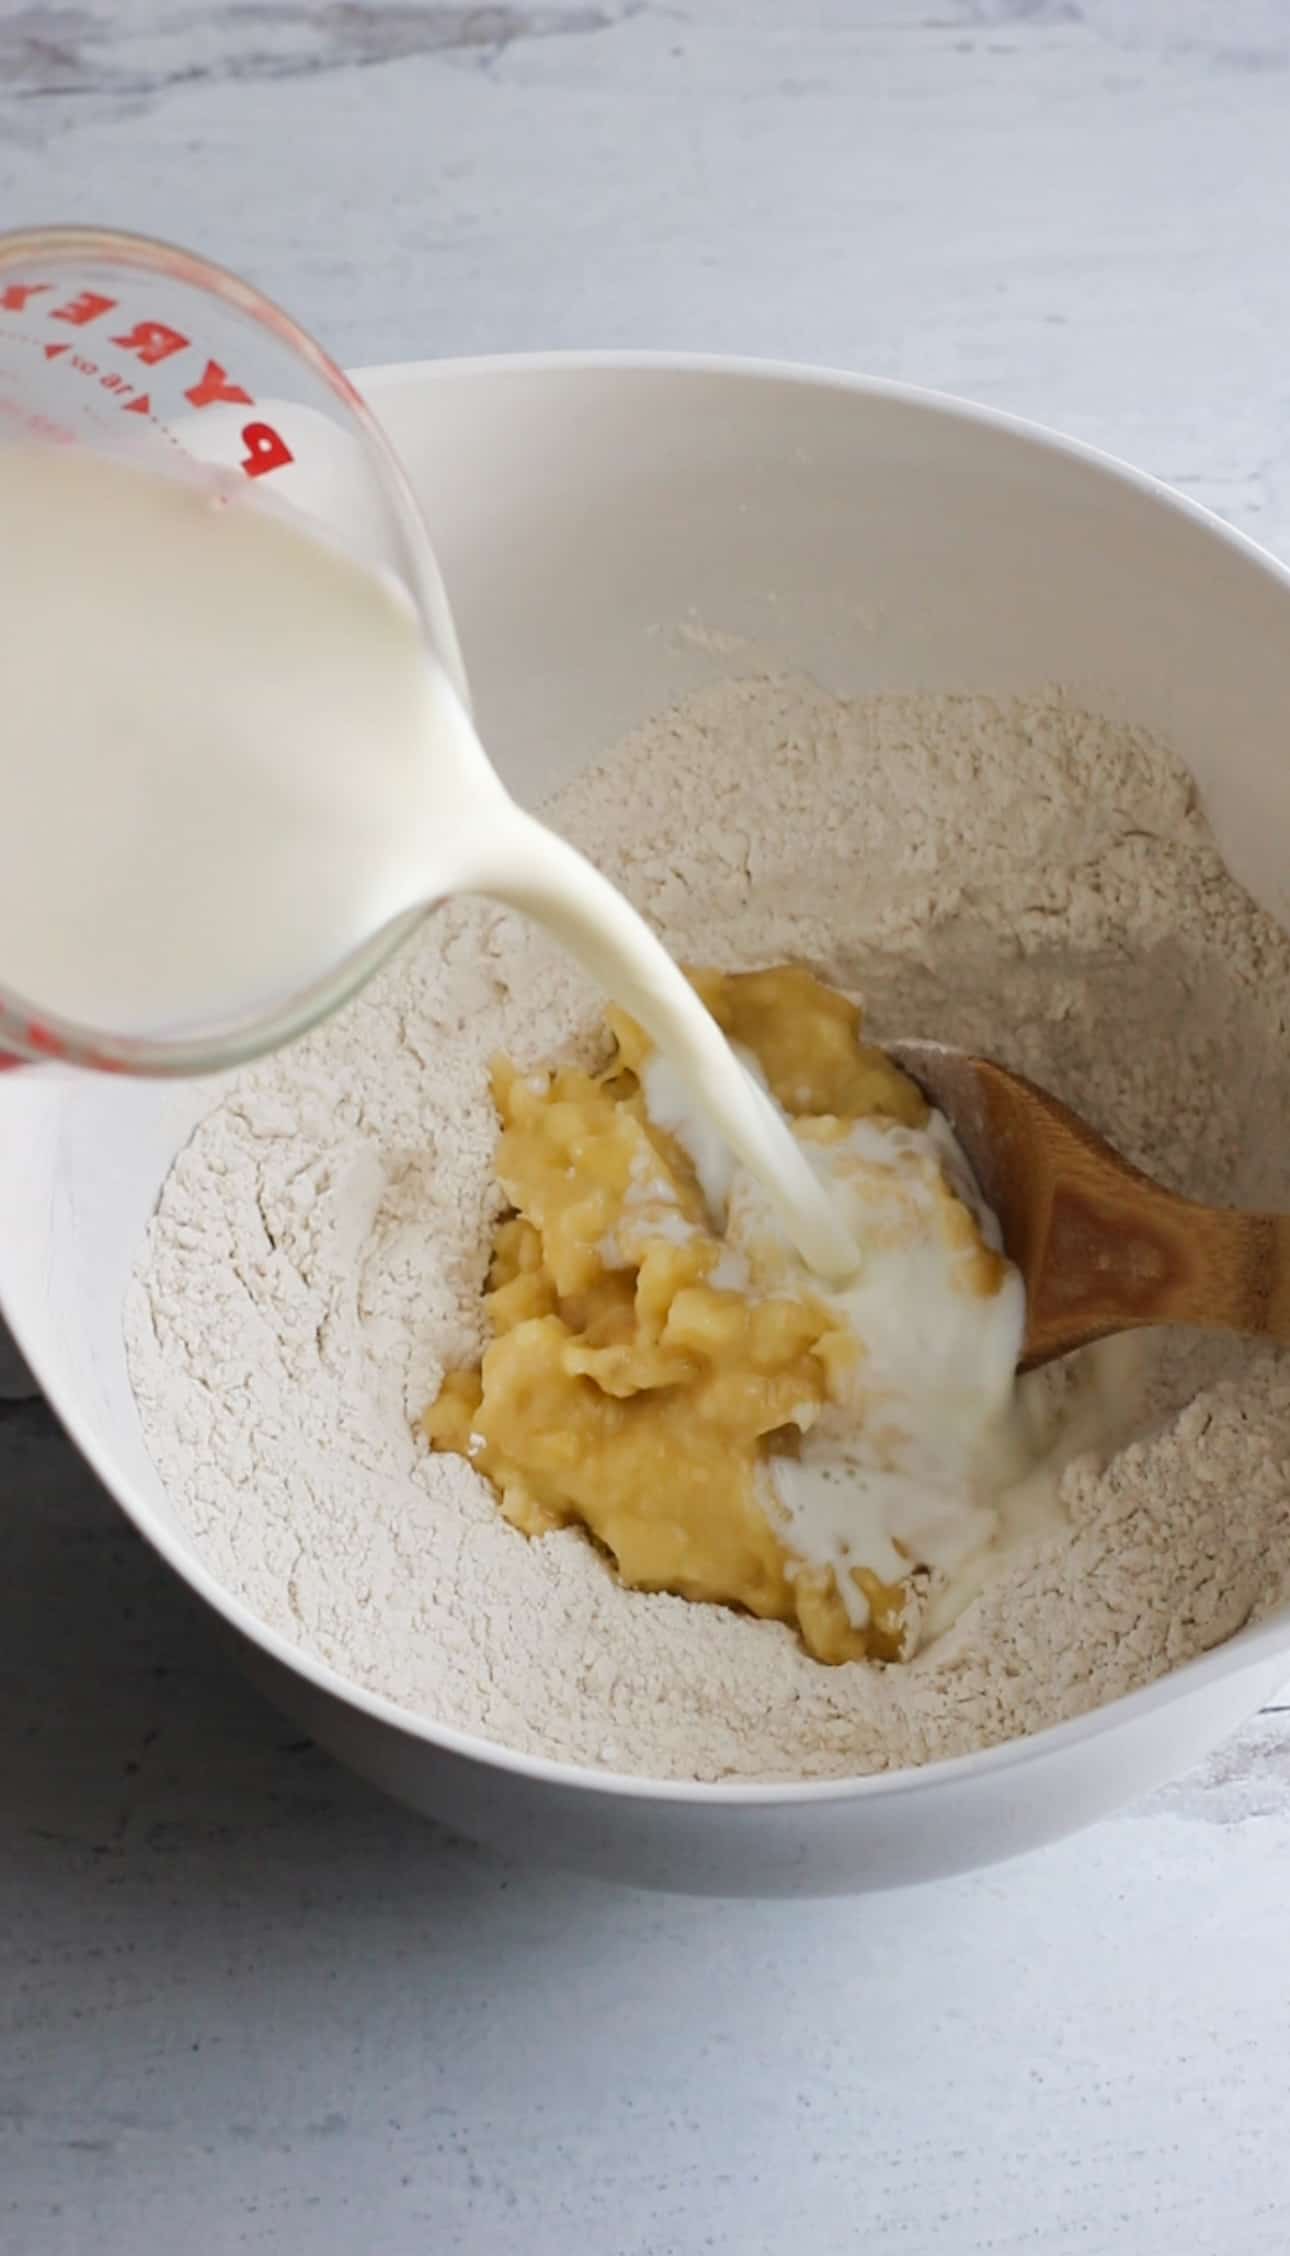
In a large bowl, mix together the flour, baking powder, salt, and spices using a fork. In a separate bowl, combine the applesauce, milk, and sugar. Add your milk mixture to your flour mixture and stir it just until it's well combined. Scoop your batter into your prepared tin cups, filling each about ⅔ full. Bake for about 20-22 minutes, and until they start to turn a very pale gold color.
While your muffins are baking combine the cinnamon and sugar for the topping, and melt your butter in a separate bowl. As soon as your muffins come out of the oven you need to start with the topping. One at a time, dip the top of your muffins first in the butter, then roll it through the cinnamon sugar mixture. Place on a wire rack to cool.