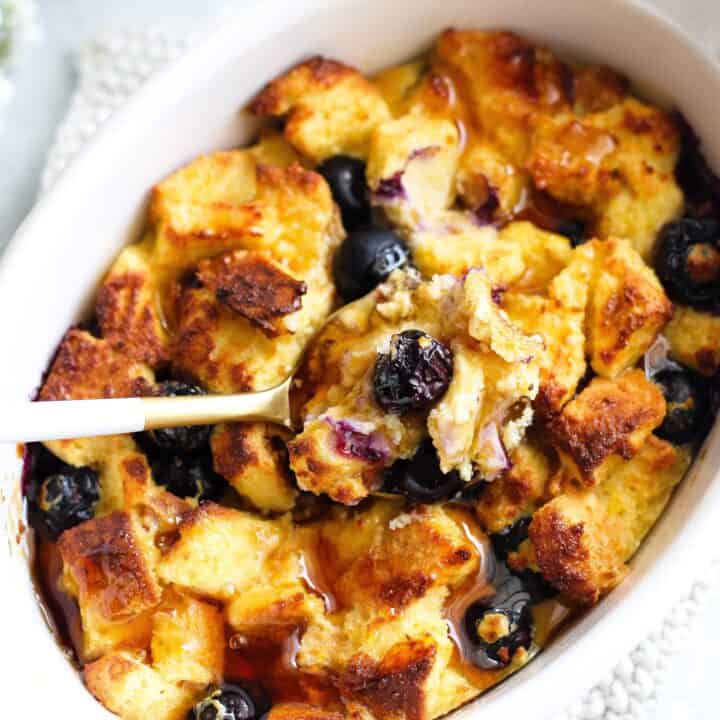
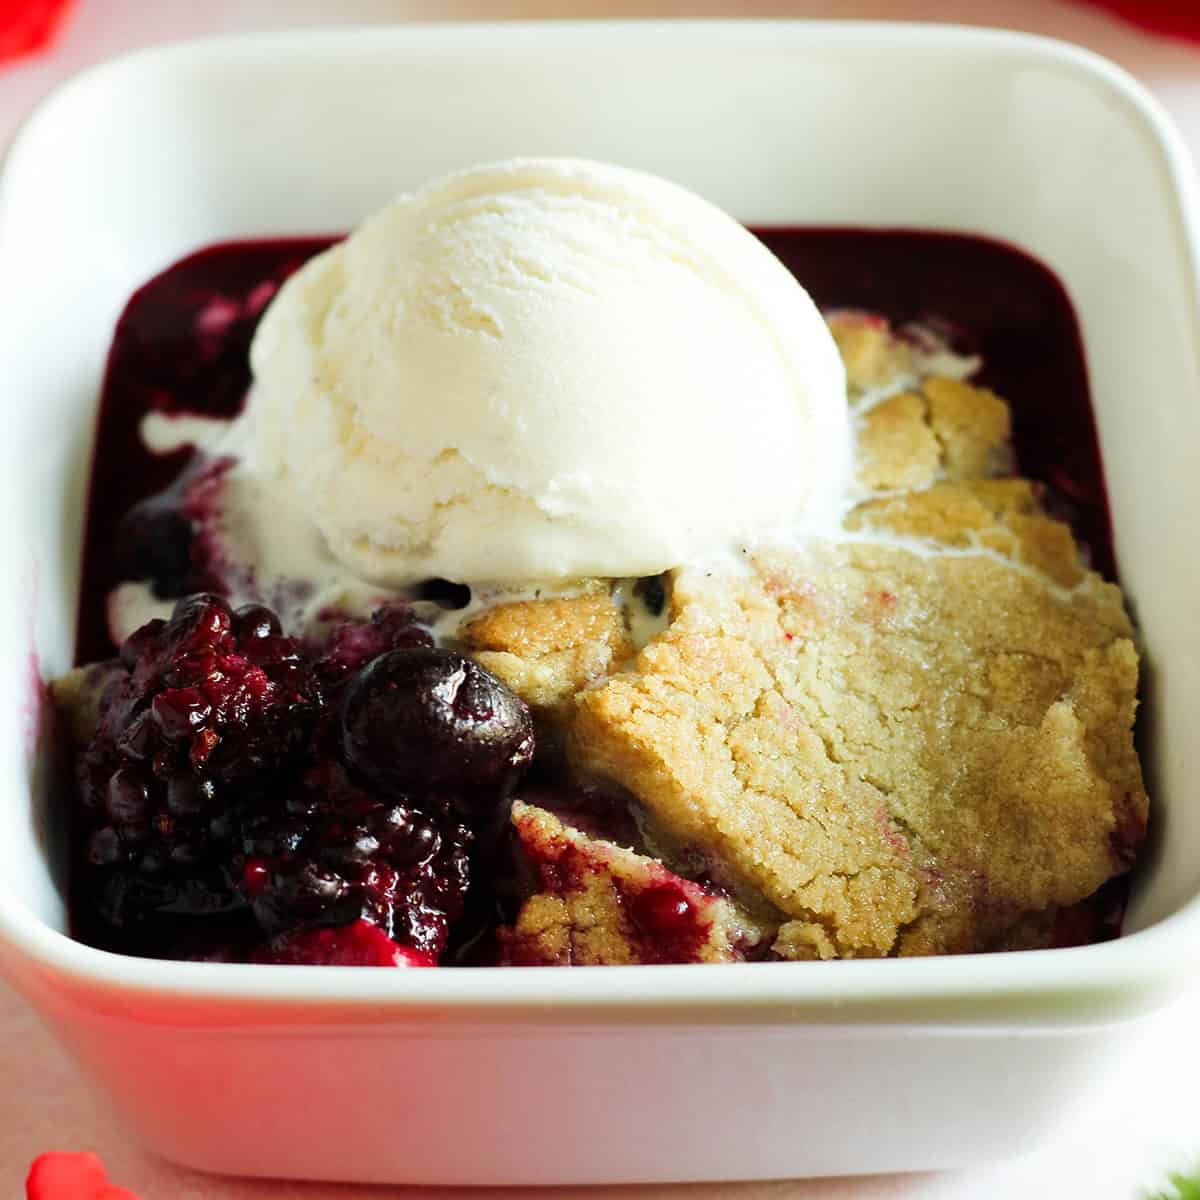
If you've been on TikTok or Instagram in the last few weeks, you've seen it: a "berry cobbler" made with two ingredients, dumped in a dish, topped with cookie dough, and baked into something jammy and golden. The original version going around was shared by creator @mgtaylor25, and it's everywhere for a reason. It genuinely works! It takes about two minutes to put together, it's absolutely delicious, and the whole family loves it. It'll be your new go-to dessert all year round!
Why You'll Love This Recipe
- Only 2 ingredients
- It's dairy-free and gluten-free without needing swaps
- Perfect any time of year
- Ready in minutes with almost no prep
- Kid-friendly and crowd-pleasing
- Easy to customize
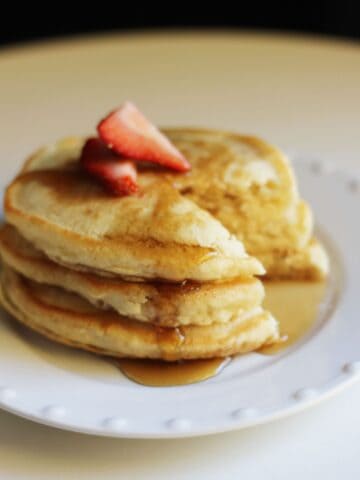
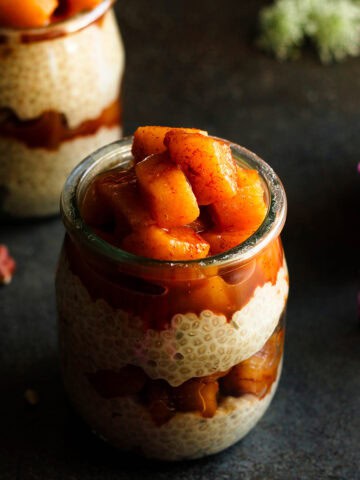
Prefer to make it from scratch instead? My from-scratch summer berry crisp with a homemade oat topping is worth the extra time.
[feast_advanced_jump_to]Ingredients
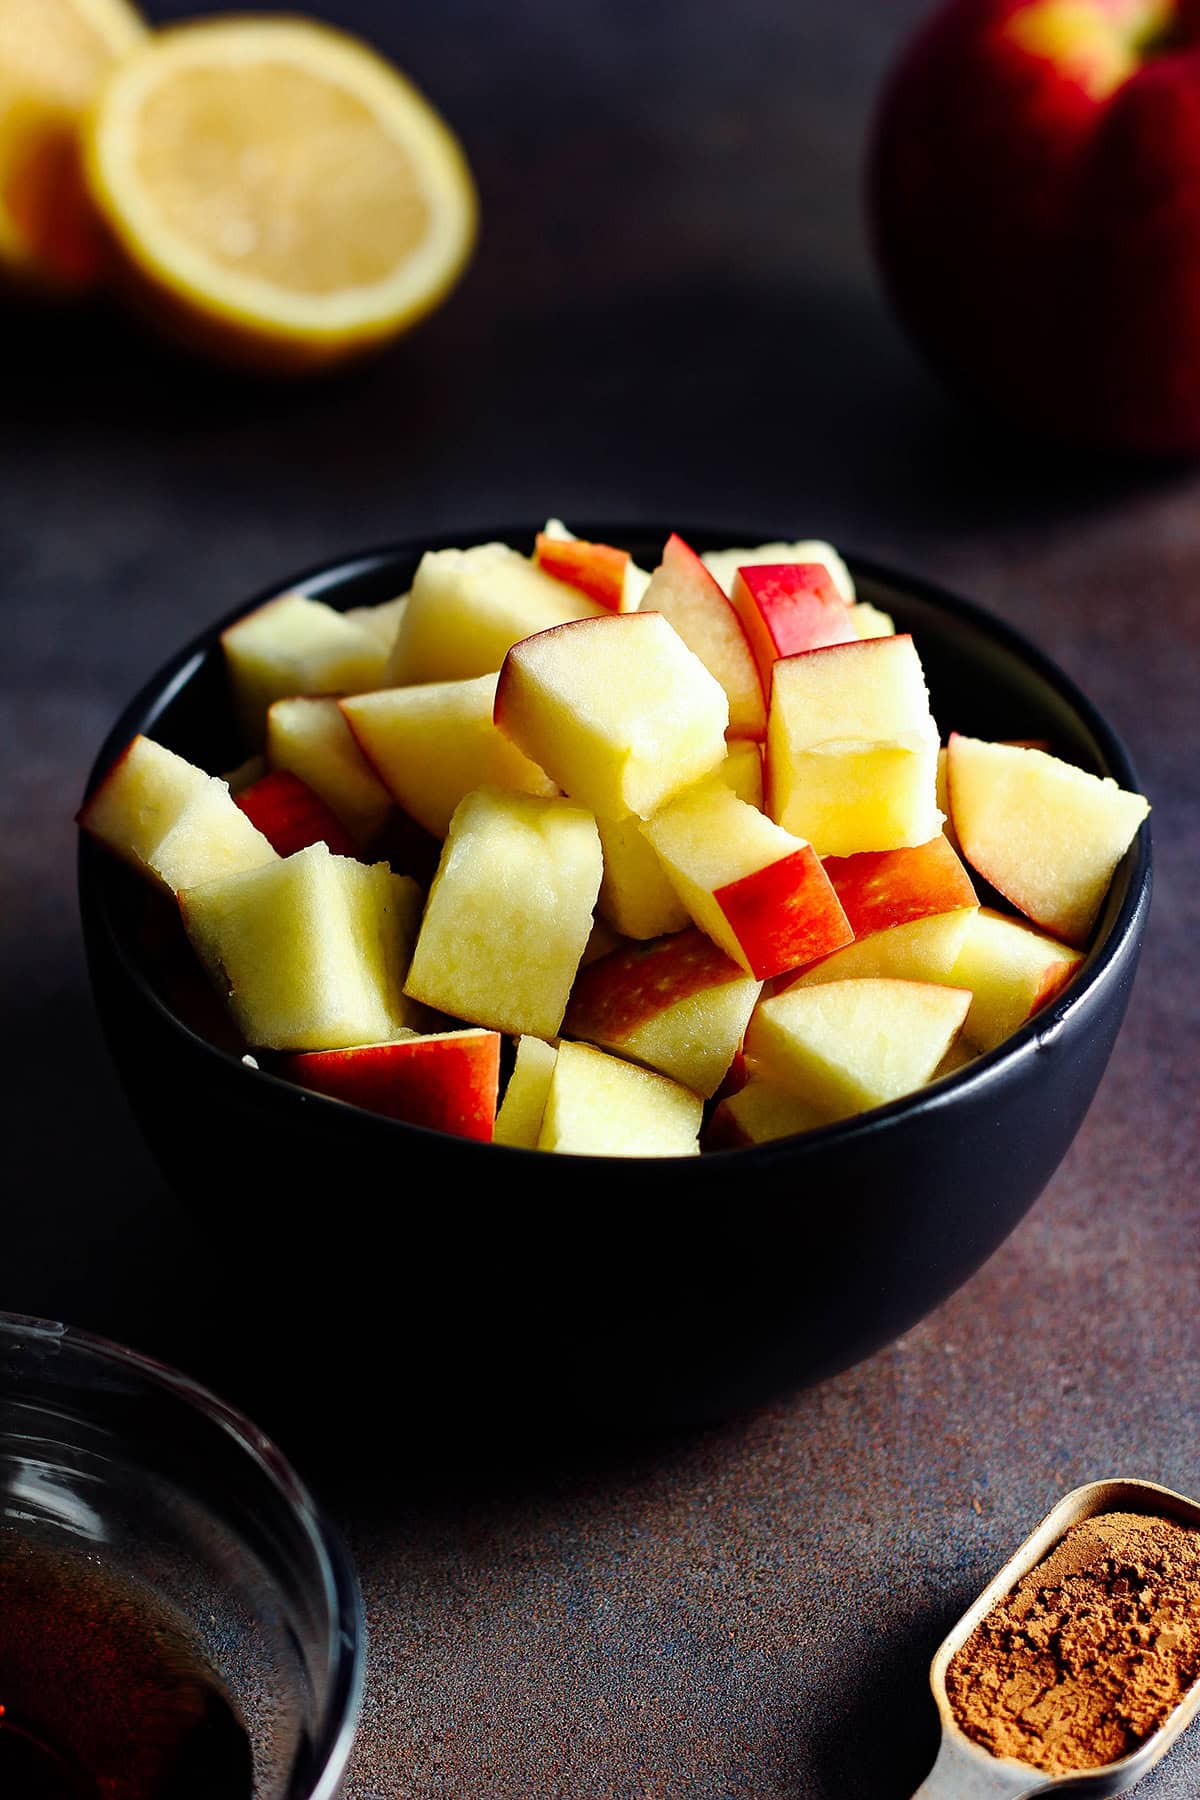
When I say this is a 2-ingredient recipe, I truly mean it. You only need these 2 things:
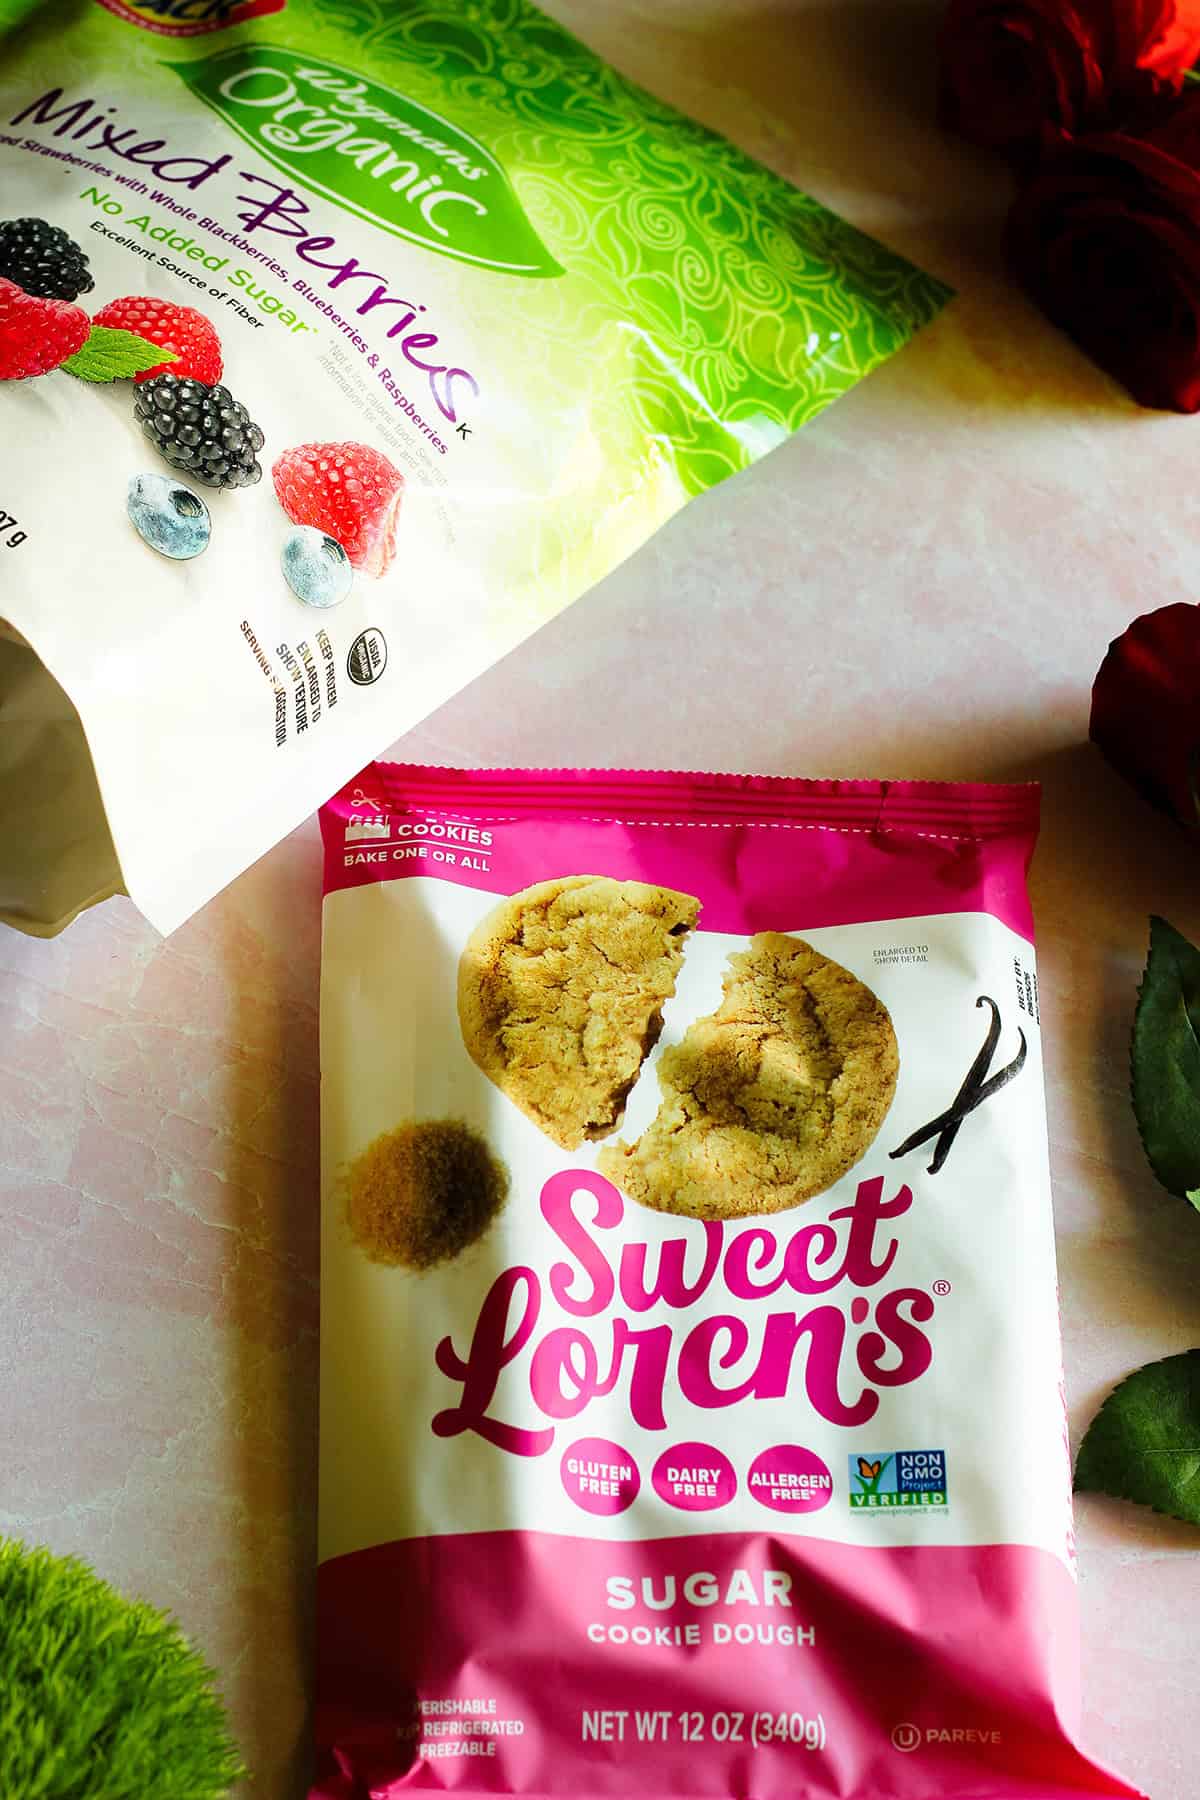
- frozen mixed berries
- gluten-free dairy-free cookie dough
That's it! It couldn't be easier than this.
Dairy-Free Sugar Cookie Dough
For a gluten-free and dairy-free cobbler, I recommend using Sweet Loren's cookie dough. As of this writing, you can find it at most Target stores, Whole Foods, Wegmans, and sometimes Costco. If gluten isn't a concern, some varieties of refrigerated cookie dough from brands like Pillsbury may also be dairy-free, though ingredients vary by flavor and can change over time. Be sure to check the label before purchasing if you're avoiding any specific ingredients or allergens. And as a nutrition coach, I should point out that most Pillsbury products contain artificial ingredients, which should be used only rarely, if at all.
How to Make it
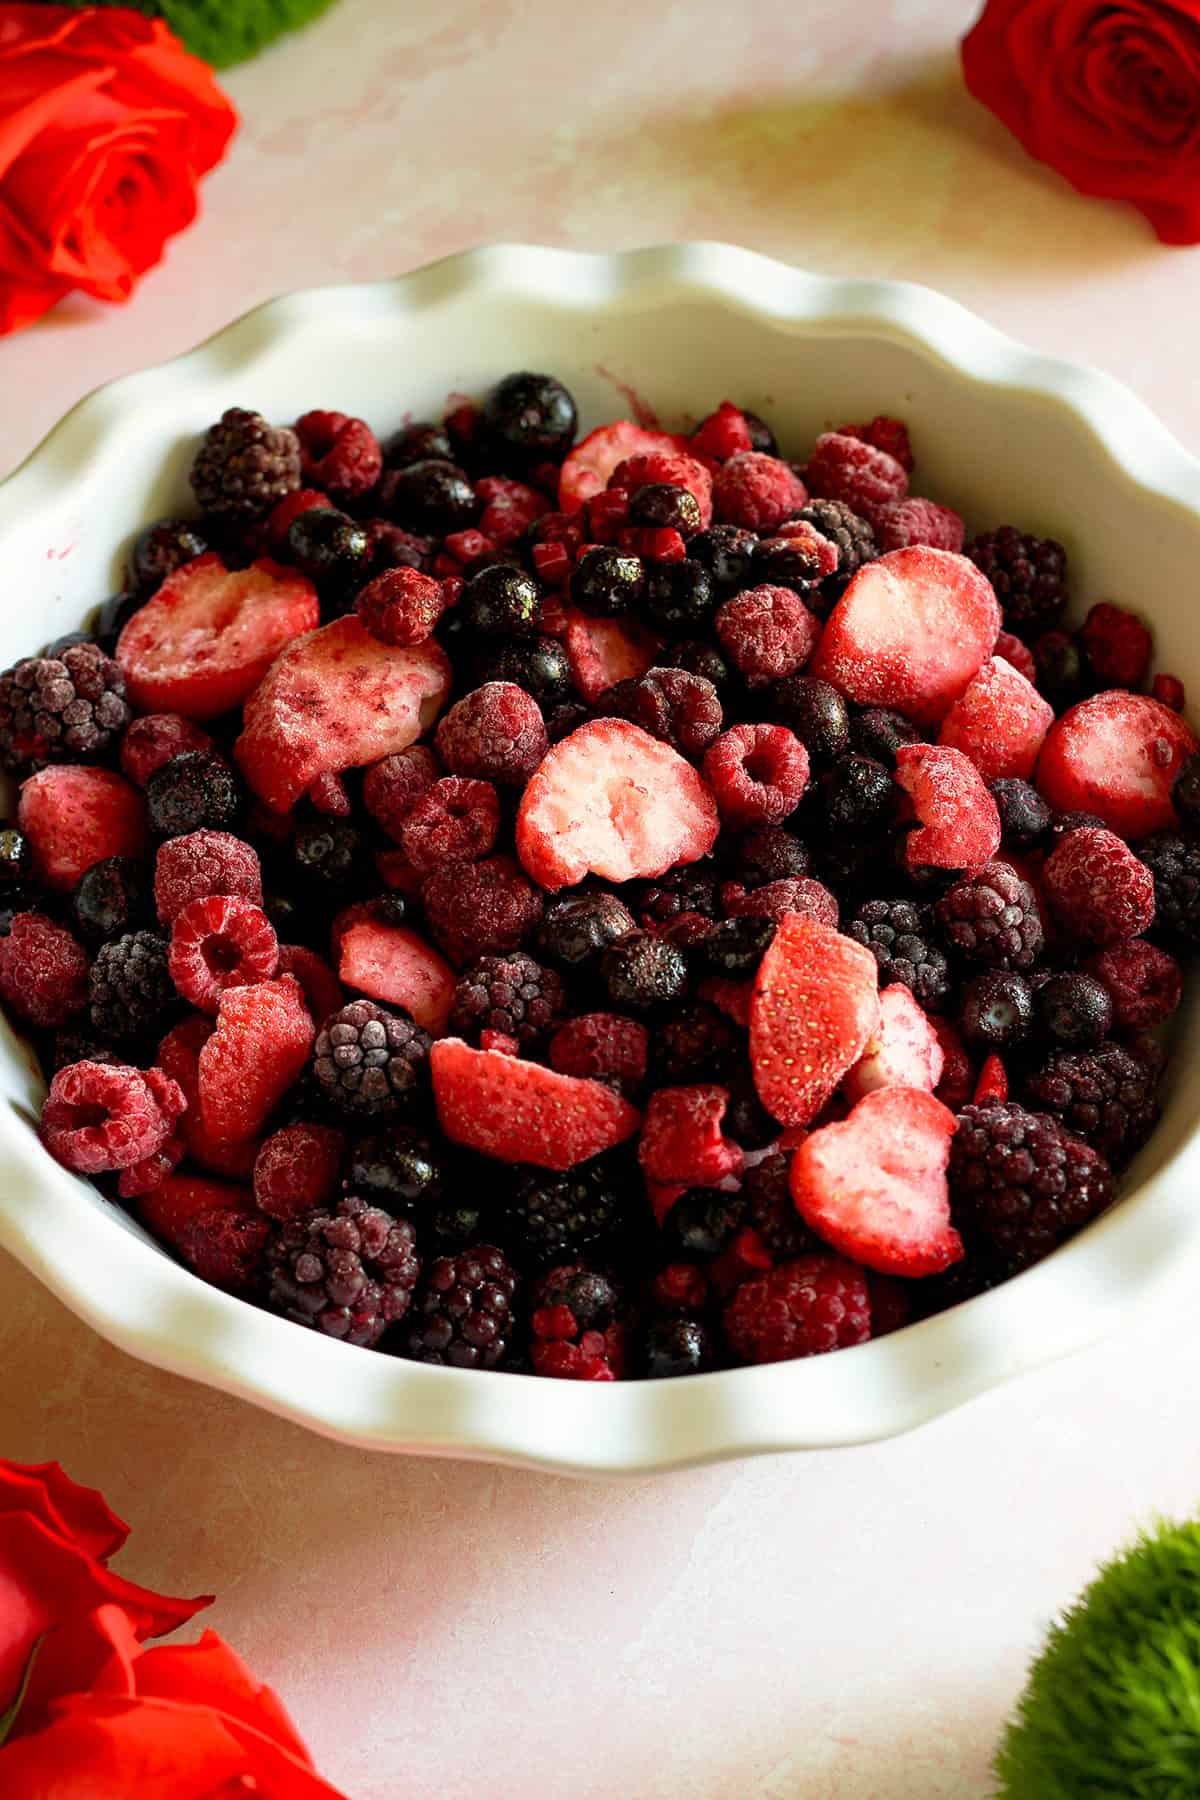
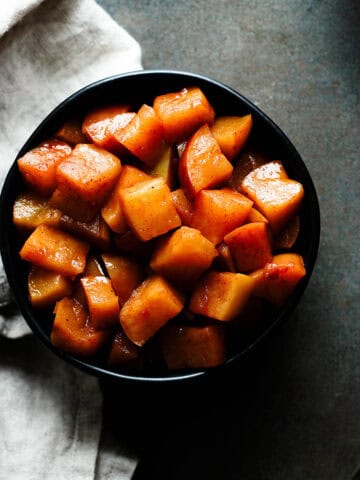
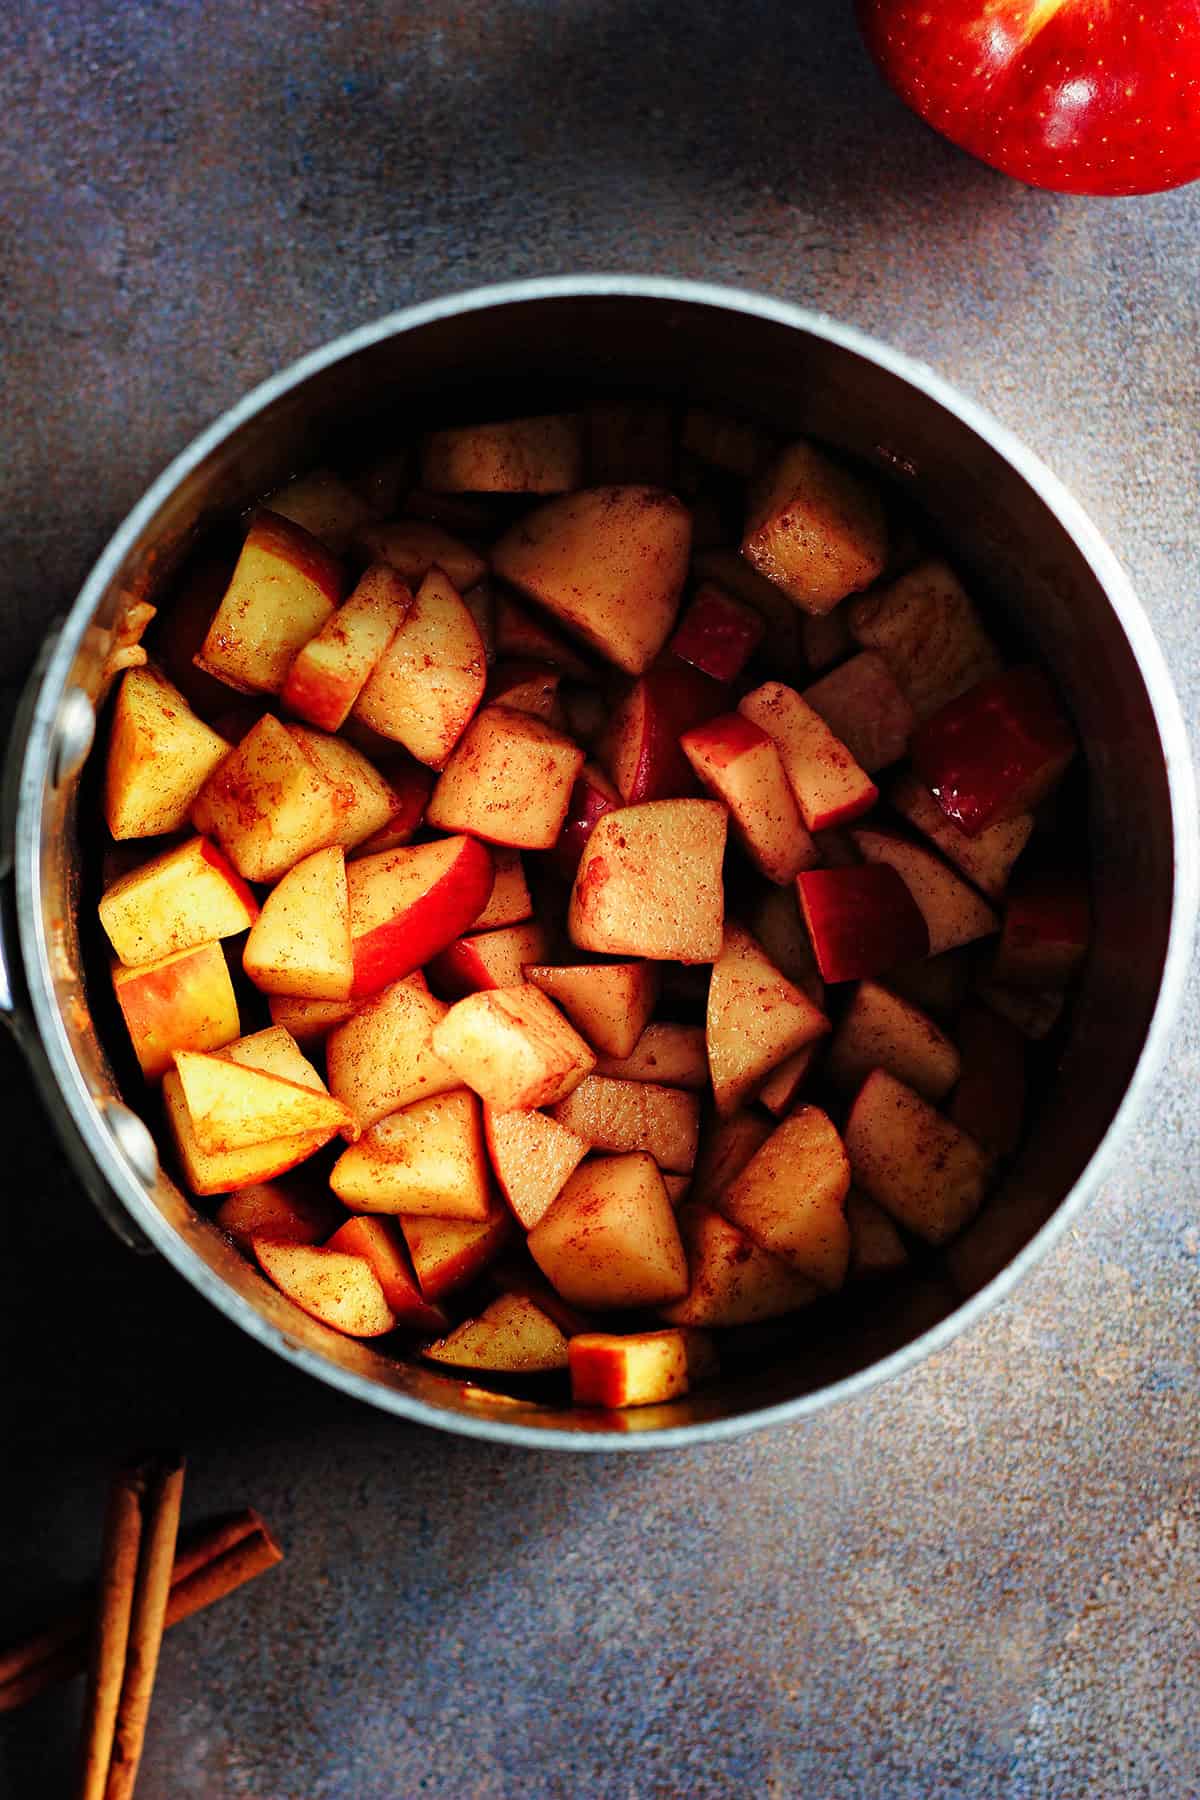
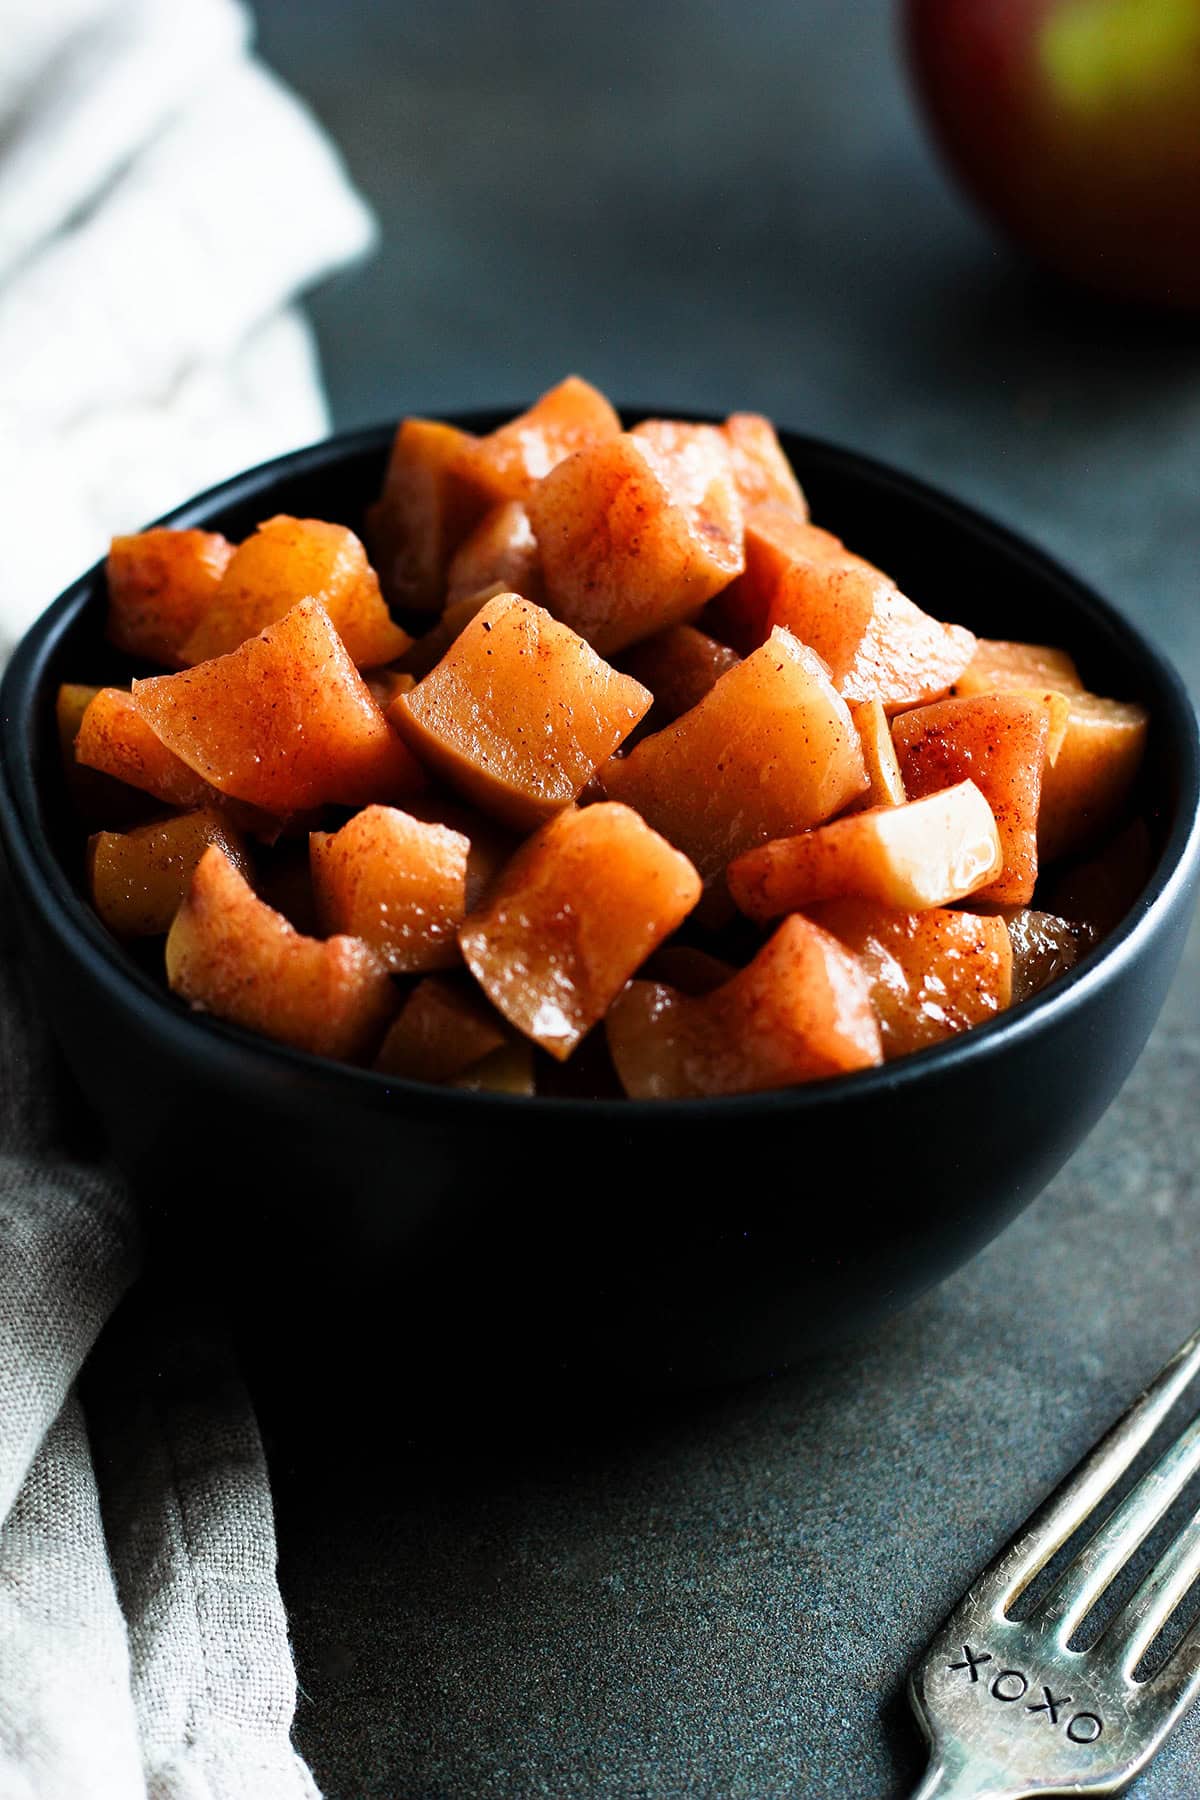
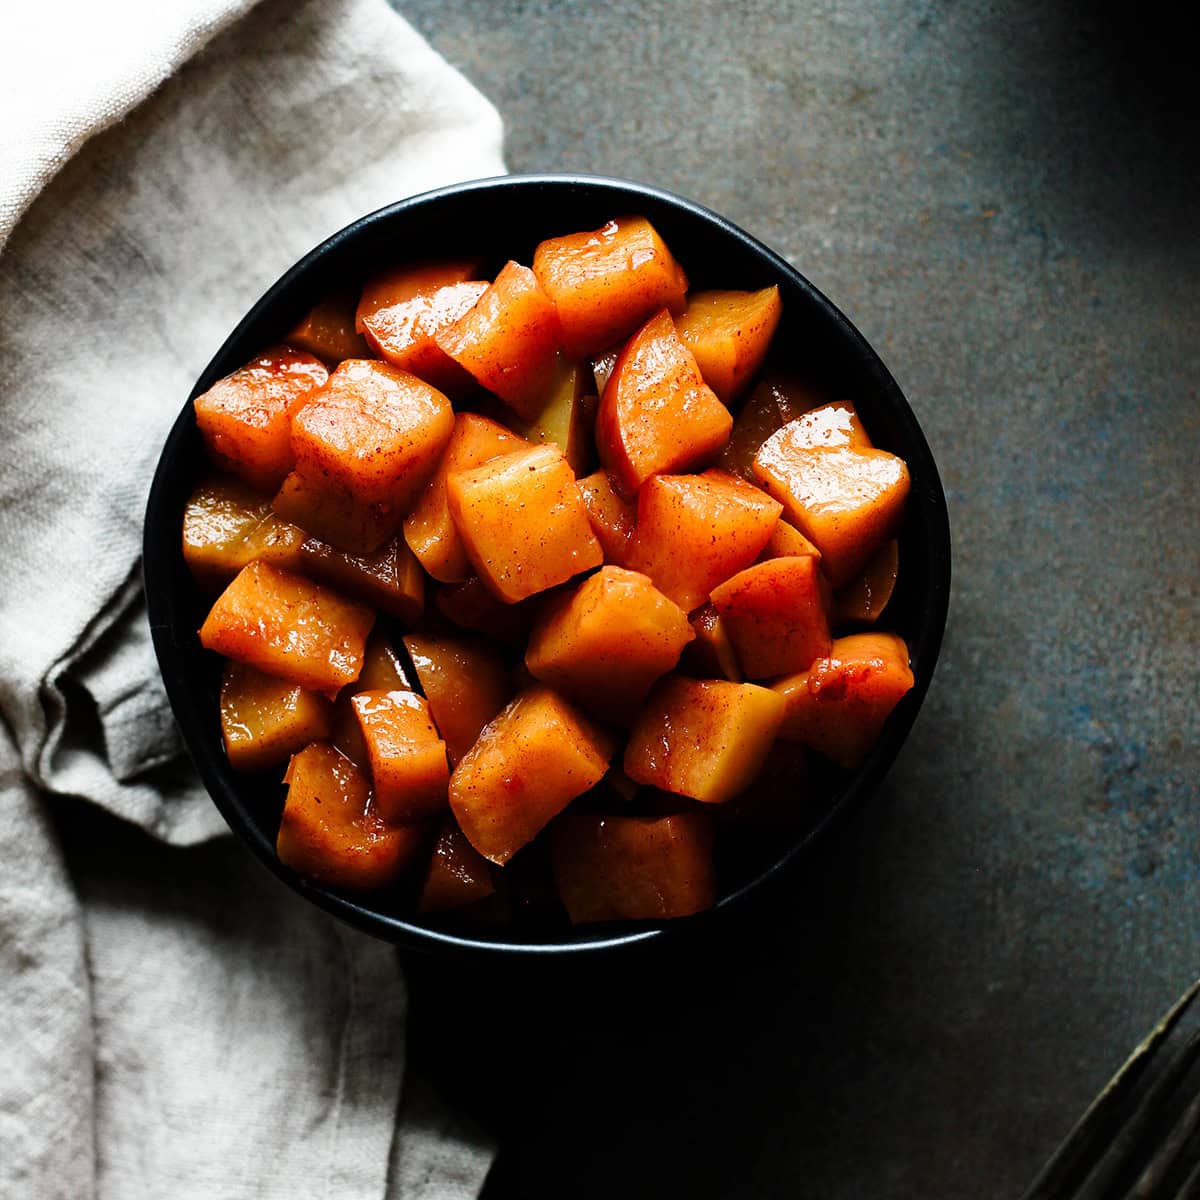
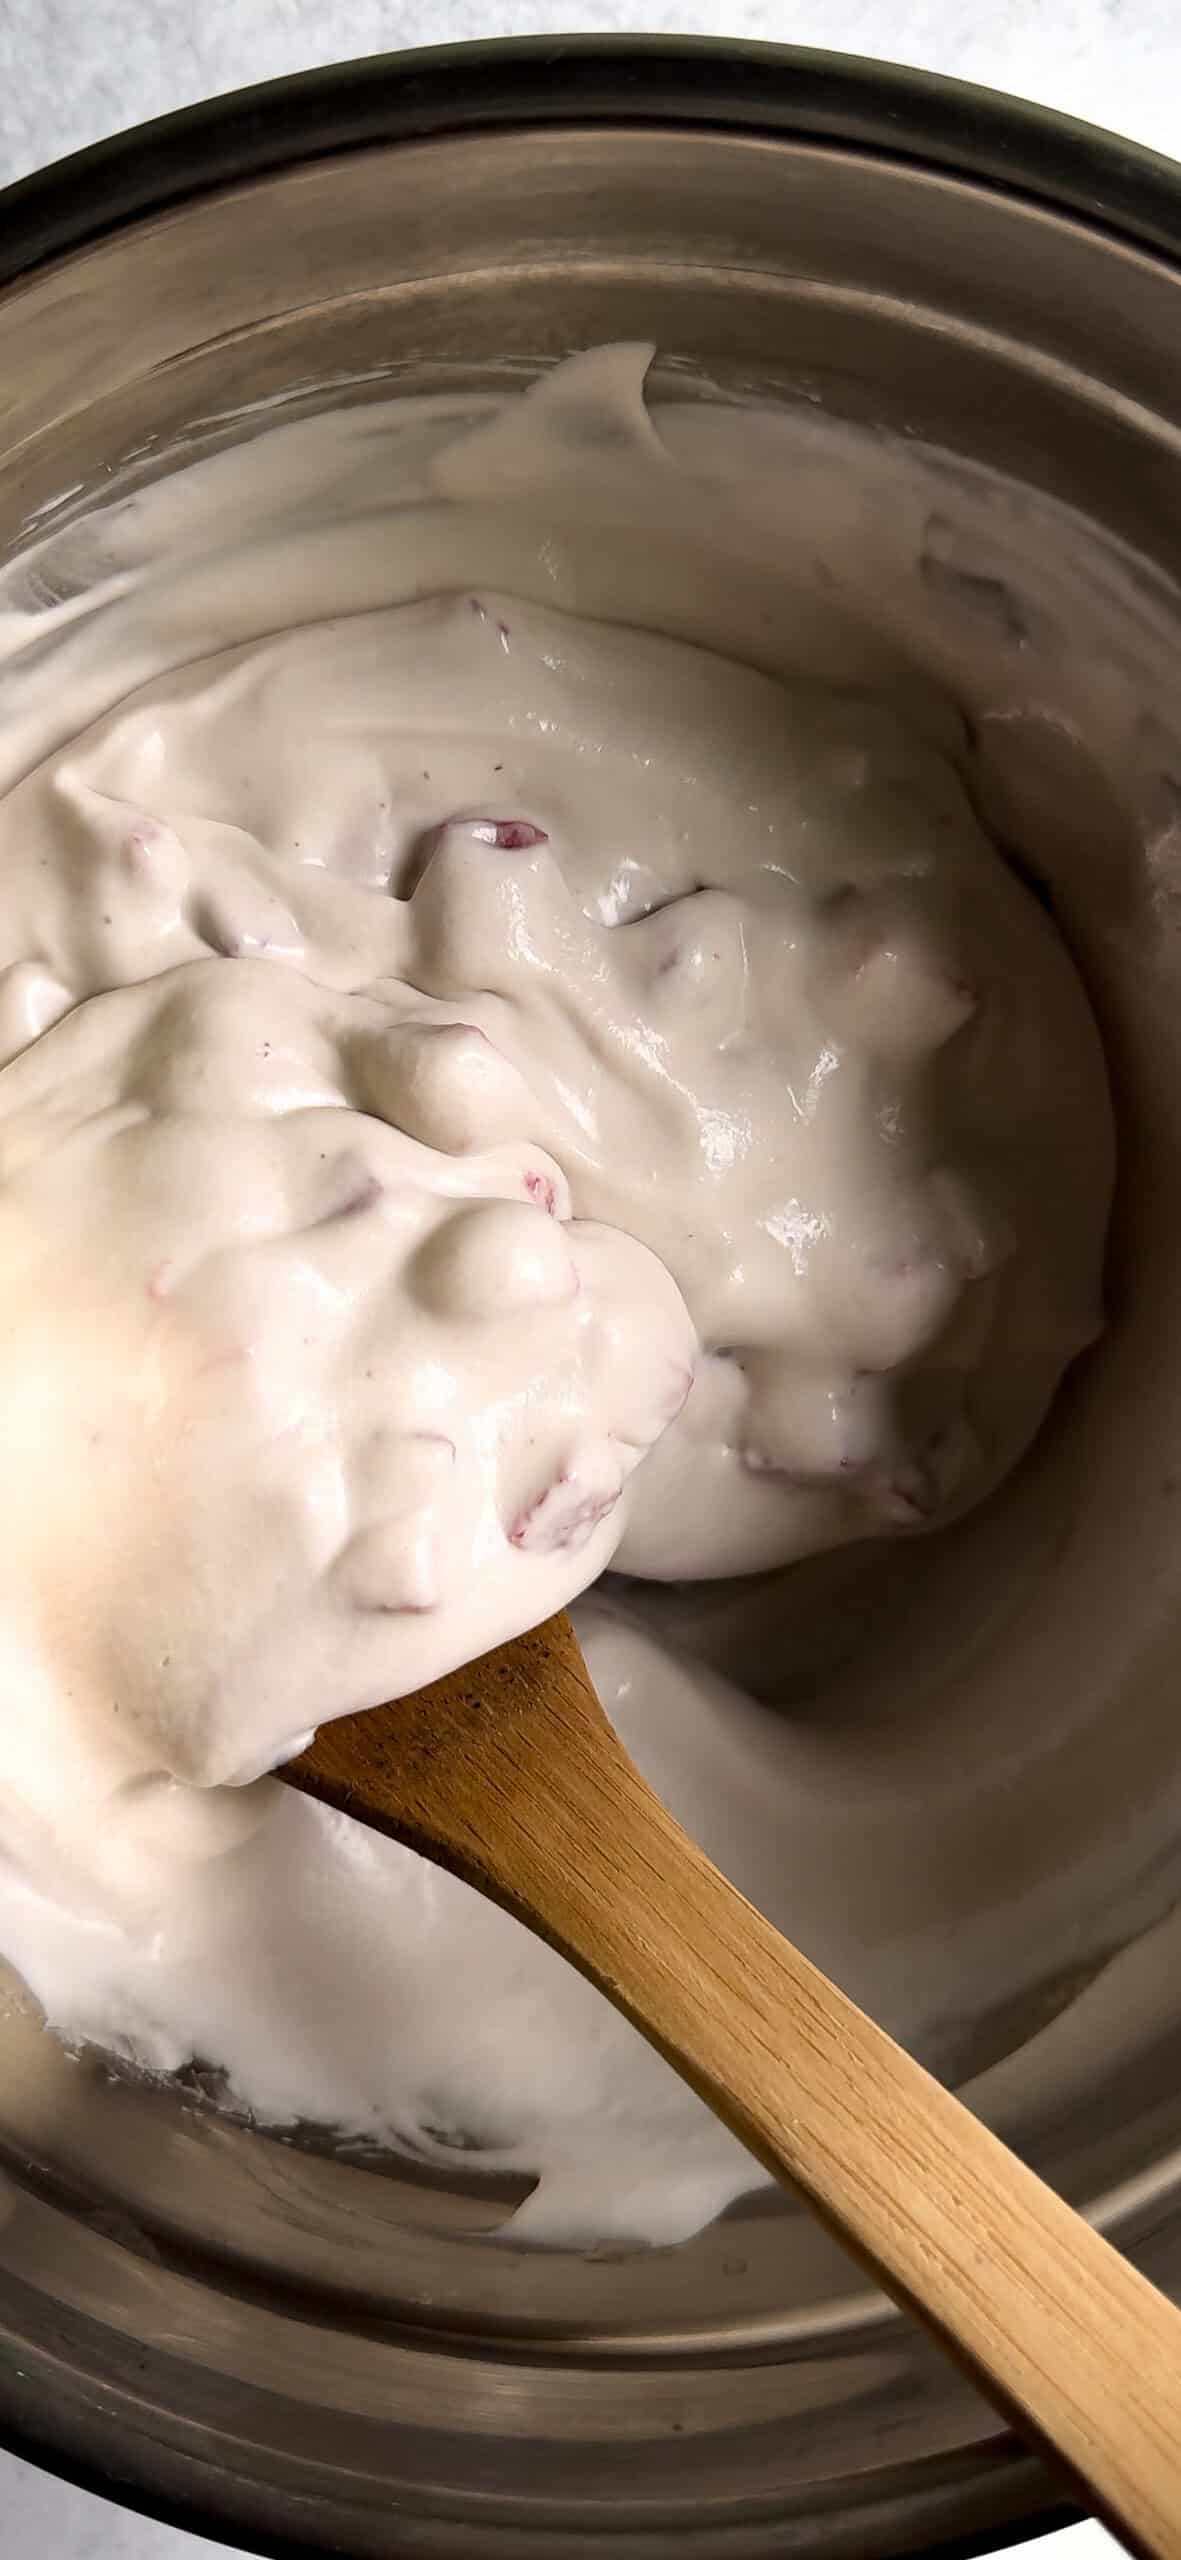
Step 1: Dump your berries into an 8x8-inch baking dish or a pie dish.
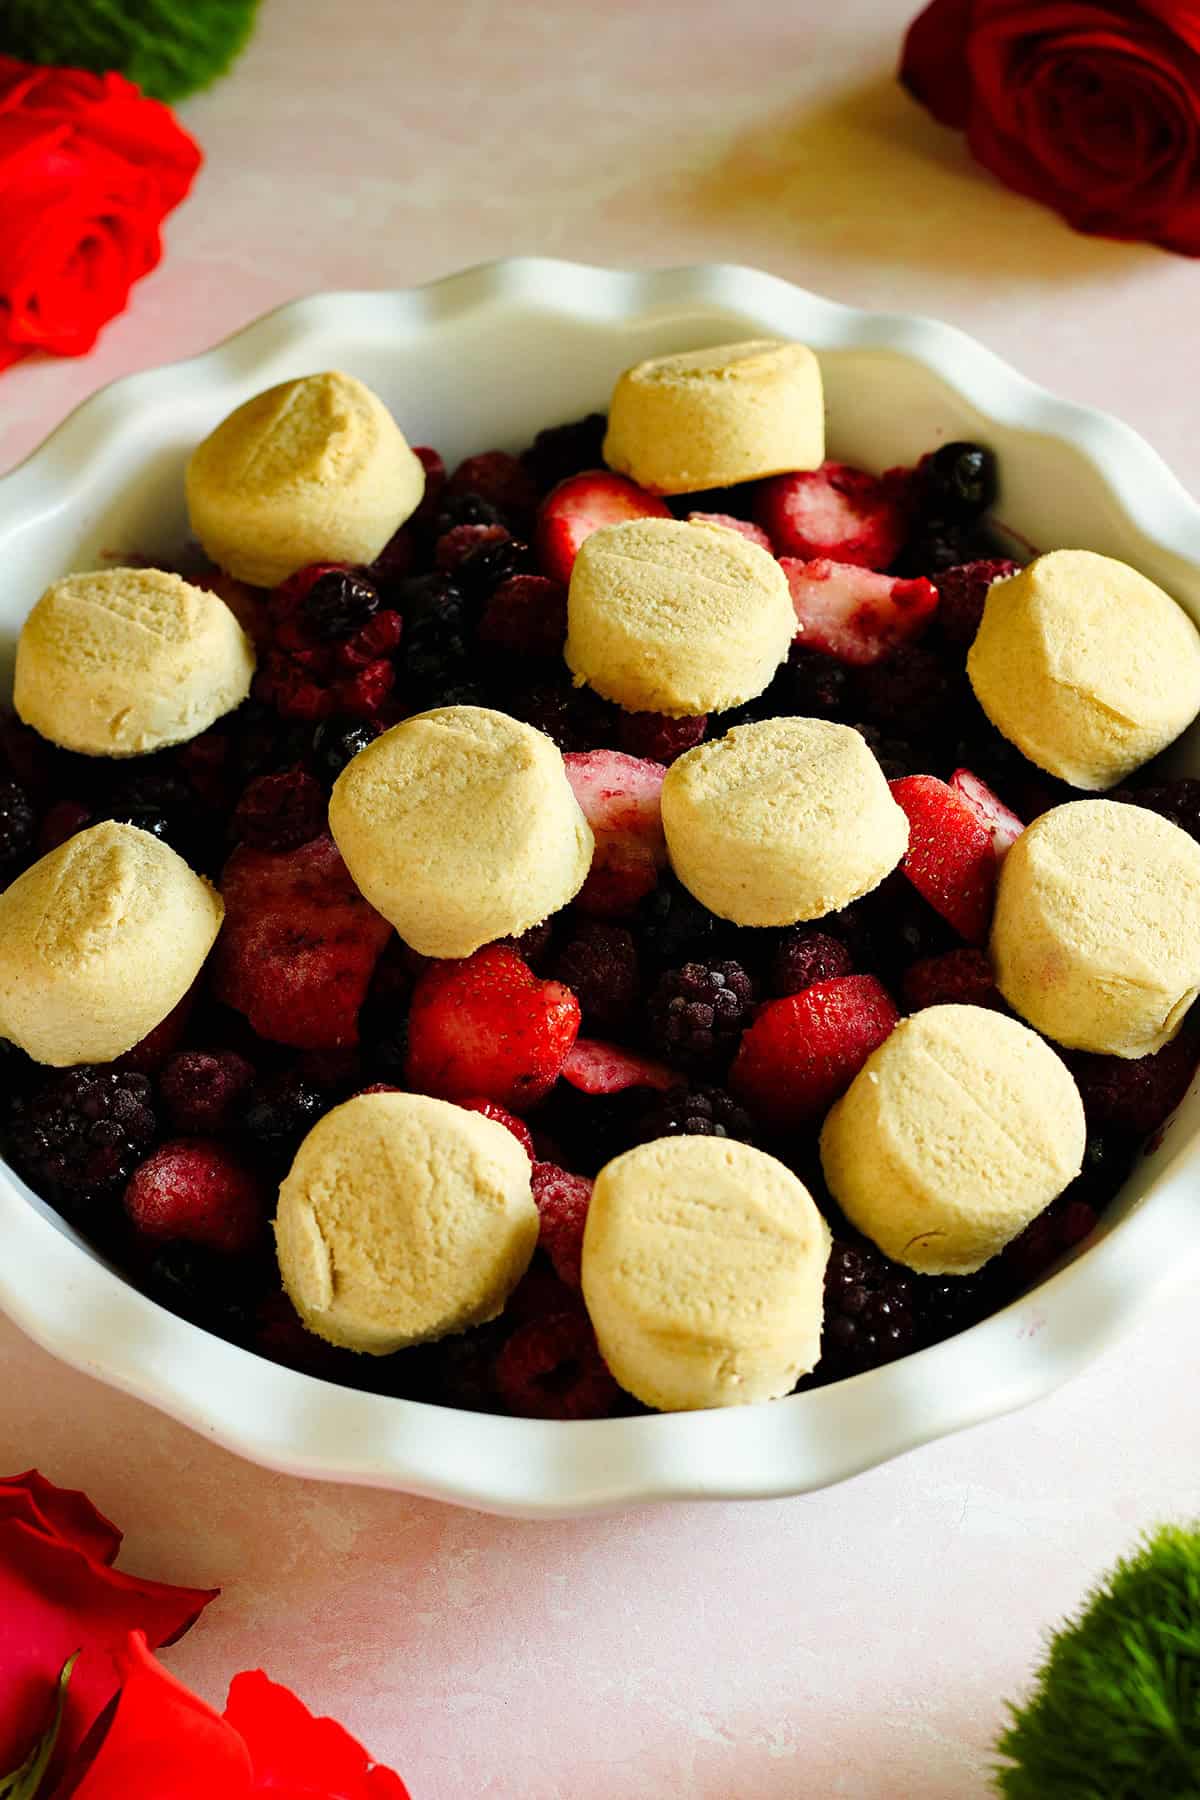
Step 2: Arrange the cookie dough evenly over the berries.
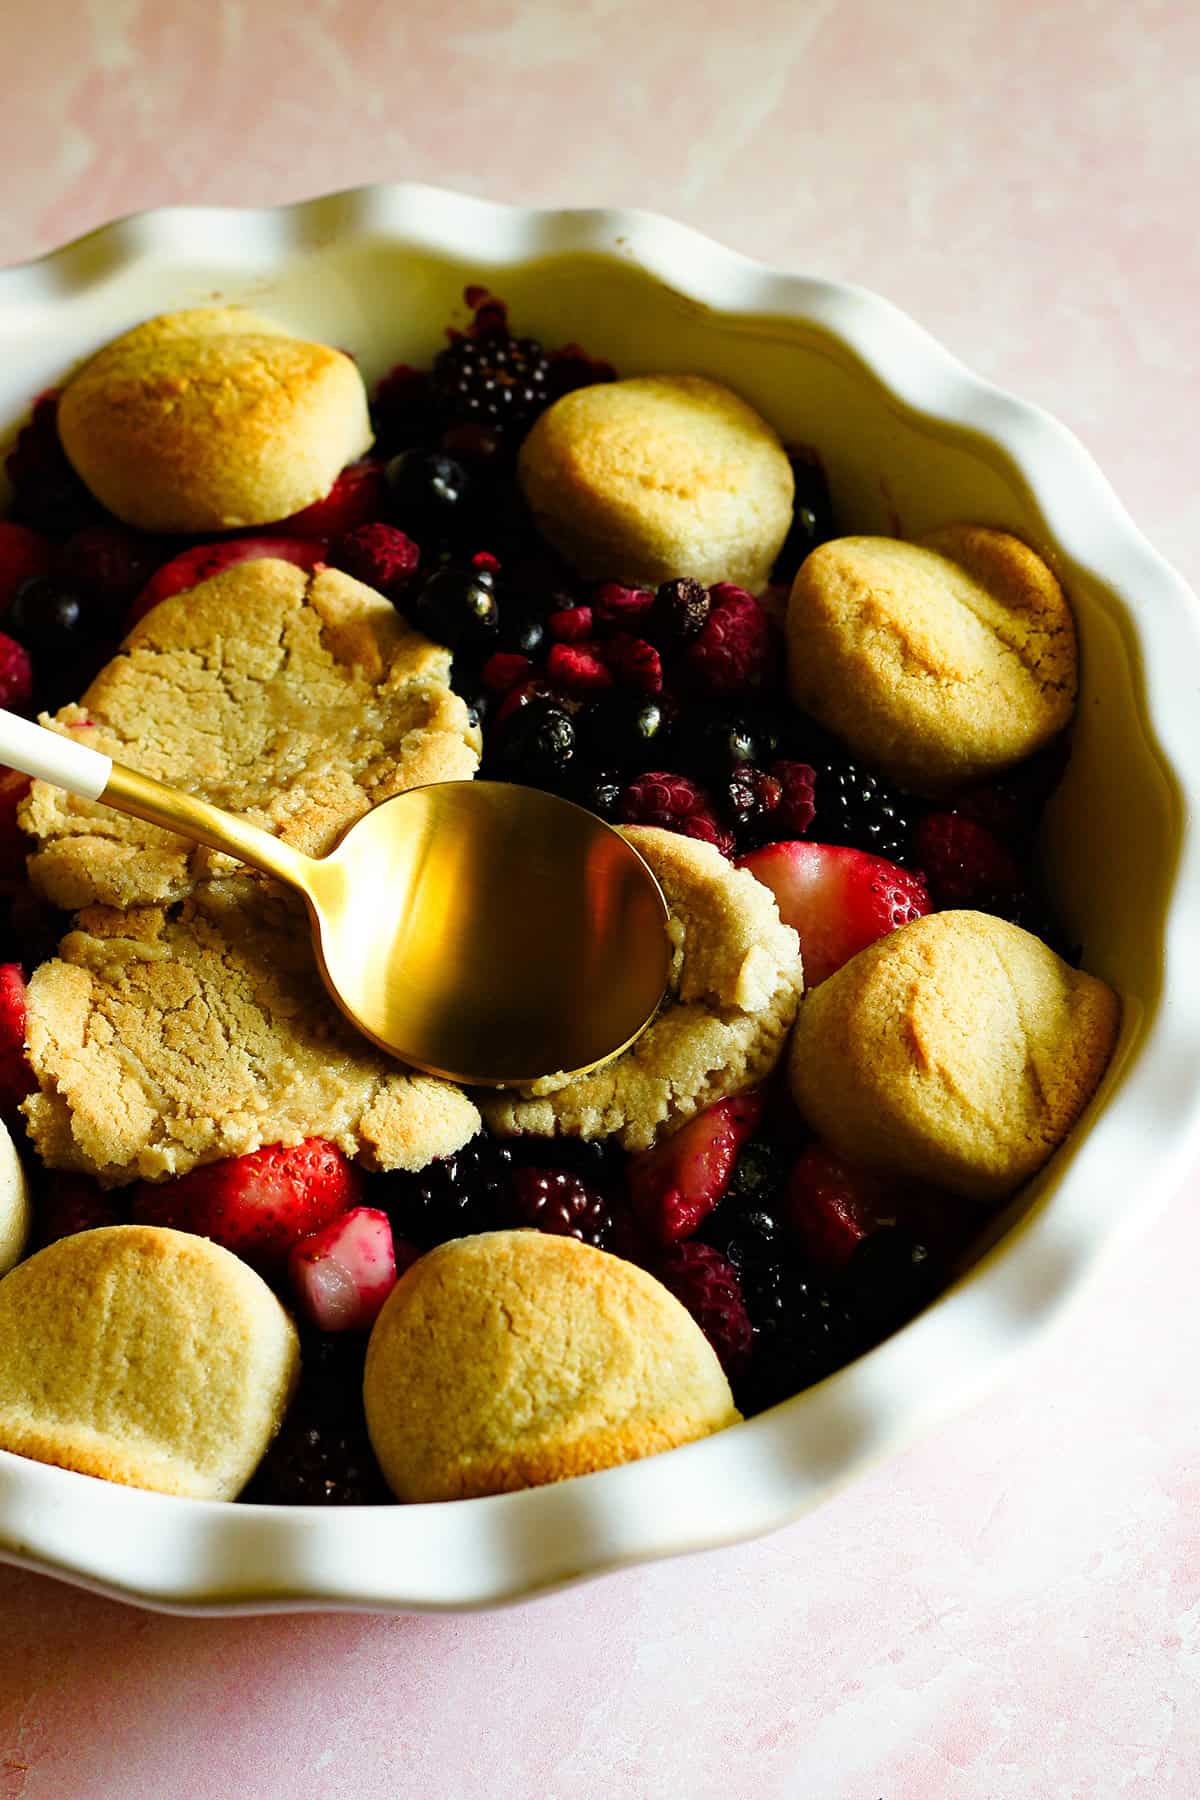
Step 3: Halfway through baking, gently press the cookie dough down with the back of the spoon.
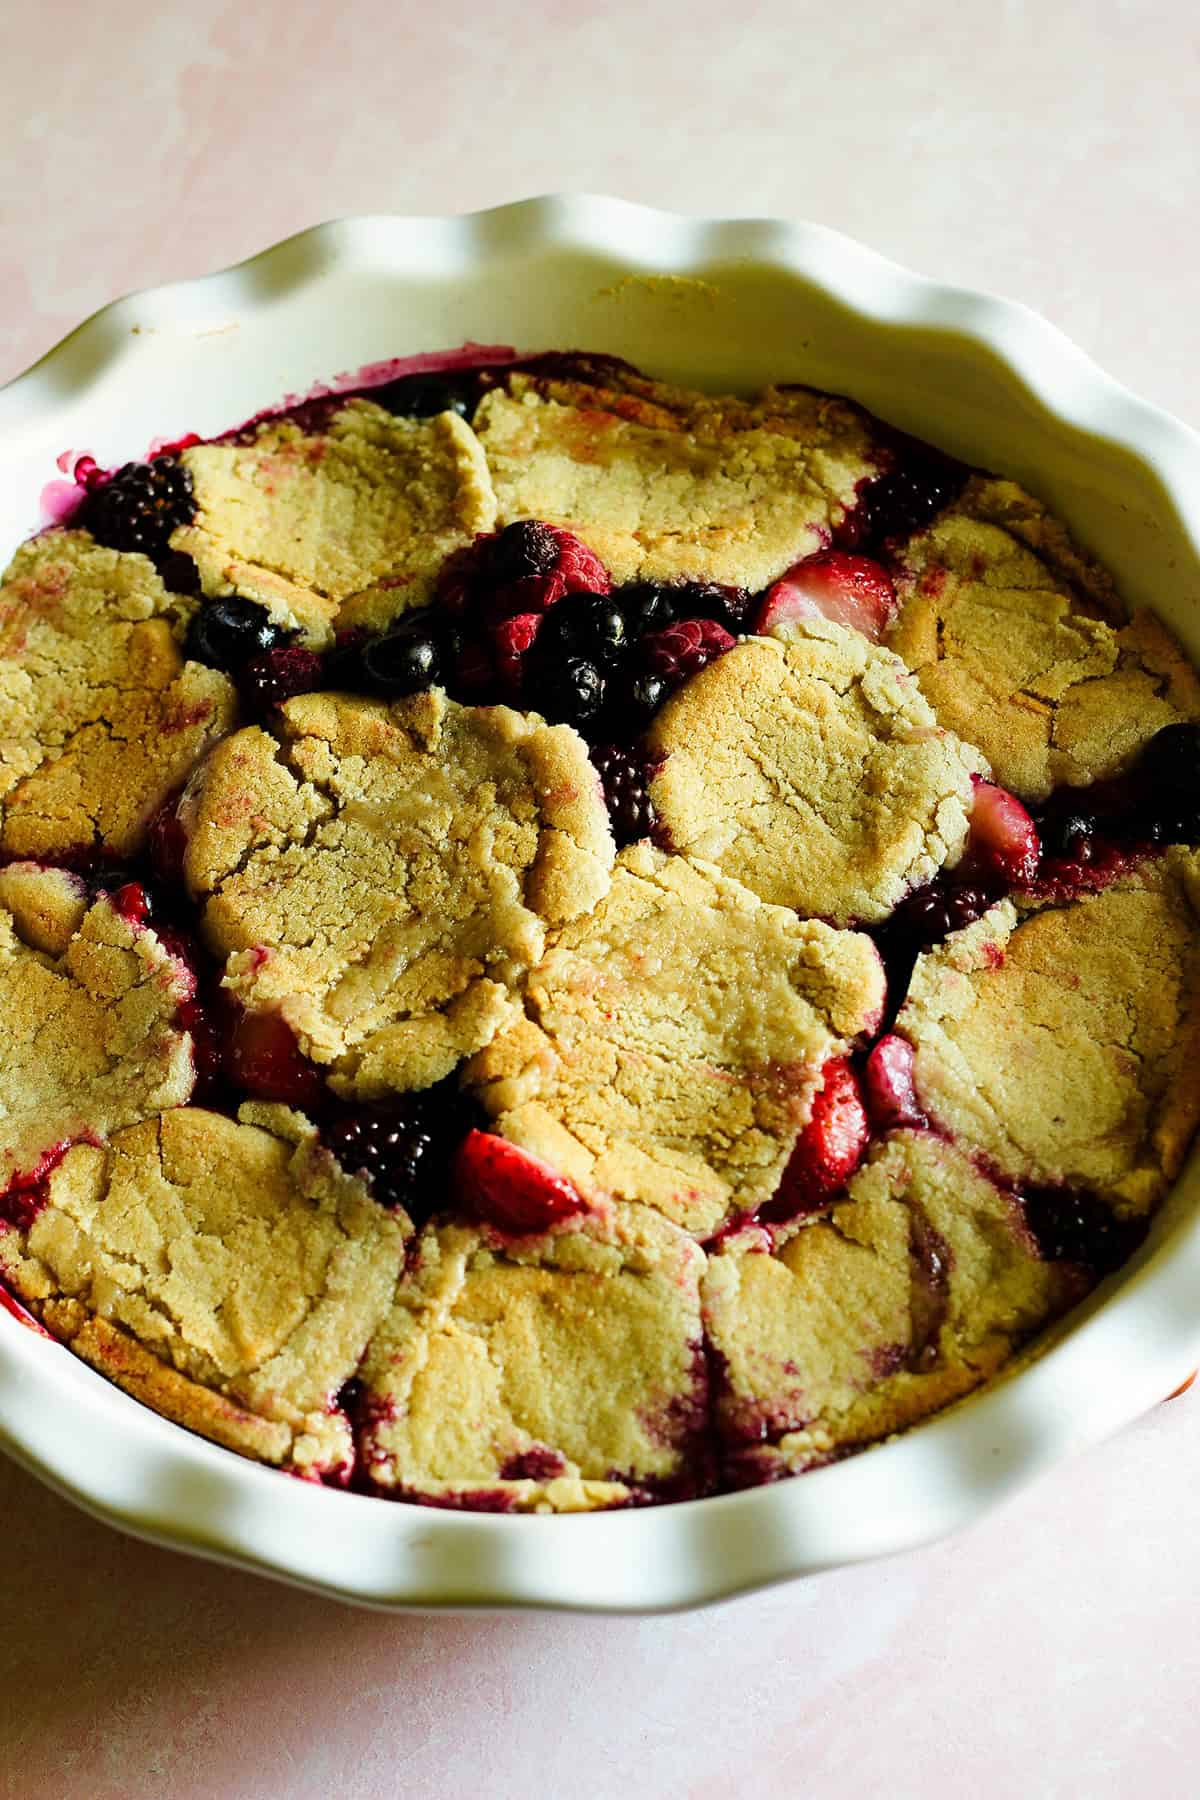
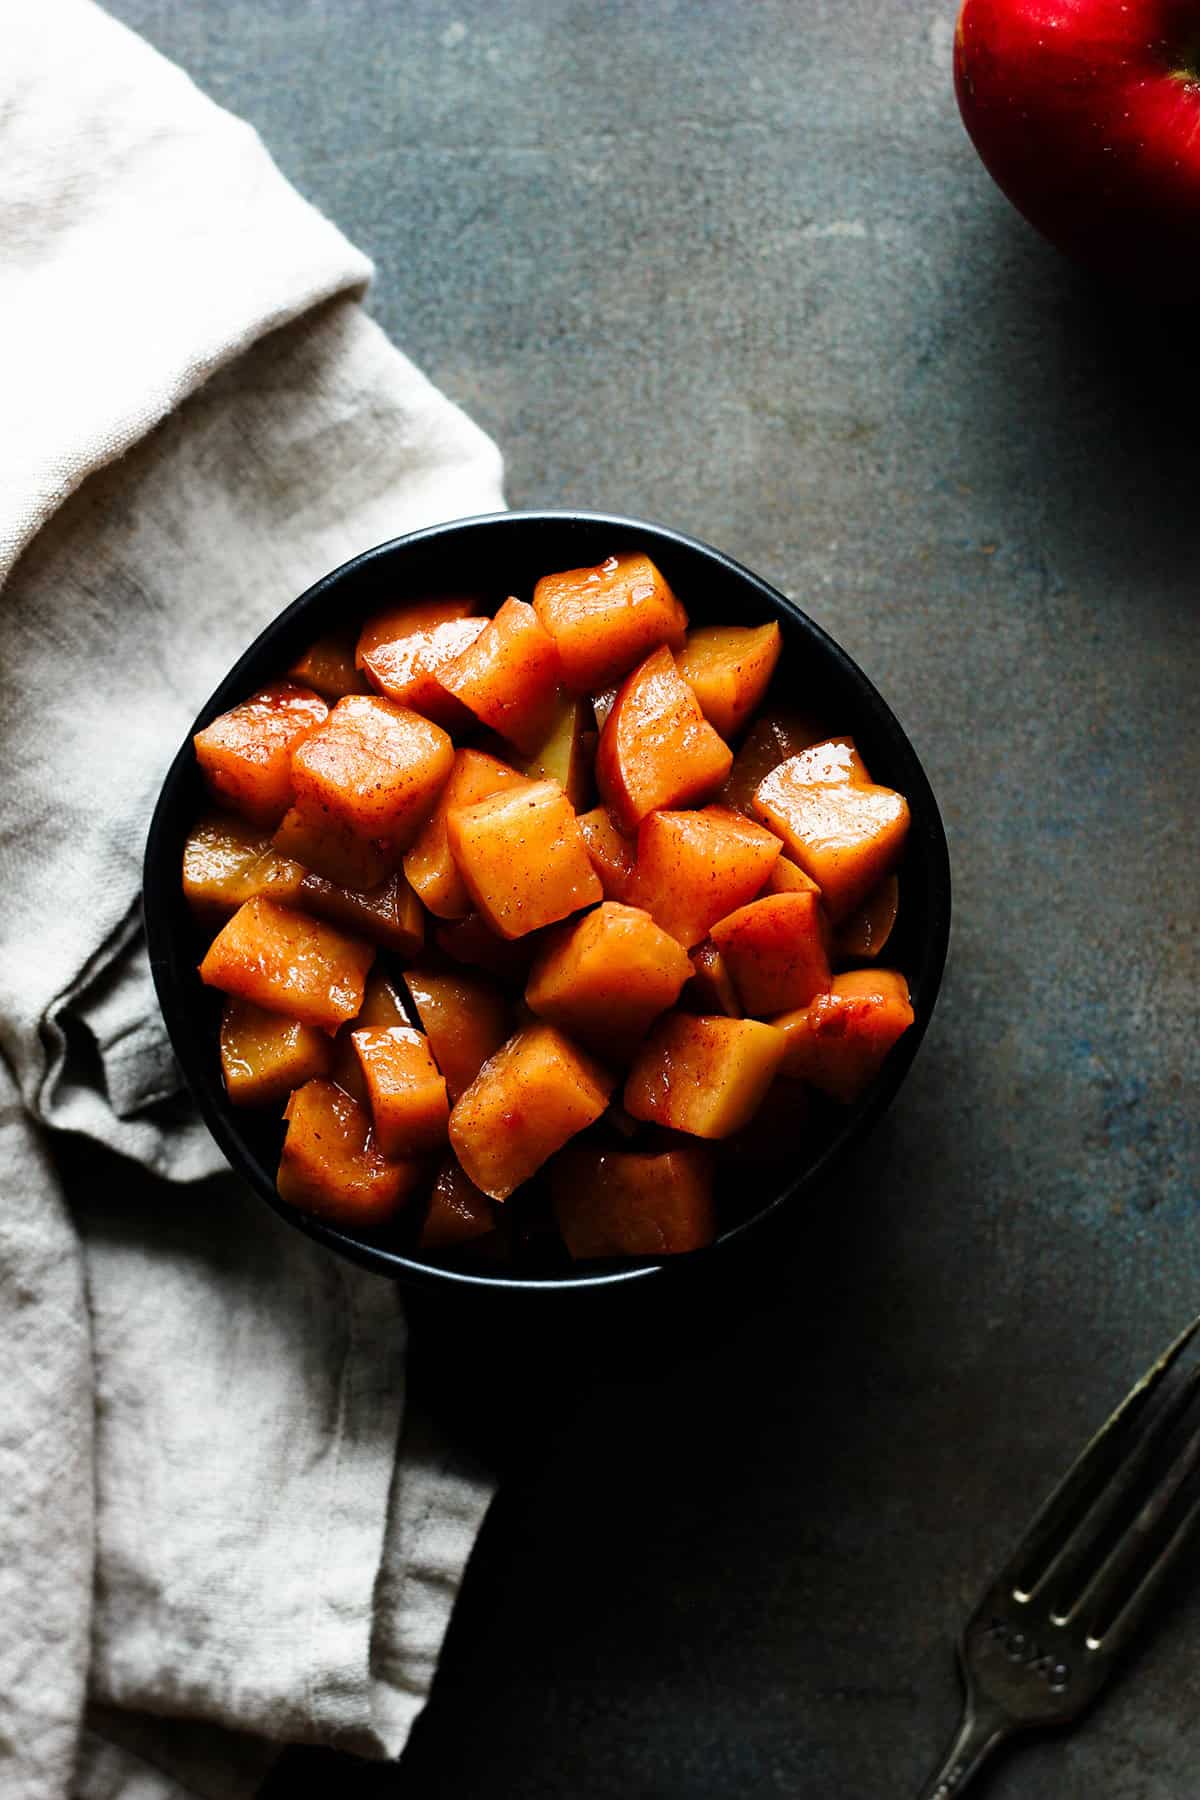
Step 4: Continue baking until golden brown and bubbly. Rest it for 10 minutes before serving.
My Must-Try Tips
The best tip I've seen for making this comes from Eating by Elaine. (go follow her for amazing dairy-free recipes and ideas!)
About halfway through baking, gently flatten and spread the cookie dough pieces with the back of a spoon. This helps create a more even cobbler-style topping and prevents large mounds of cookie dough from staying undercooked in the center.
Also, if your strawberries are whole, you may want to halve them so they soften properly during cooking. I buy my mixed berries at Wegmans, and the strawberries are already pre-sliced.
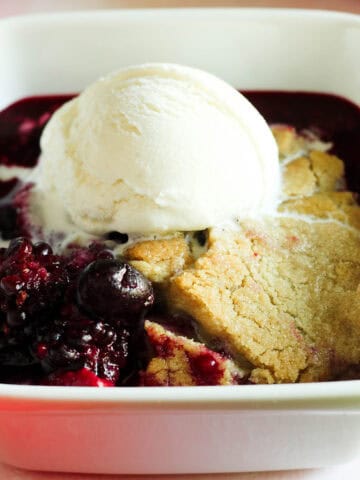
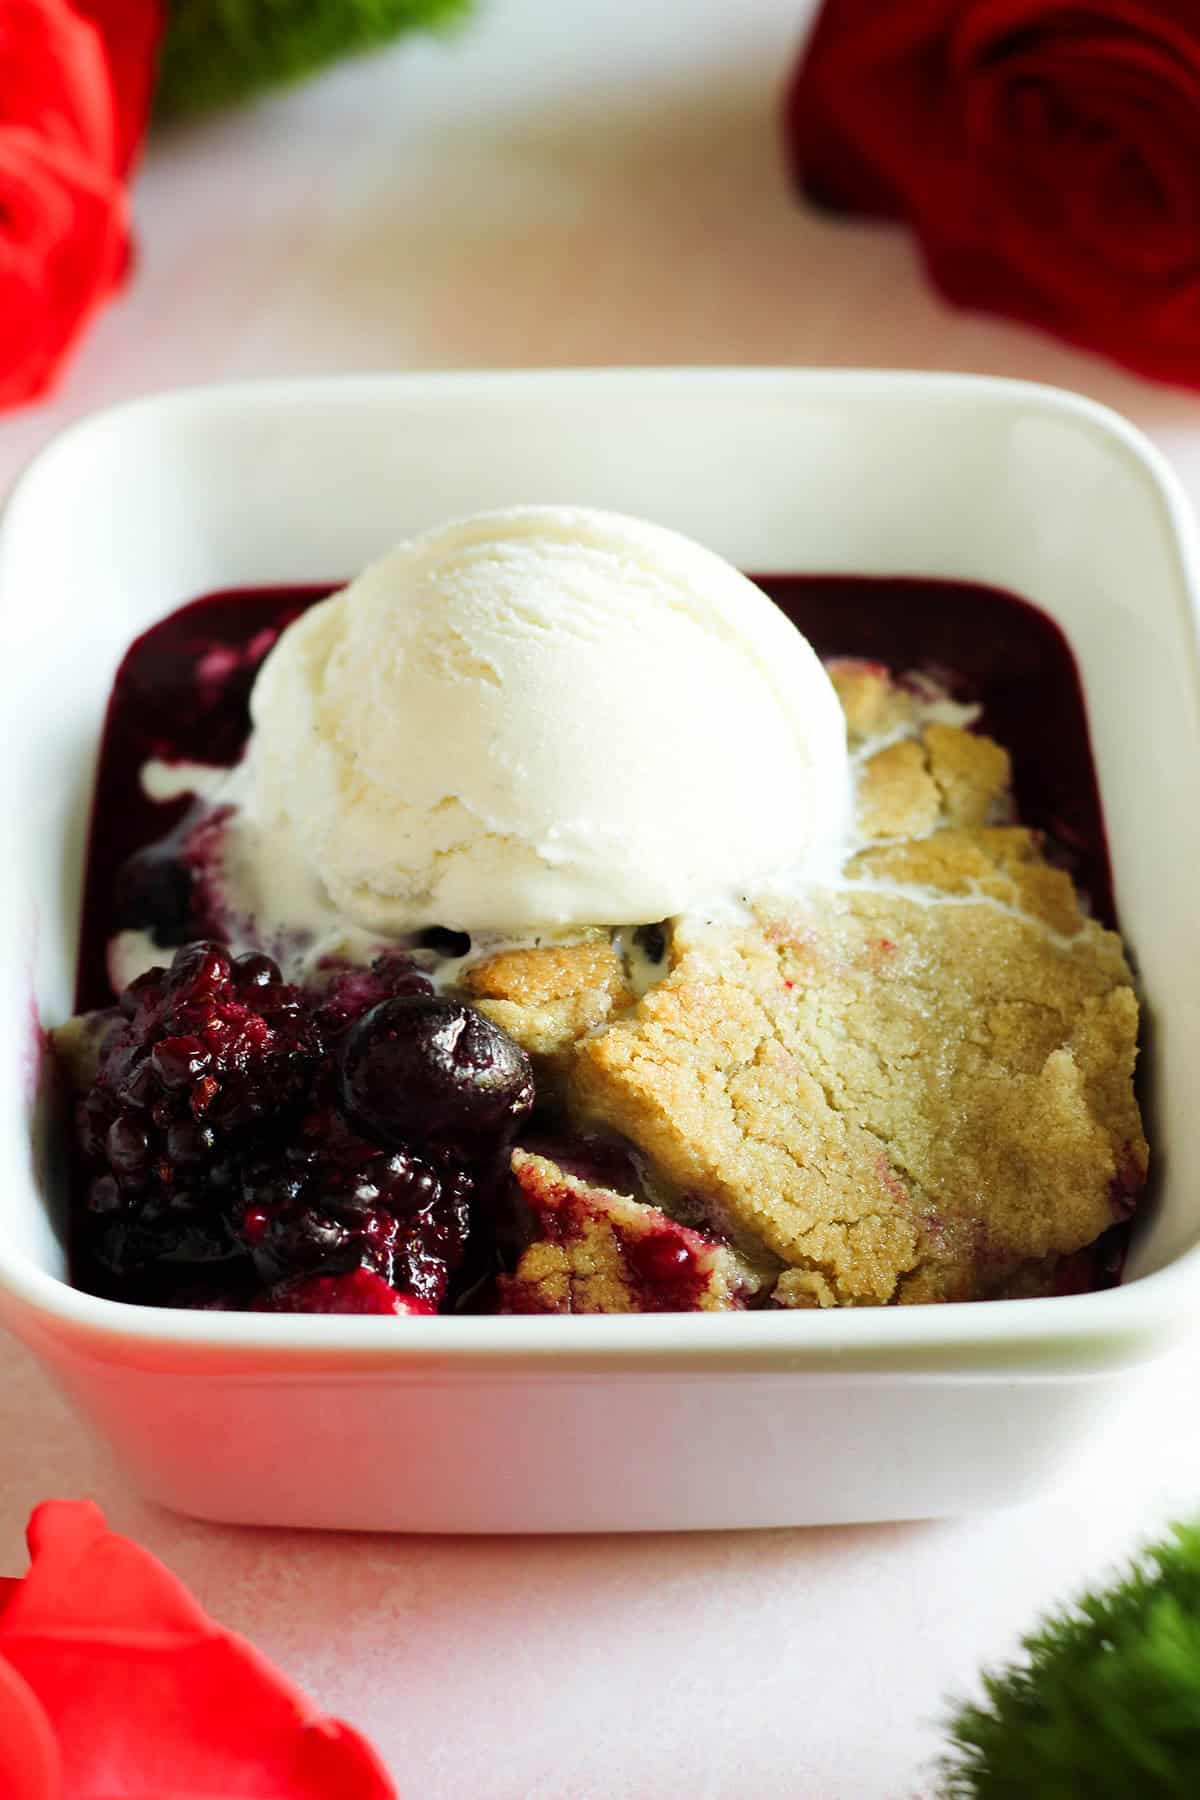
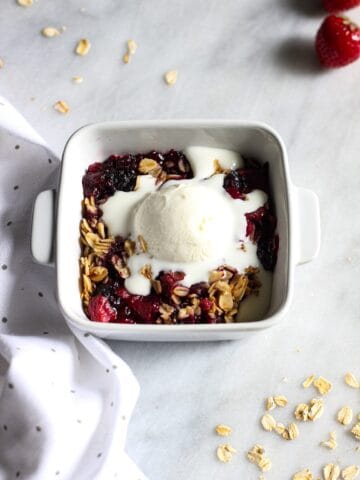
Top it with your favorite nondairy vanilla ice cream or whipped cream for an extra-special treat!
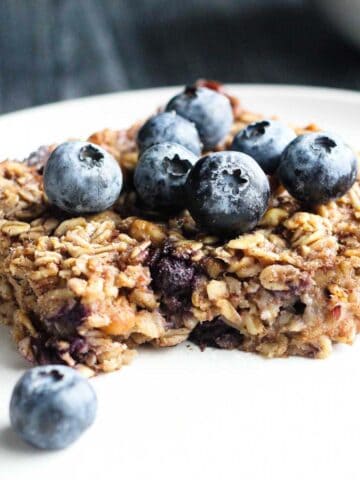
Does it Really Work?
Yes, but there are a few things worth knowing.
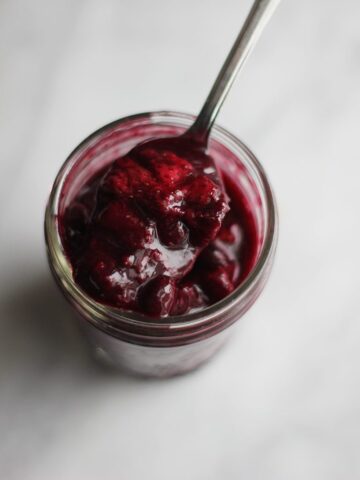
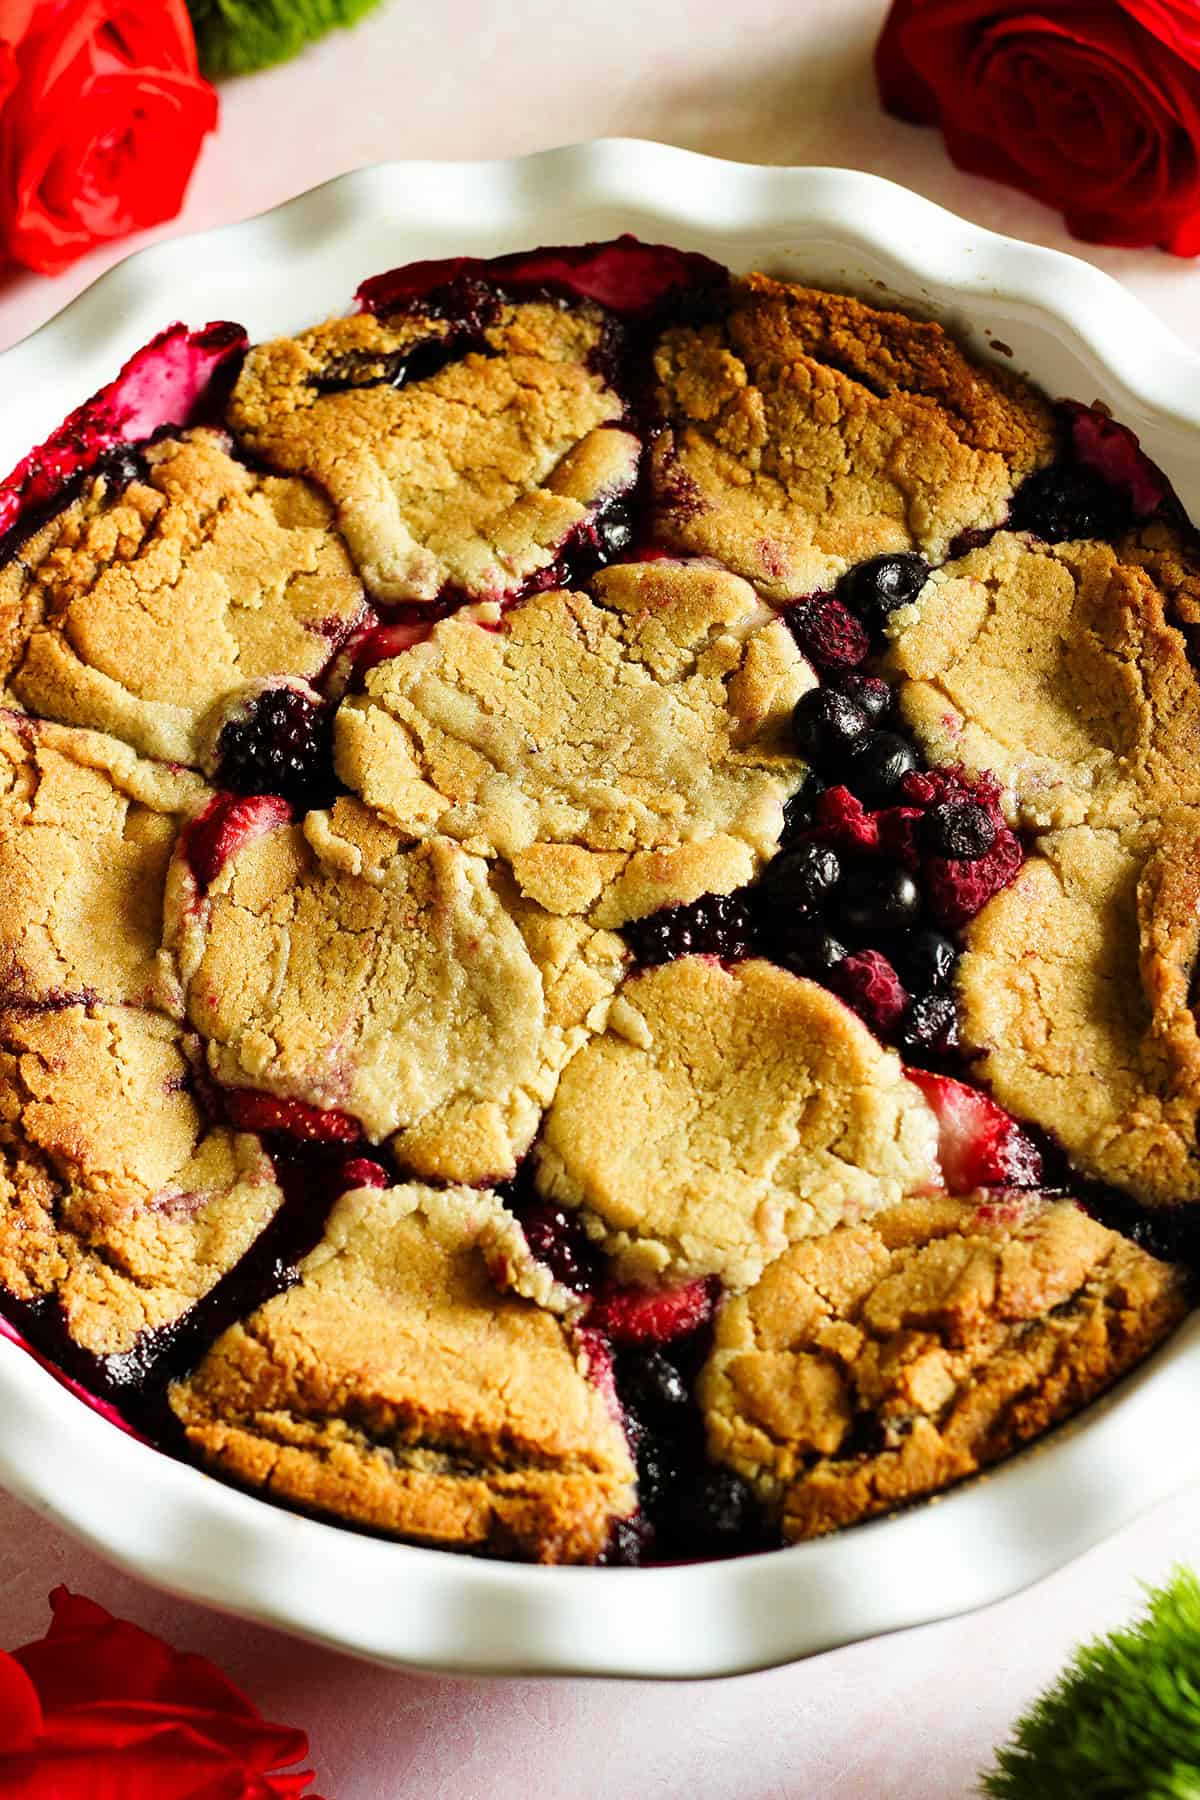
The cookie dough doesn't become a traditional biscuit topping like a classic cobbler. Instead, it bakes into a soft, buttery cookie layer that sits on top of the juicy berries.
Think of it as a berry crisp, cobbler, and fruit cookie all rolled into one dessert. You won't believe how good this is for the tiny amount of effort it takes.
Fresh vs. Frozen Berries
Frozen berries work best because they release plenty of juices as they bake. You can use:
- mixed berries
- blueberries
- blackberries
- raspberries
- strawberries
- cherries
My personal favorites are the mixed berries and cherries.
How to Serve it
A scoop of dairy-free vanilla ice cream or whipped cream takes this over-the-top delicious. The ice cream melts into the warm cobbler and mixes with the sweet juices from the berries. SO GOOD! A spoonful of dairy-free yogurt is a lighter option if you're counting macros or watching your sugar.
Storage
Store leftovers in an airtight container in the refrigerator for up to 4 days. It's so good though, it probably won't last that long!
You can reheat it in the microwave or in the oven at 300°F until warmed through.
Good to Know (a quick note from a nutrition coach)
While this recipe is definitely a treat, using gluten-free and dairy-free cookie dough keeps it dairy-free, while the mixed berries provide fiber and antioxidants. If you want to trim the sugar, Sweet Loren's also makes a Less Sugar line that swaps right in. And if you're serving this as a snack instead of a dessert, pairing it with a protein-rich dairy-free yogurt turns it into something that actually holds you over.
Troubleshooting and FAQ's
The berry filling will thicken as it cools, so let it rest for 10 minutes before serving. It may still look juicy, but the cookie topping will soak up the juices and taste amazing!
You may not have flattened the dough enough. Avoid large, thick chunks of cookie dough on top of the berries so they have time to cook all the way through.
Loosely tent the dish with foil during the last 10-15 minutes of baking to prevent the top from getting too browned.
You may have overmeasured the berries, or your dish may be too small. Try placing the dish on a sheet pan to catch any juices that bubble over.
You can, but frozen works better here. They release their juices more gradually and become more jammy instead of soupy.
Yup! Chocolate or chocolate chip cookie dough works great!
Yes! This is best served warm and fresh, but you can reheat leftovers in the microwave or oven.
Nope! Straight from the freezer is best.
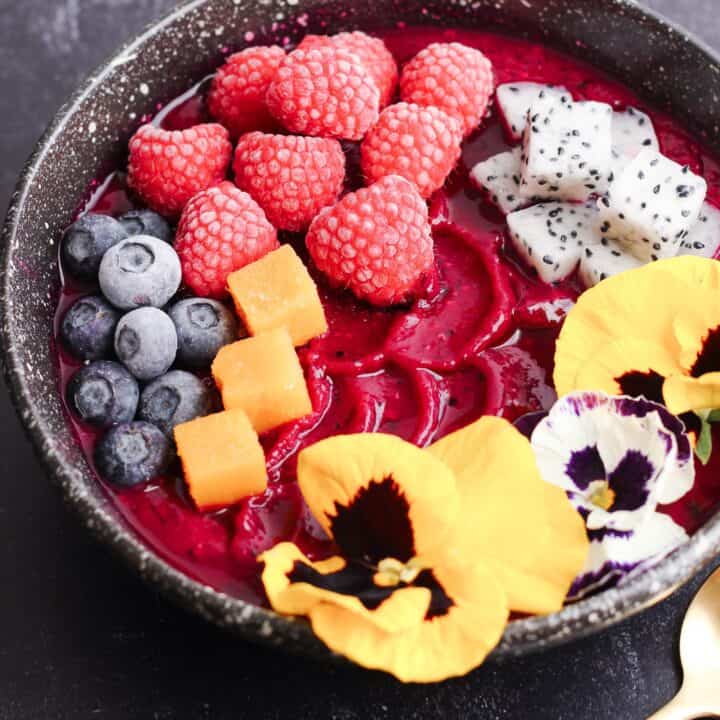
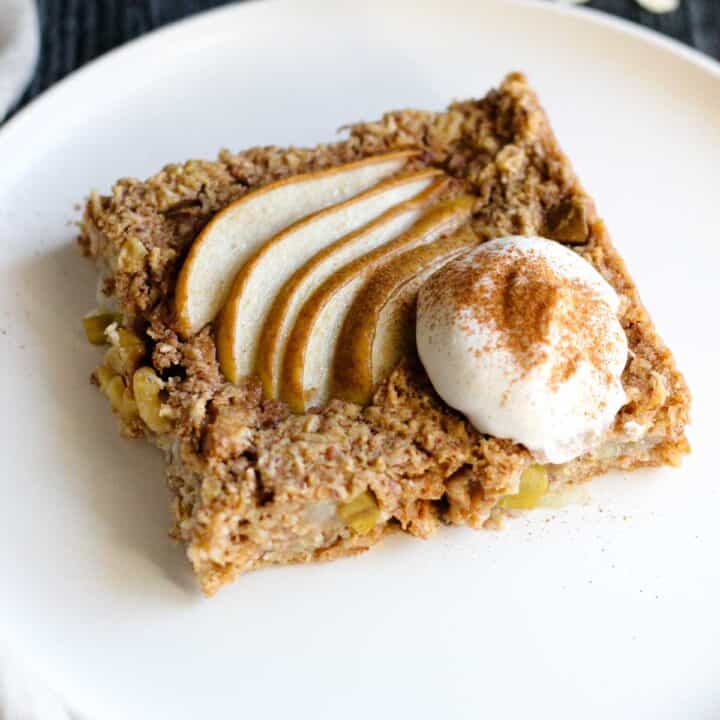
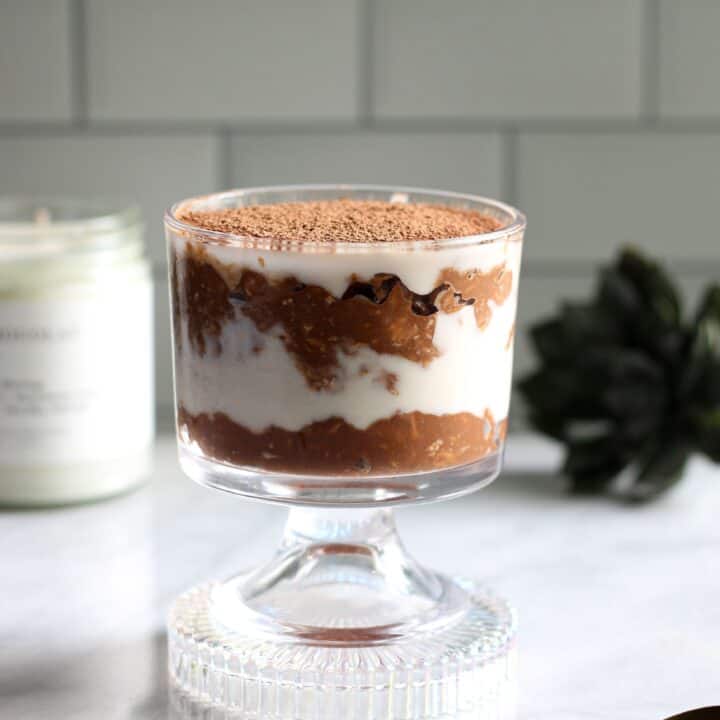
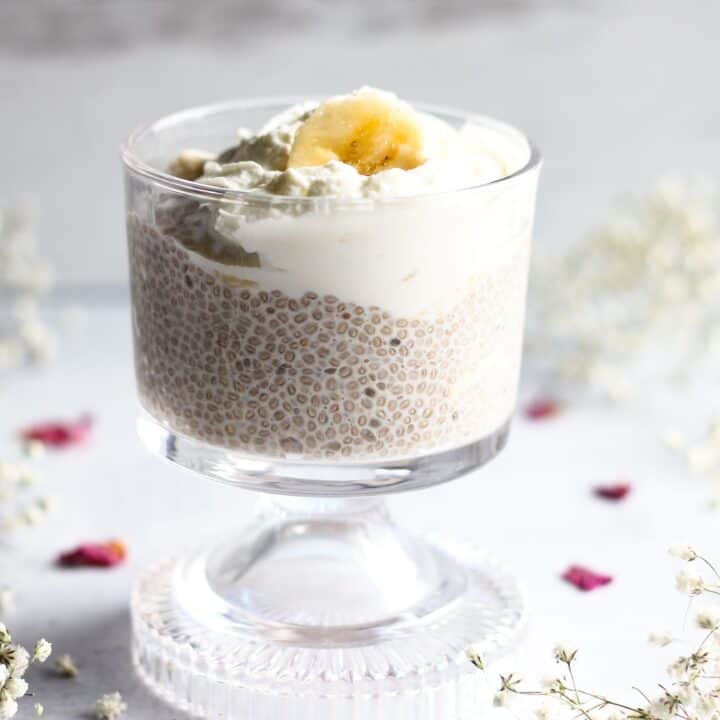
More Easy Dessert Recipes to Try
Looking for other dessert recipes like this? Try these:

Dairy-Free 2-Ingredient Berry Cobbler (Gluten-Free)
Ingredients
- 20 ounce bag of frozen berries
- 12 ounce package refrigerated sugar cookie dough I used Sweet Loren's
Instructions
- Preheat your oven to 375°F.
- Spread the berries into an 8x8-inch baking dish or a pie dish.
- Break apart your cookie dough pieces if they're attached to one another and arrange them evenly over the berries.
- Bake for 15 minutes. The dough will start to spread and the berries will start to release their juices.
- Pull the dish from the oven and use the back of a spoon to gently press the dough down flat. This will help it cook through evenly and make the top crisp.
- Bake for another 15-20 minutes until it's bubbling and the top is golden brown. If it starts to get too brown but it's not bubbling, loosely tent it with foil.
- Let it rest for 10 minutes, then top it with your favorite dairy-free ice cream or whipped cream!