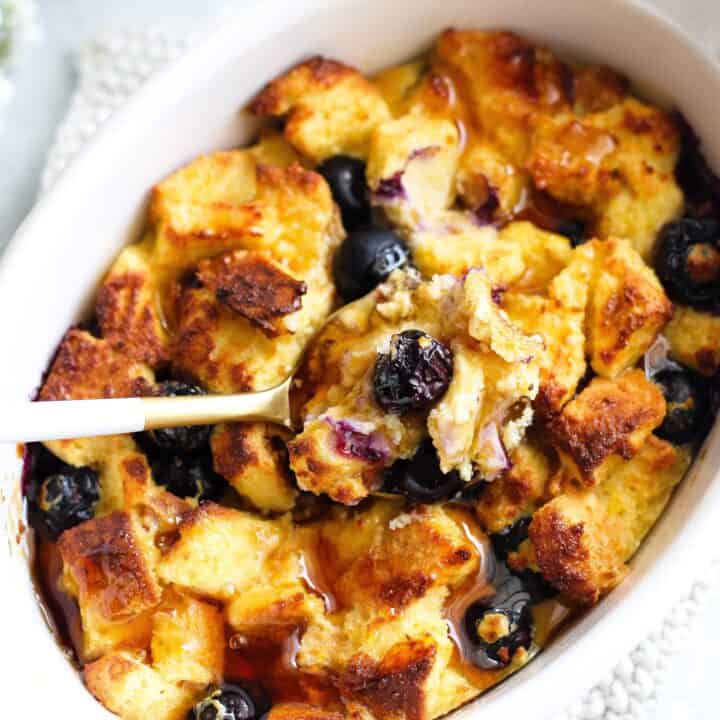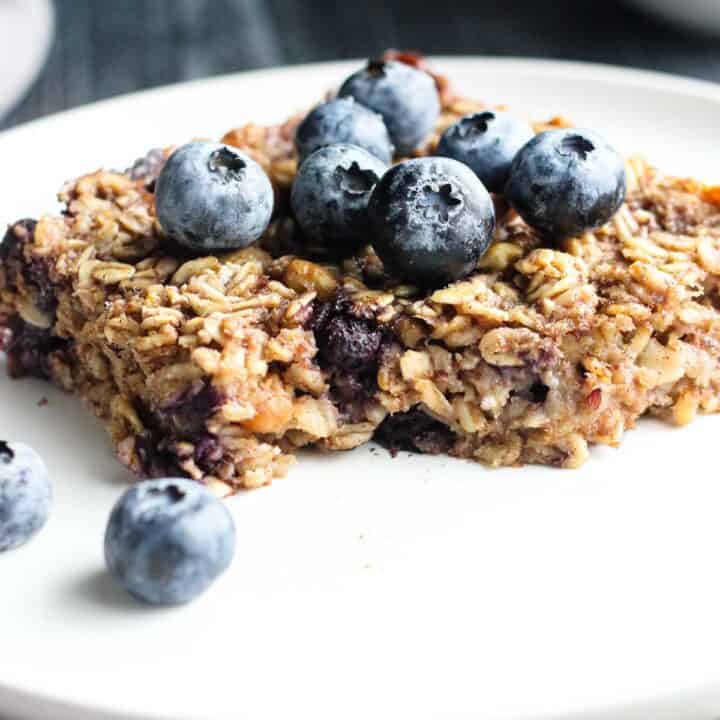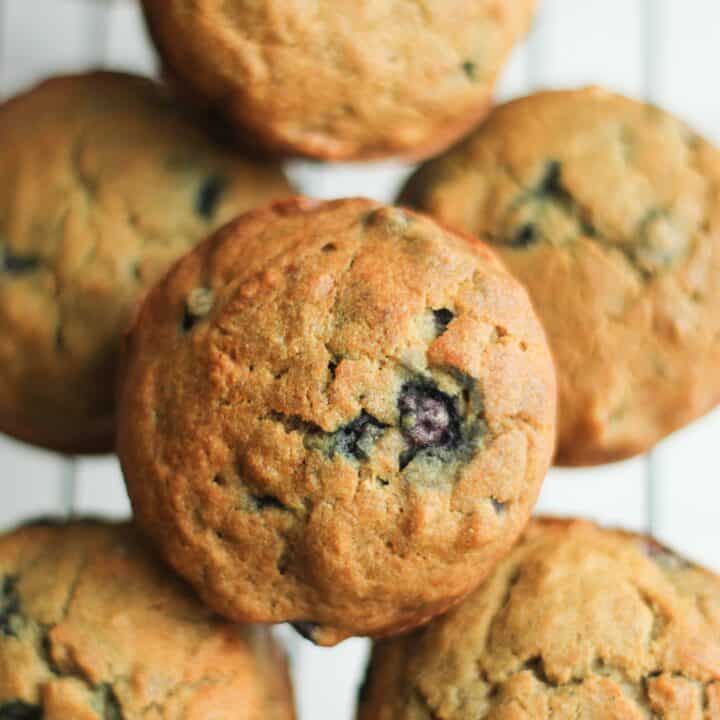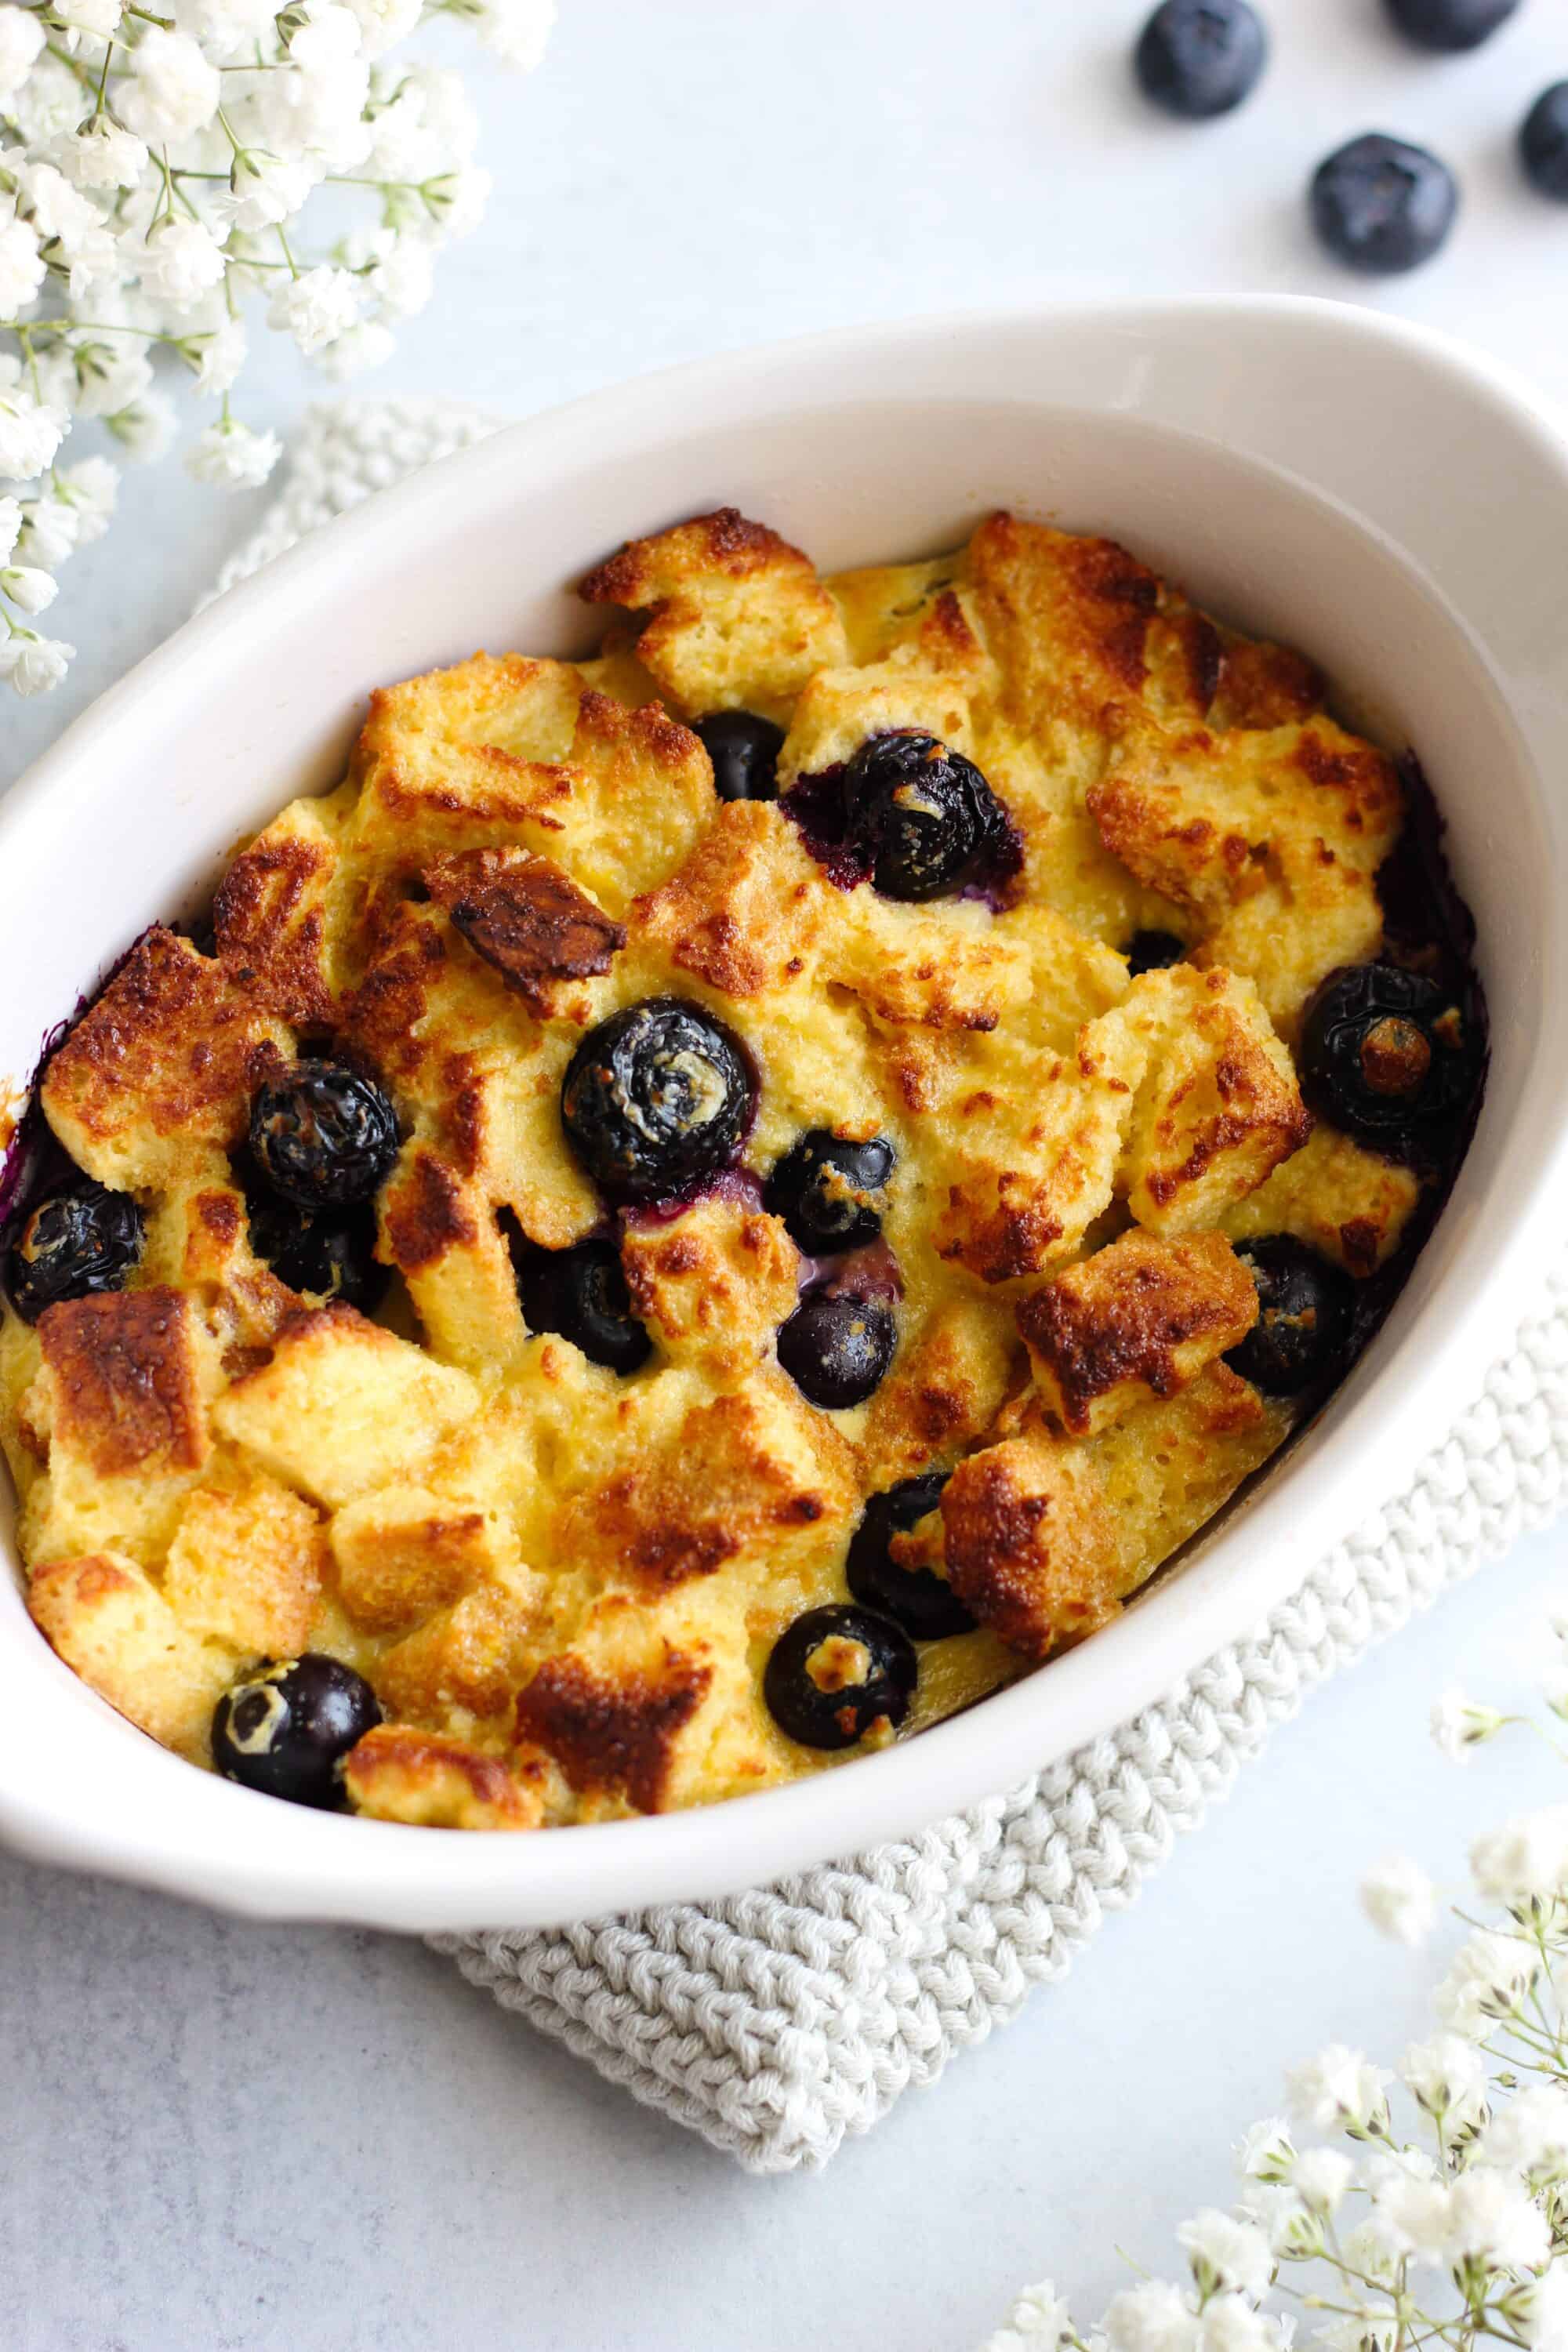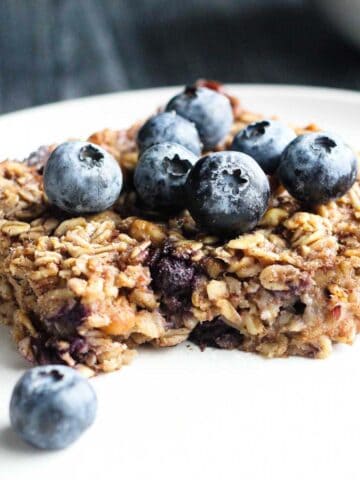
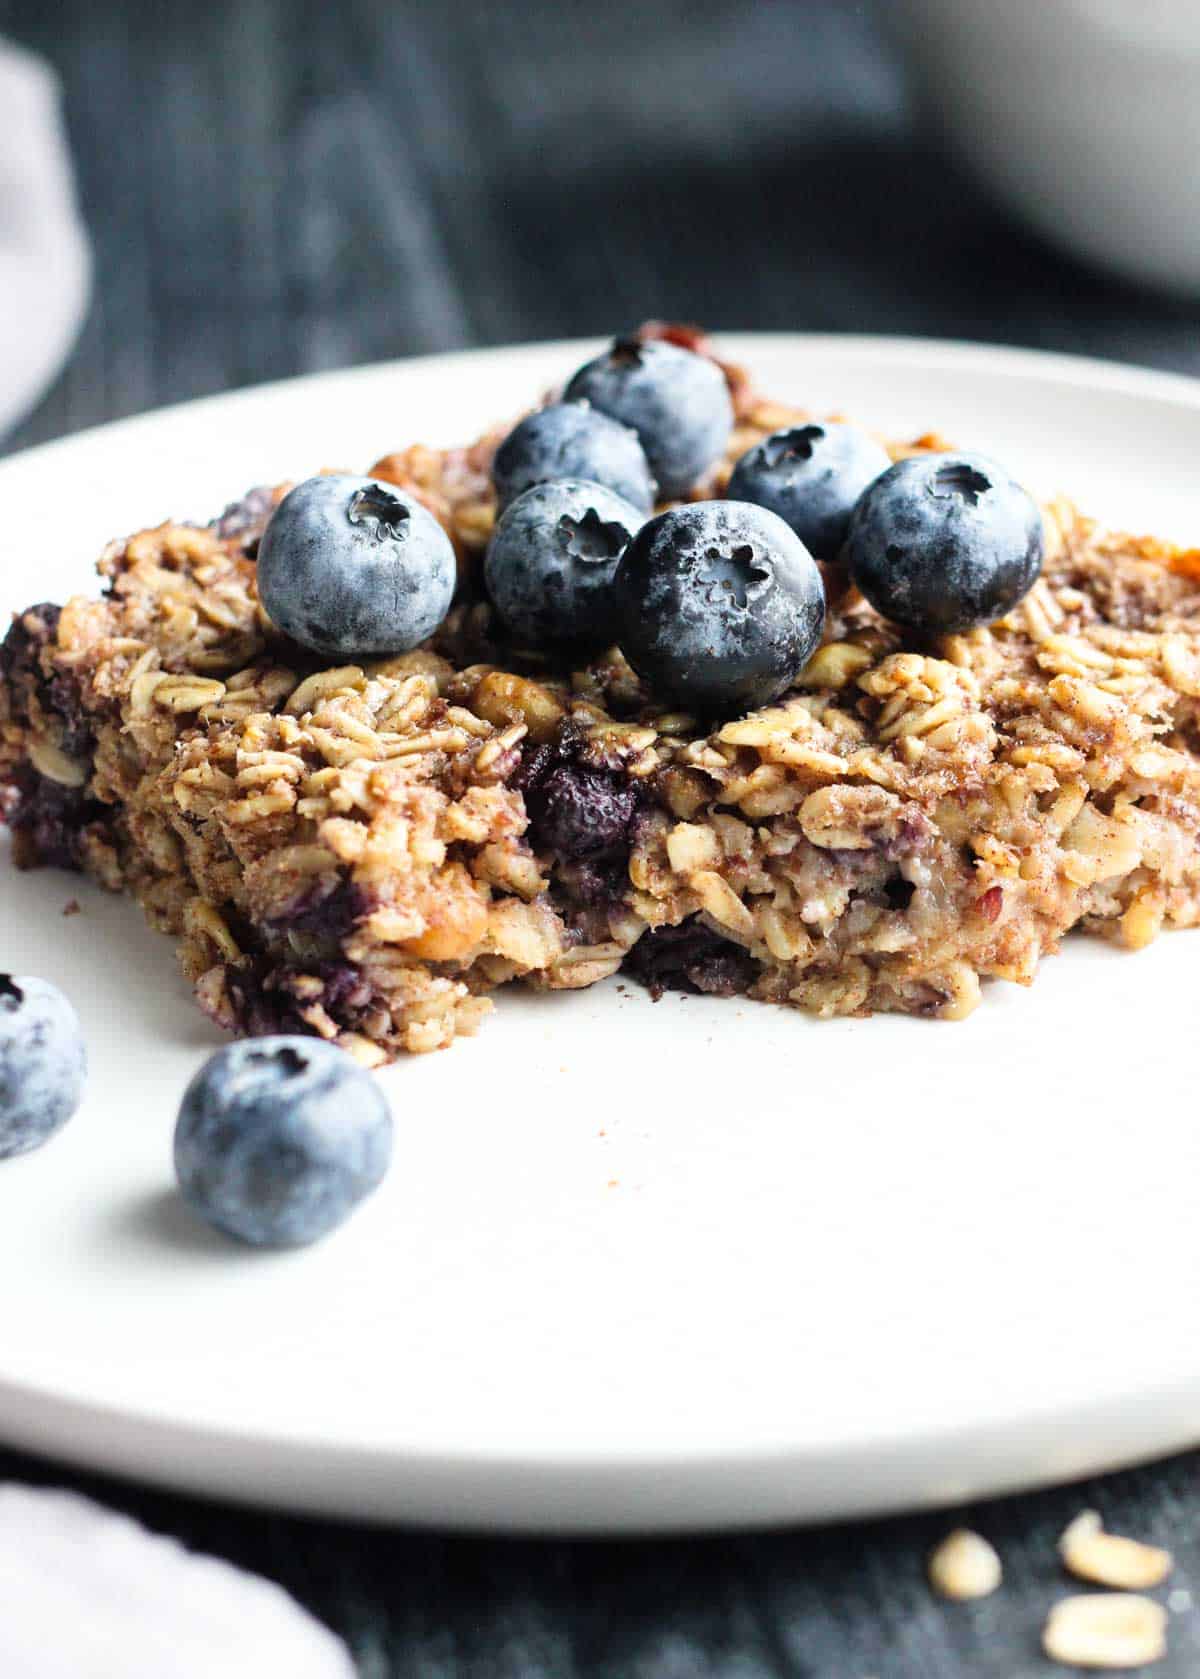
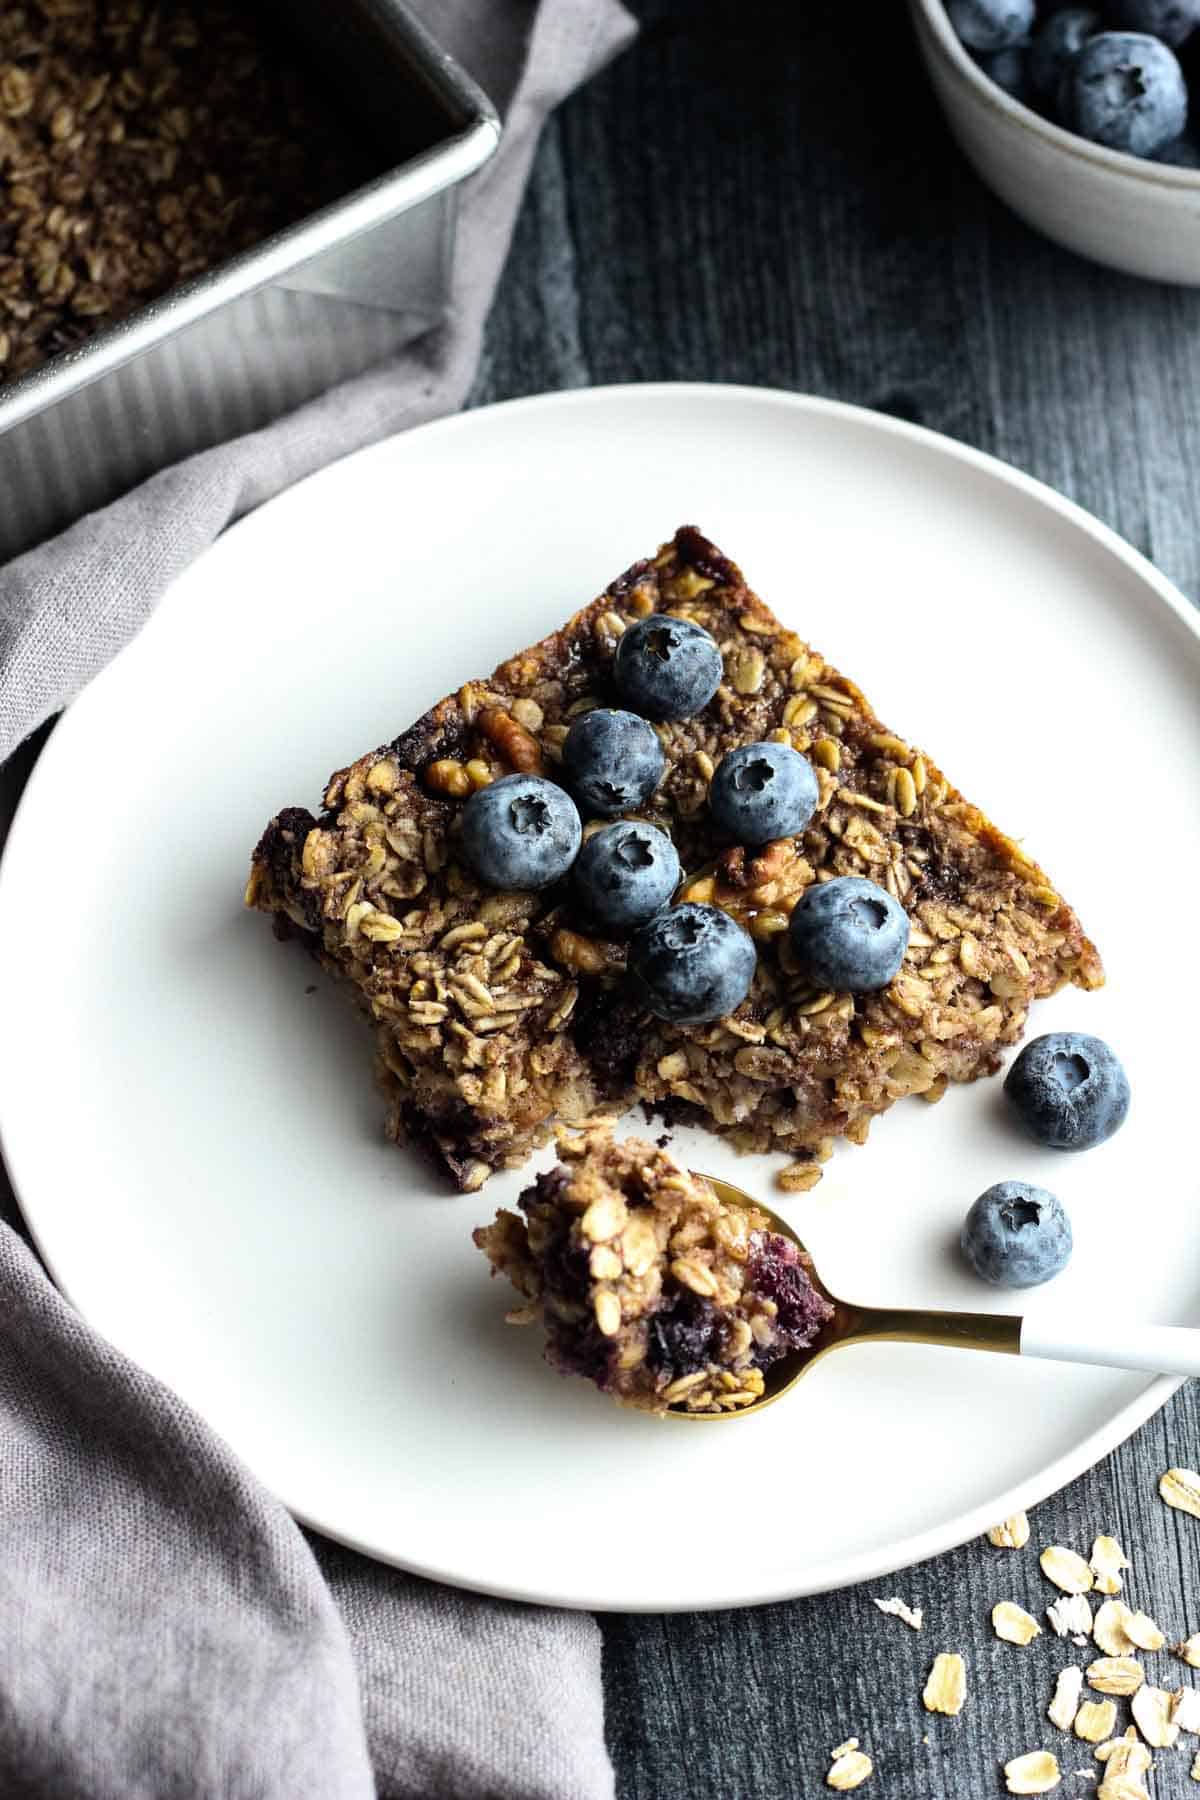
An easy, delicious recipe for oatmeal that's vegan and bursting with fresh blueberries. It only takes a few minutes to put together and it's fantastic for meal prep!
This is a great recipe any time of year but especially during summer months when the blueberries are big, sweet, and in season. You can also enjoy it during winter using frozen wild blueberries, which are high in antioxidants and manganese.
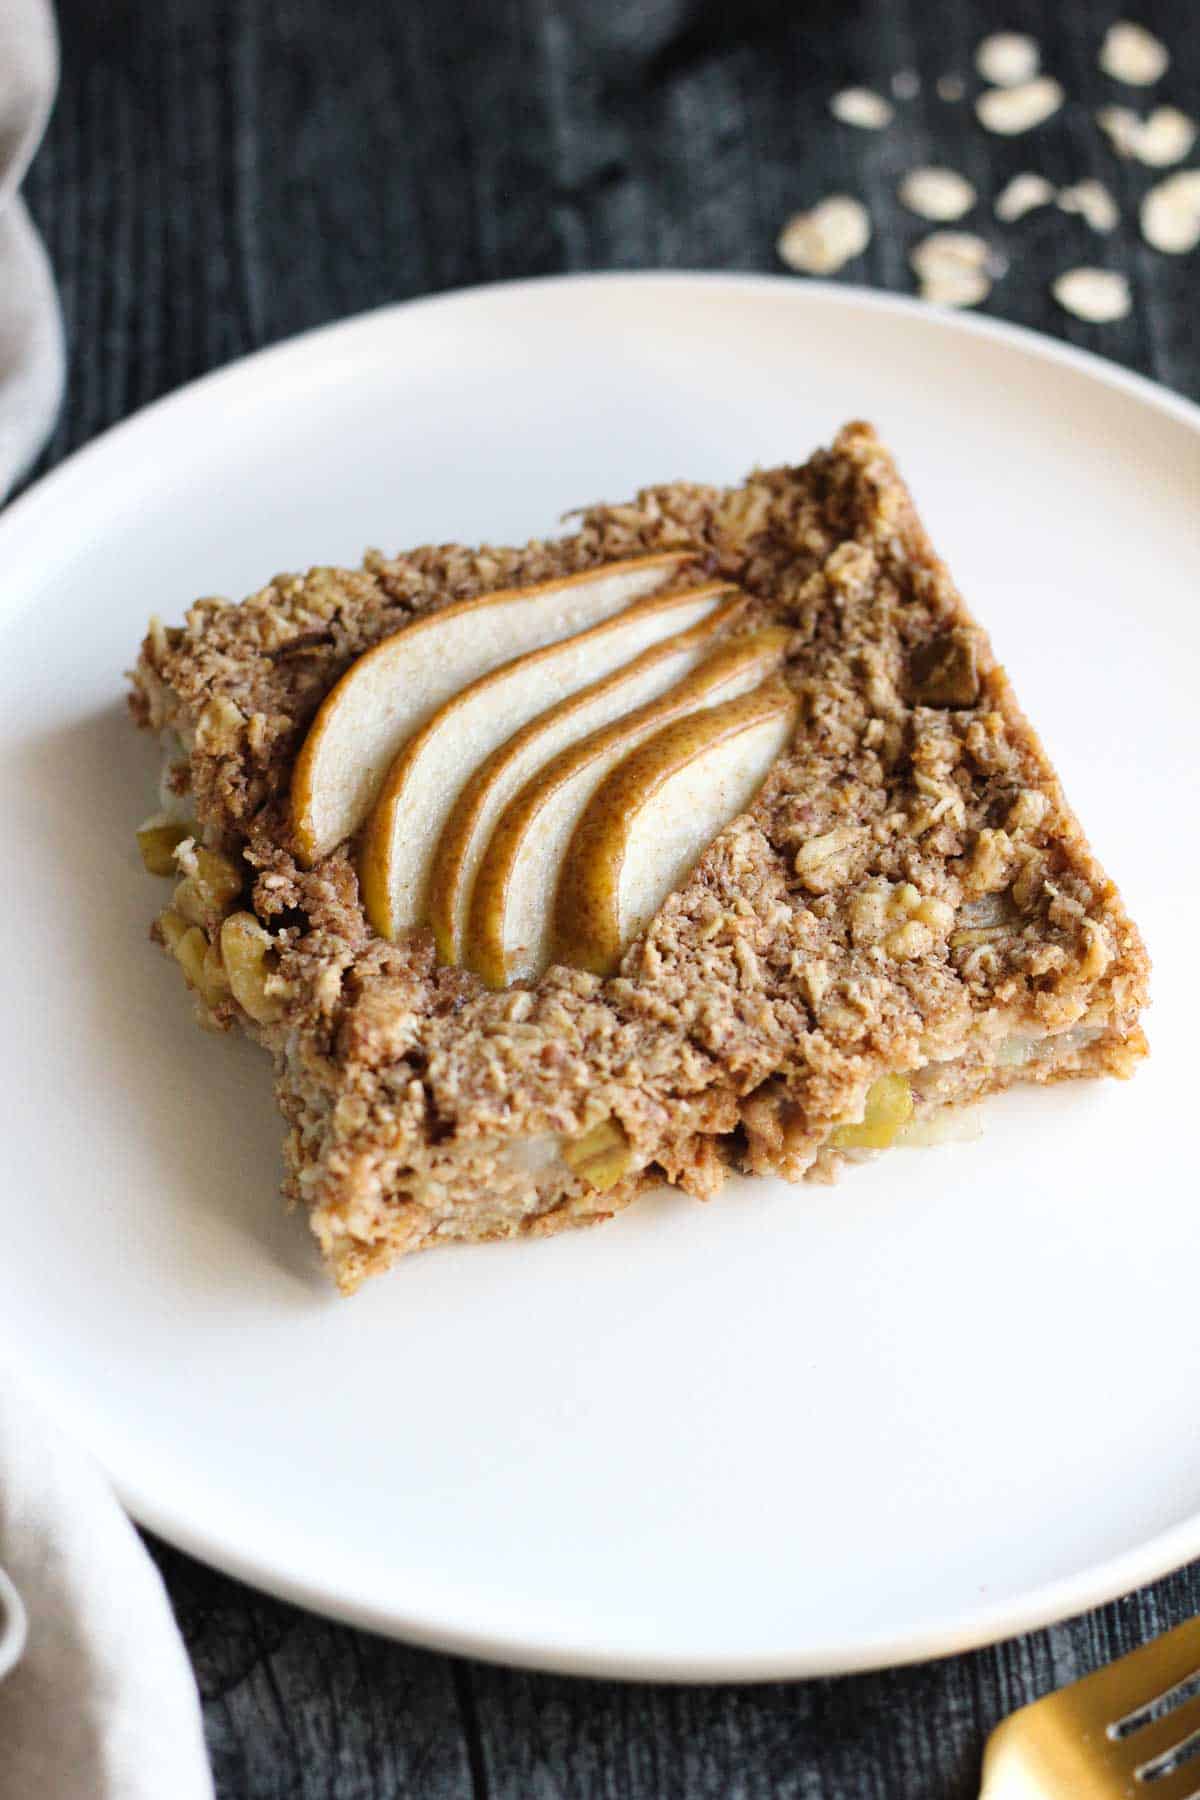
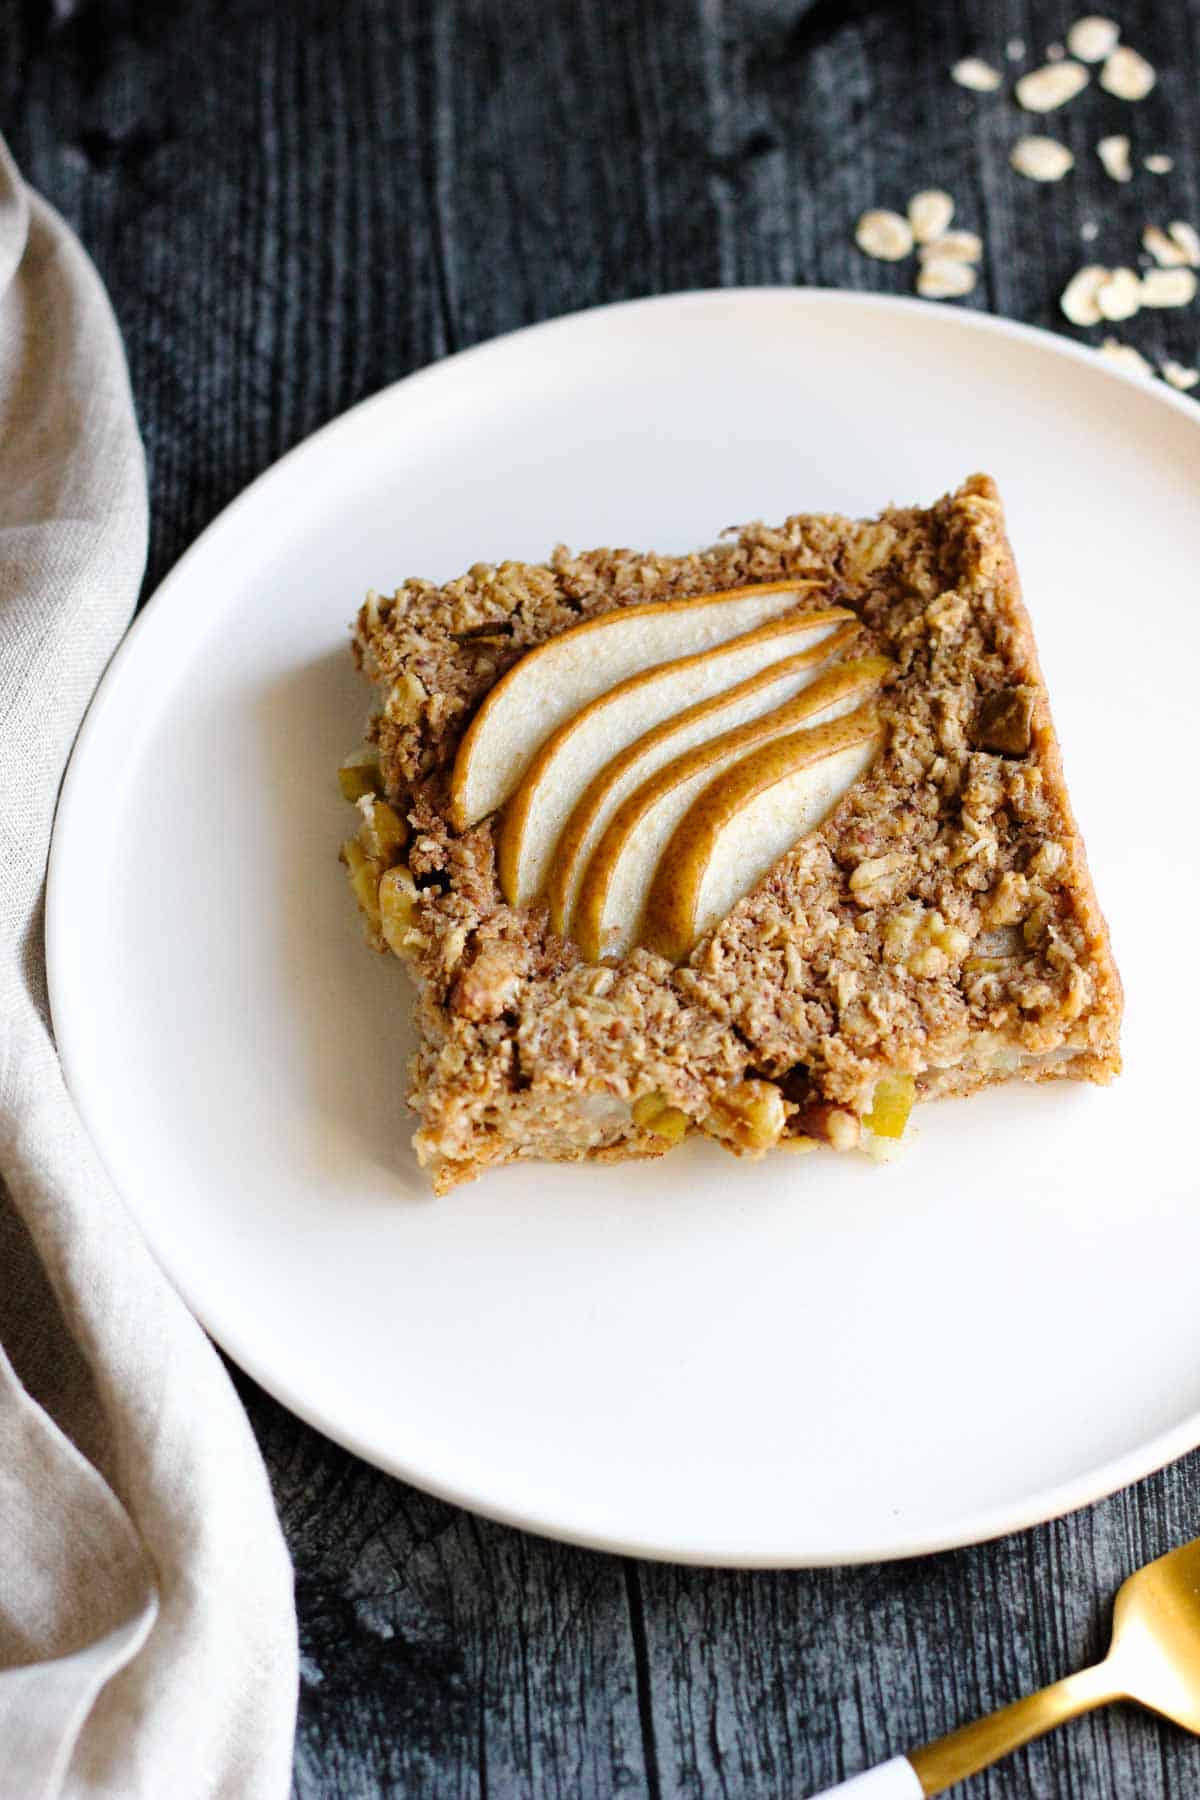
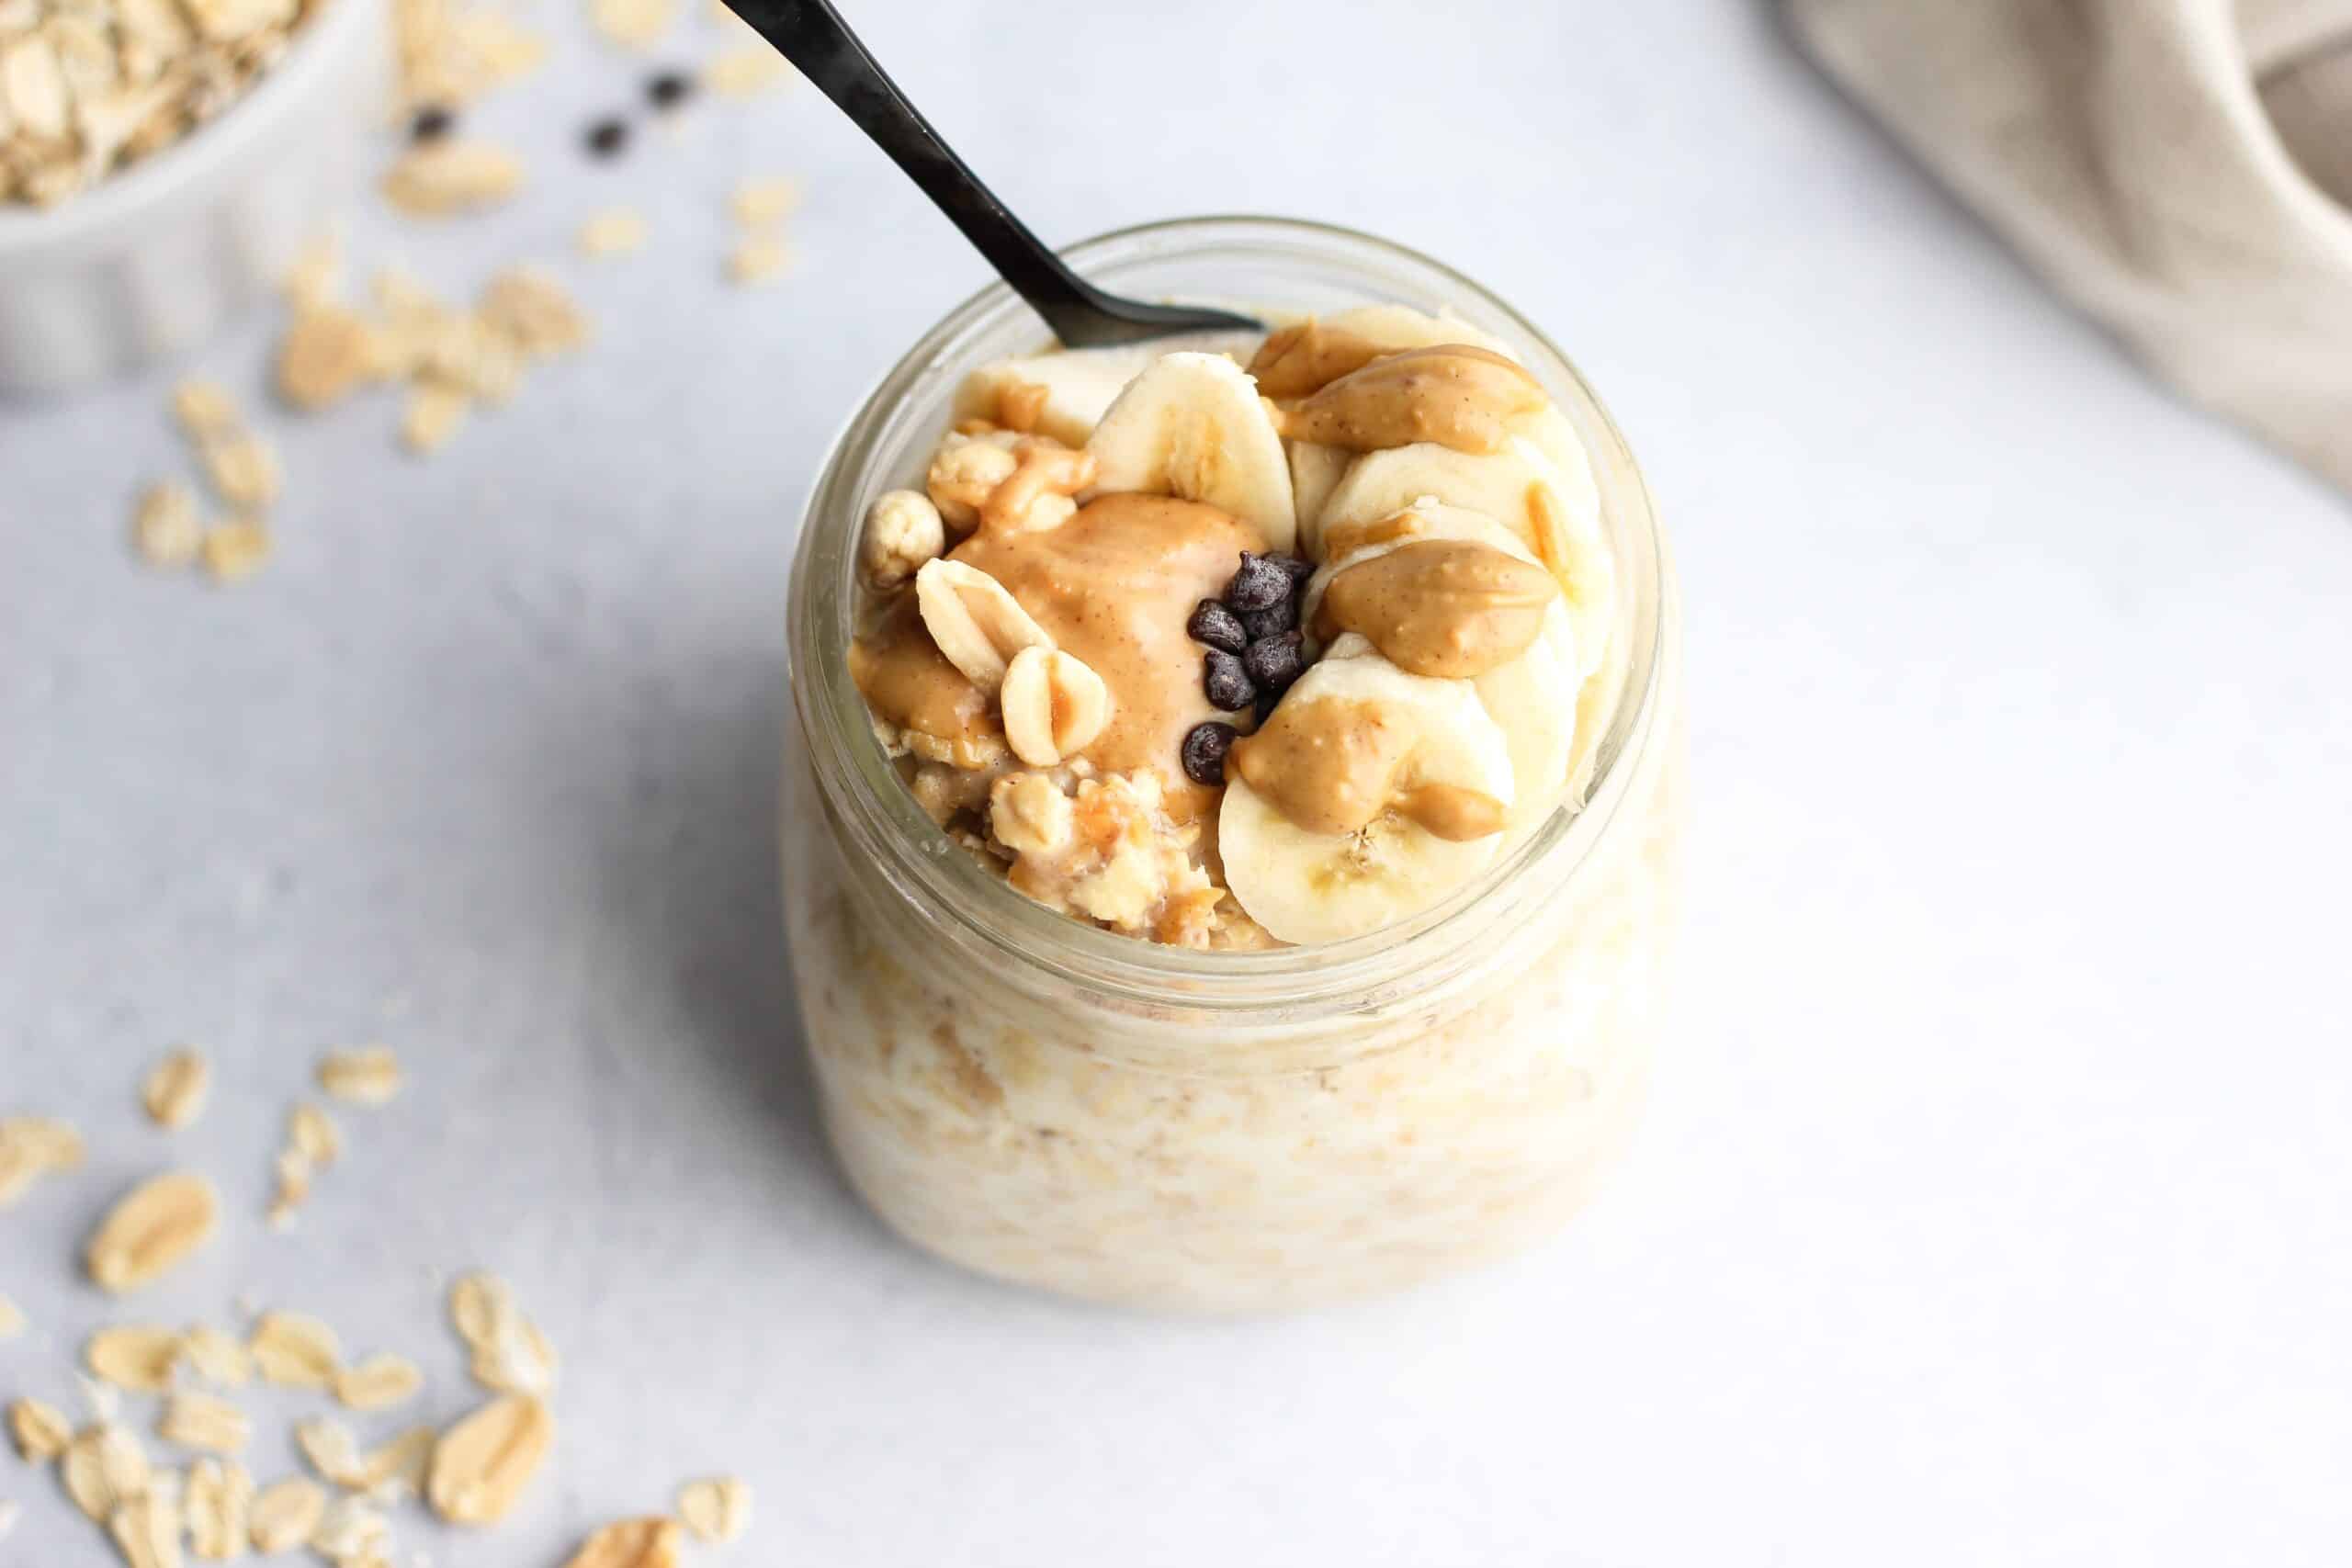
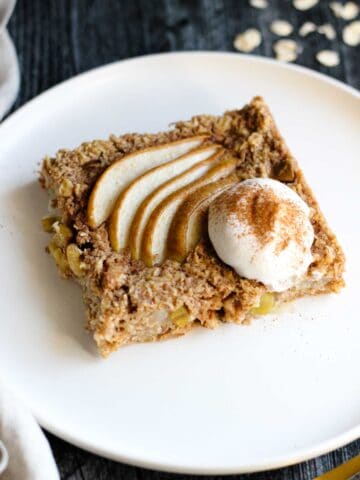
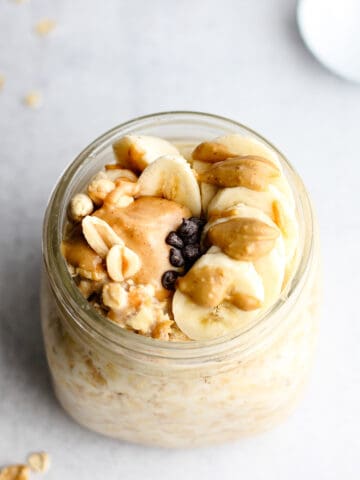
My Baked Oats with Pear inspired this breakfast option, as I work to incorporate more gut-friendly plant-based options into my diet. For another great option with a bit more protein, try my Overnight Peanut Butter Oats.
[feast_advanced_jump_to]Ingredients
I use certified gluten-free oats to keep this free from gluten. Feel free to use your favorite brand, just be sure they're rolled old-fashioned oats.
Here's what you'll need:
- rolled old-fashioned oats
- cinnamon
- ground flaxseed
- baking powder
- kosher salt
- oat milk (or milk of your choice)
- maple syrup
- coconut oil
- vanilla extract
- unsweetened applesauce
- wild blueberries
- walnuts
See the recipe card below for specific quantities.
Instructions
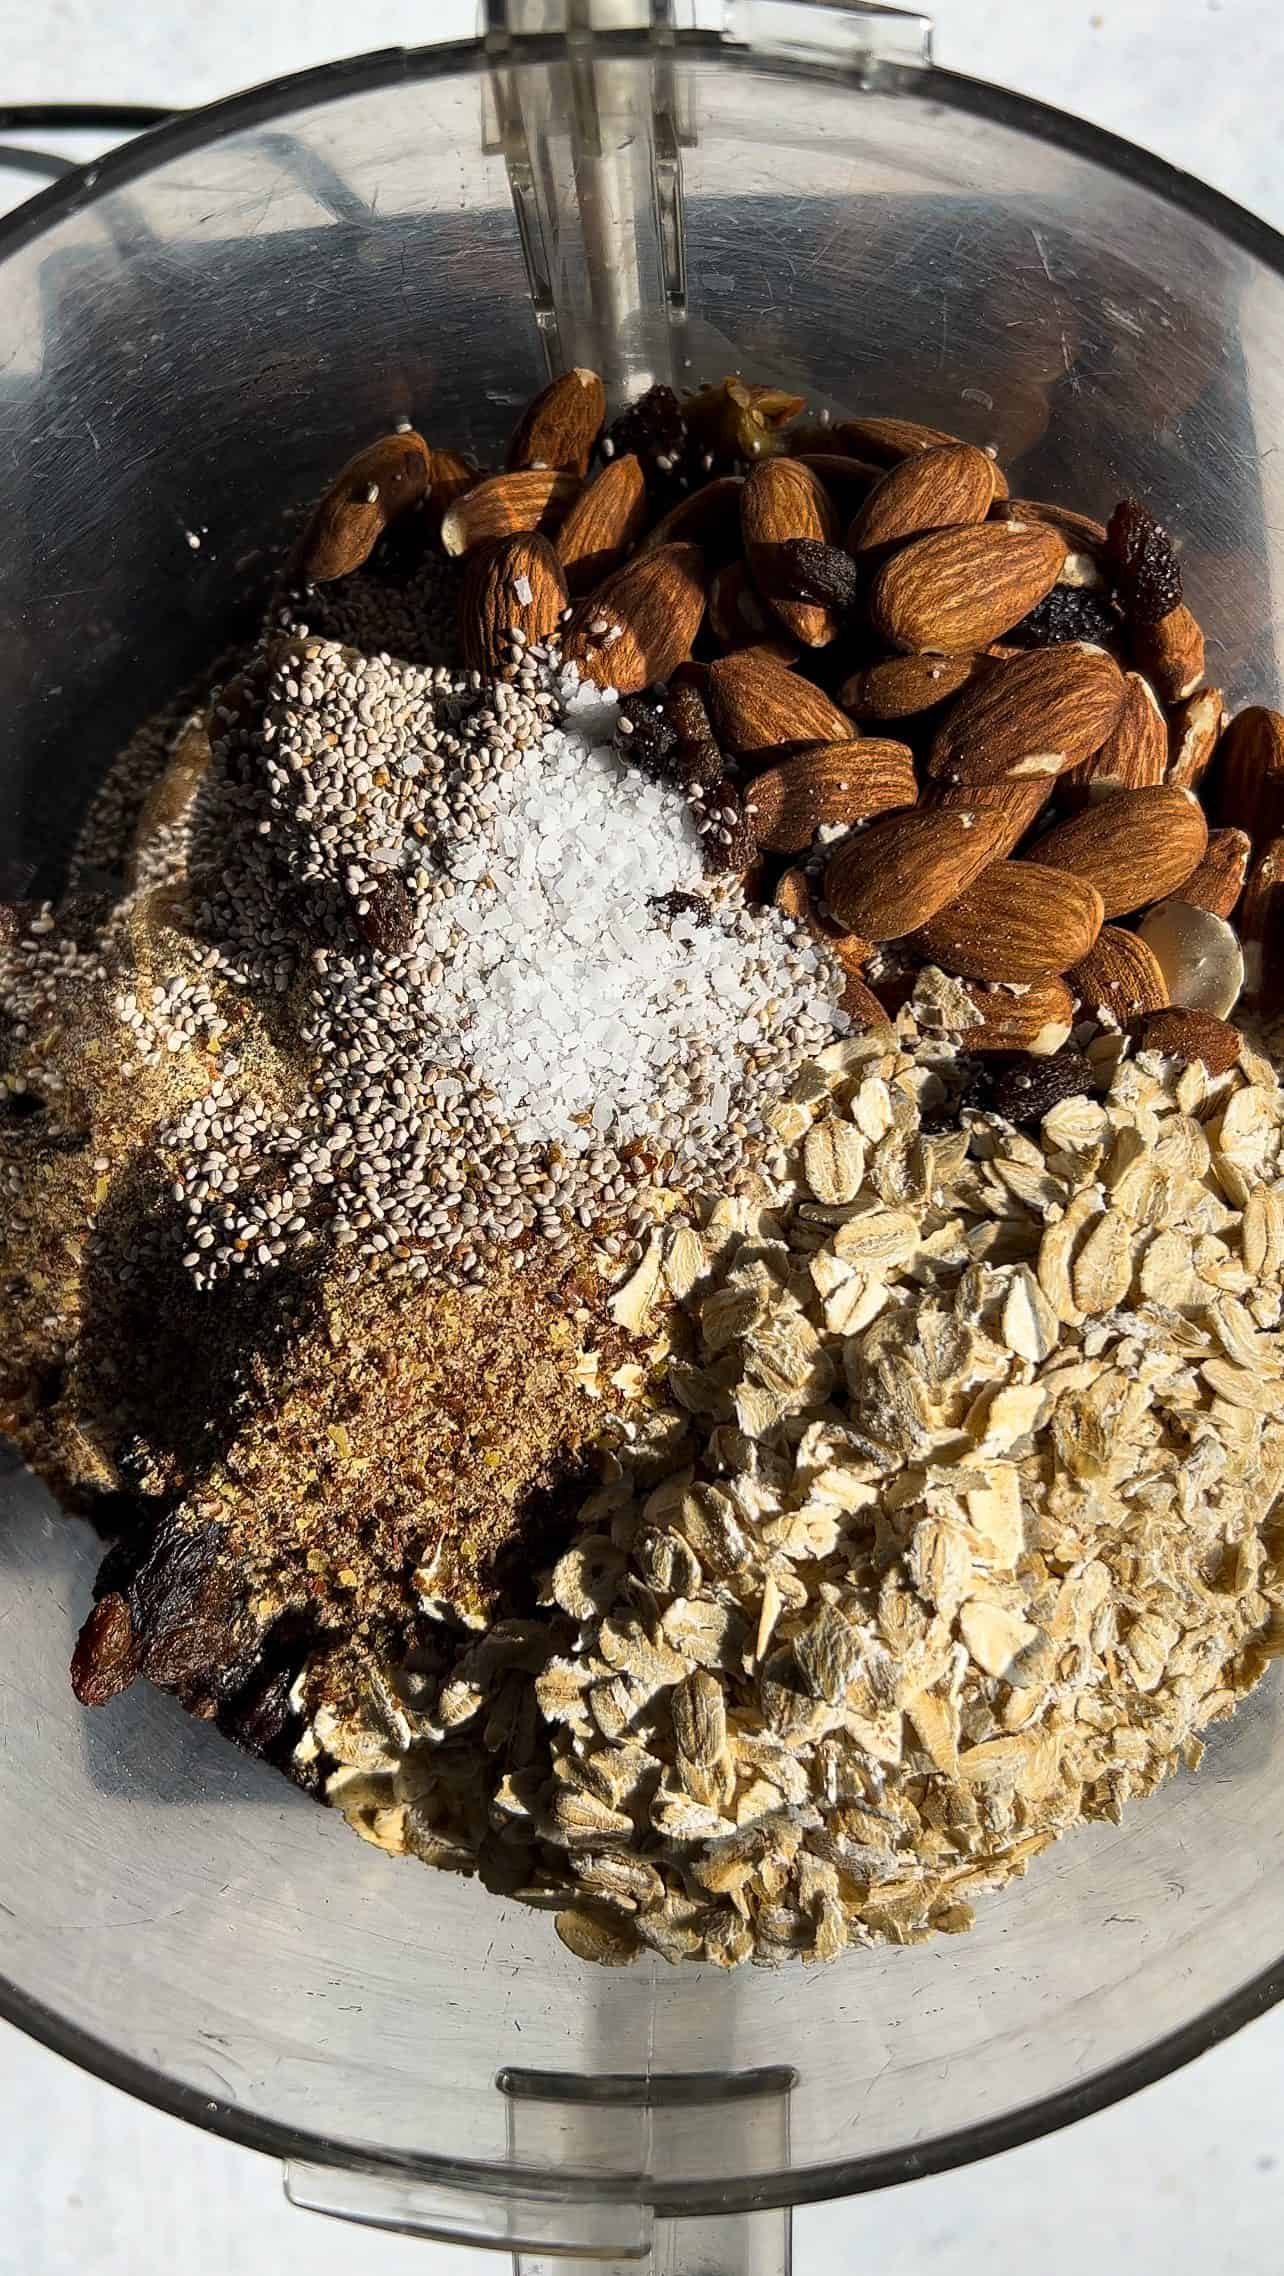
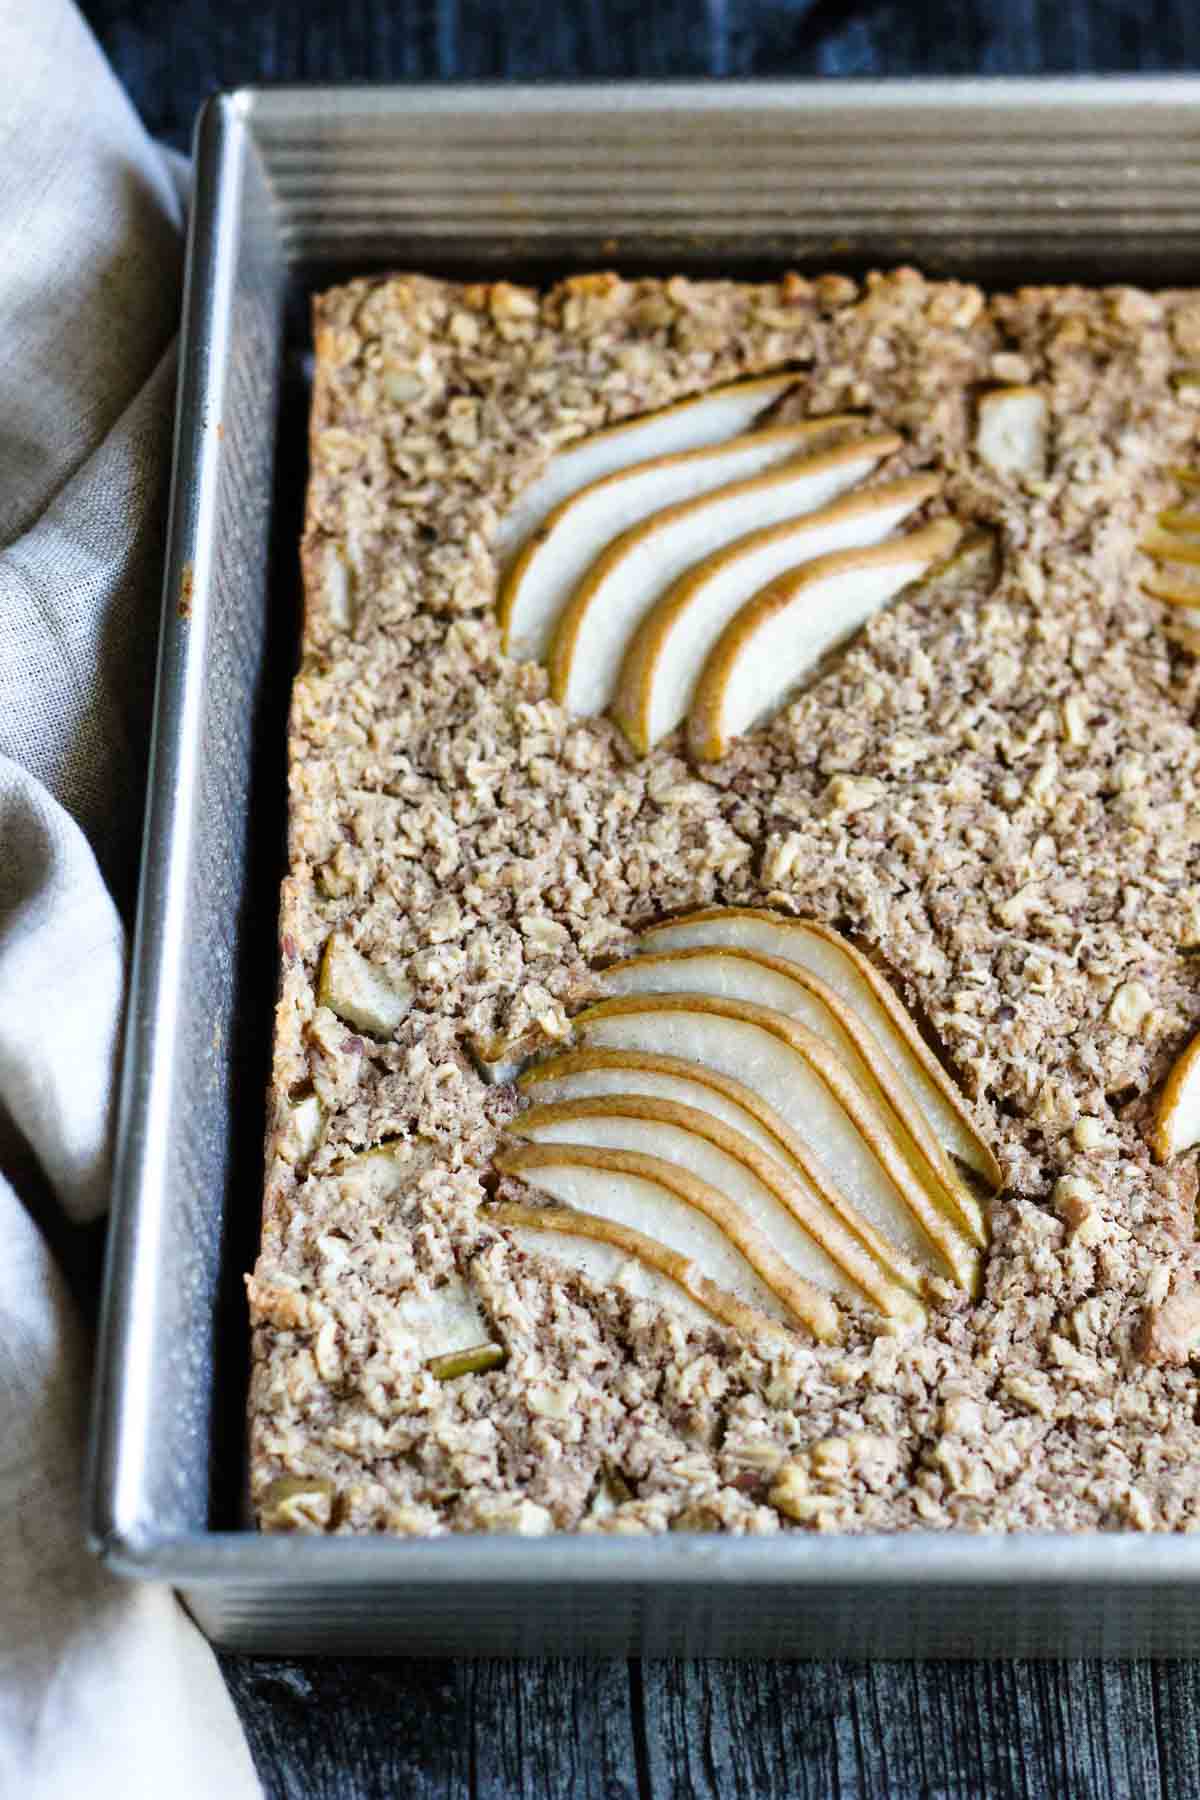
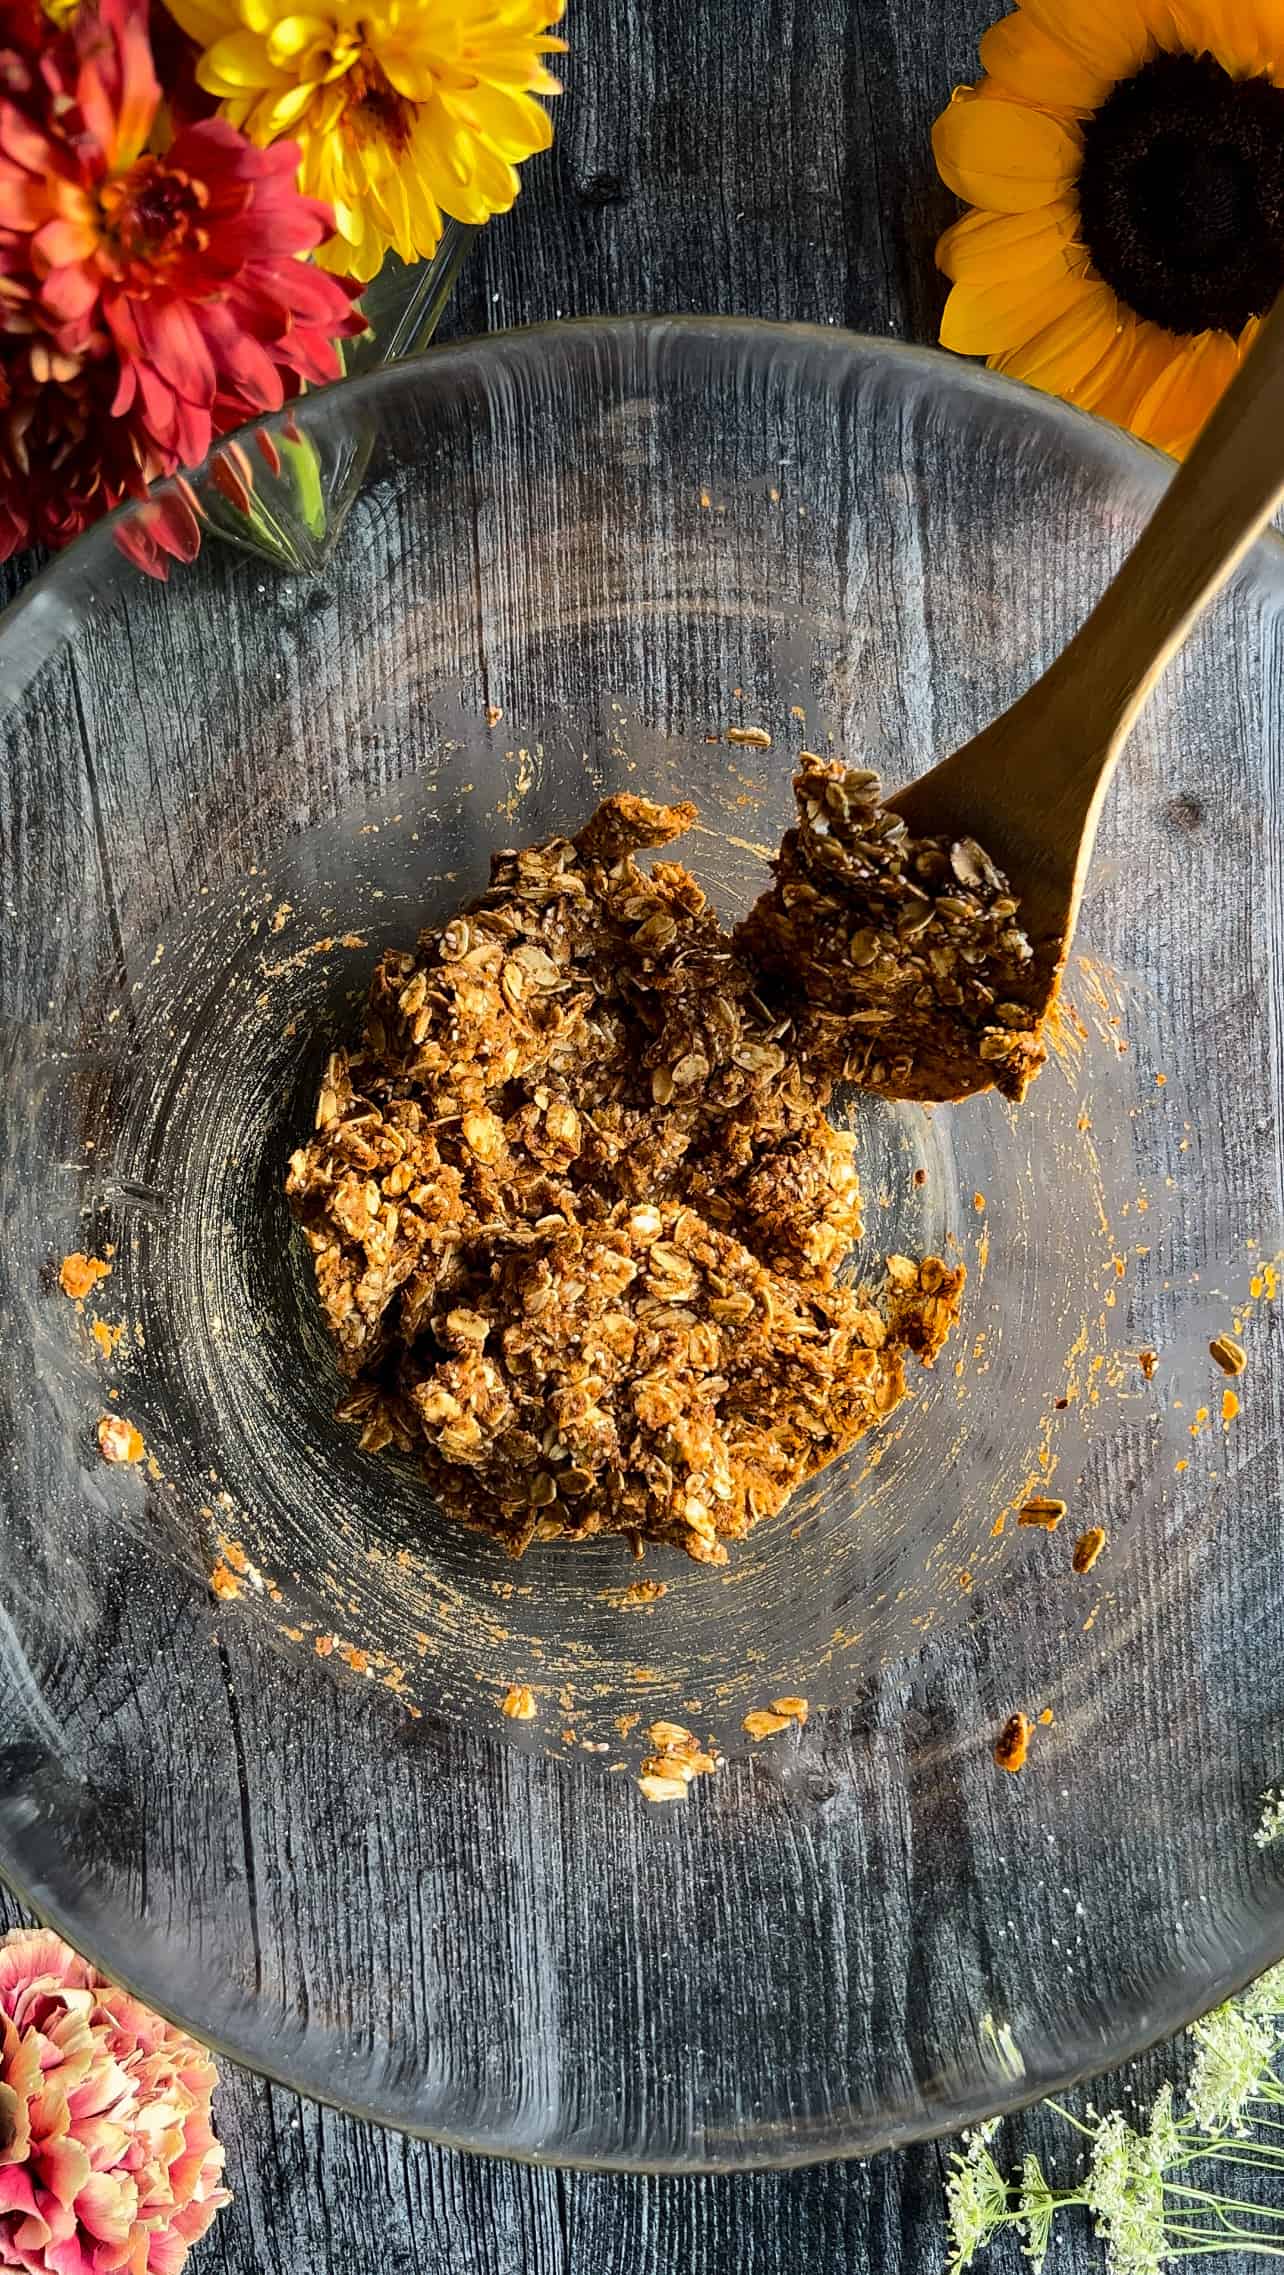
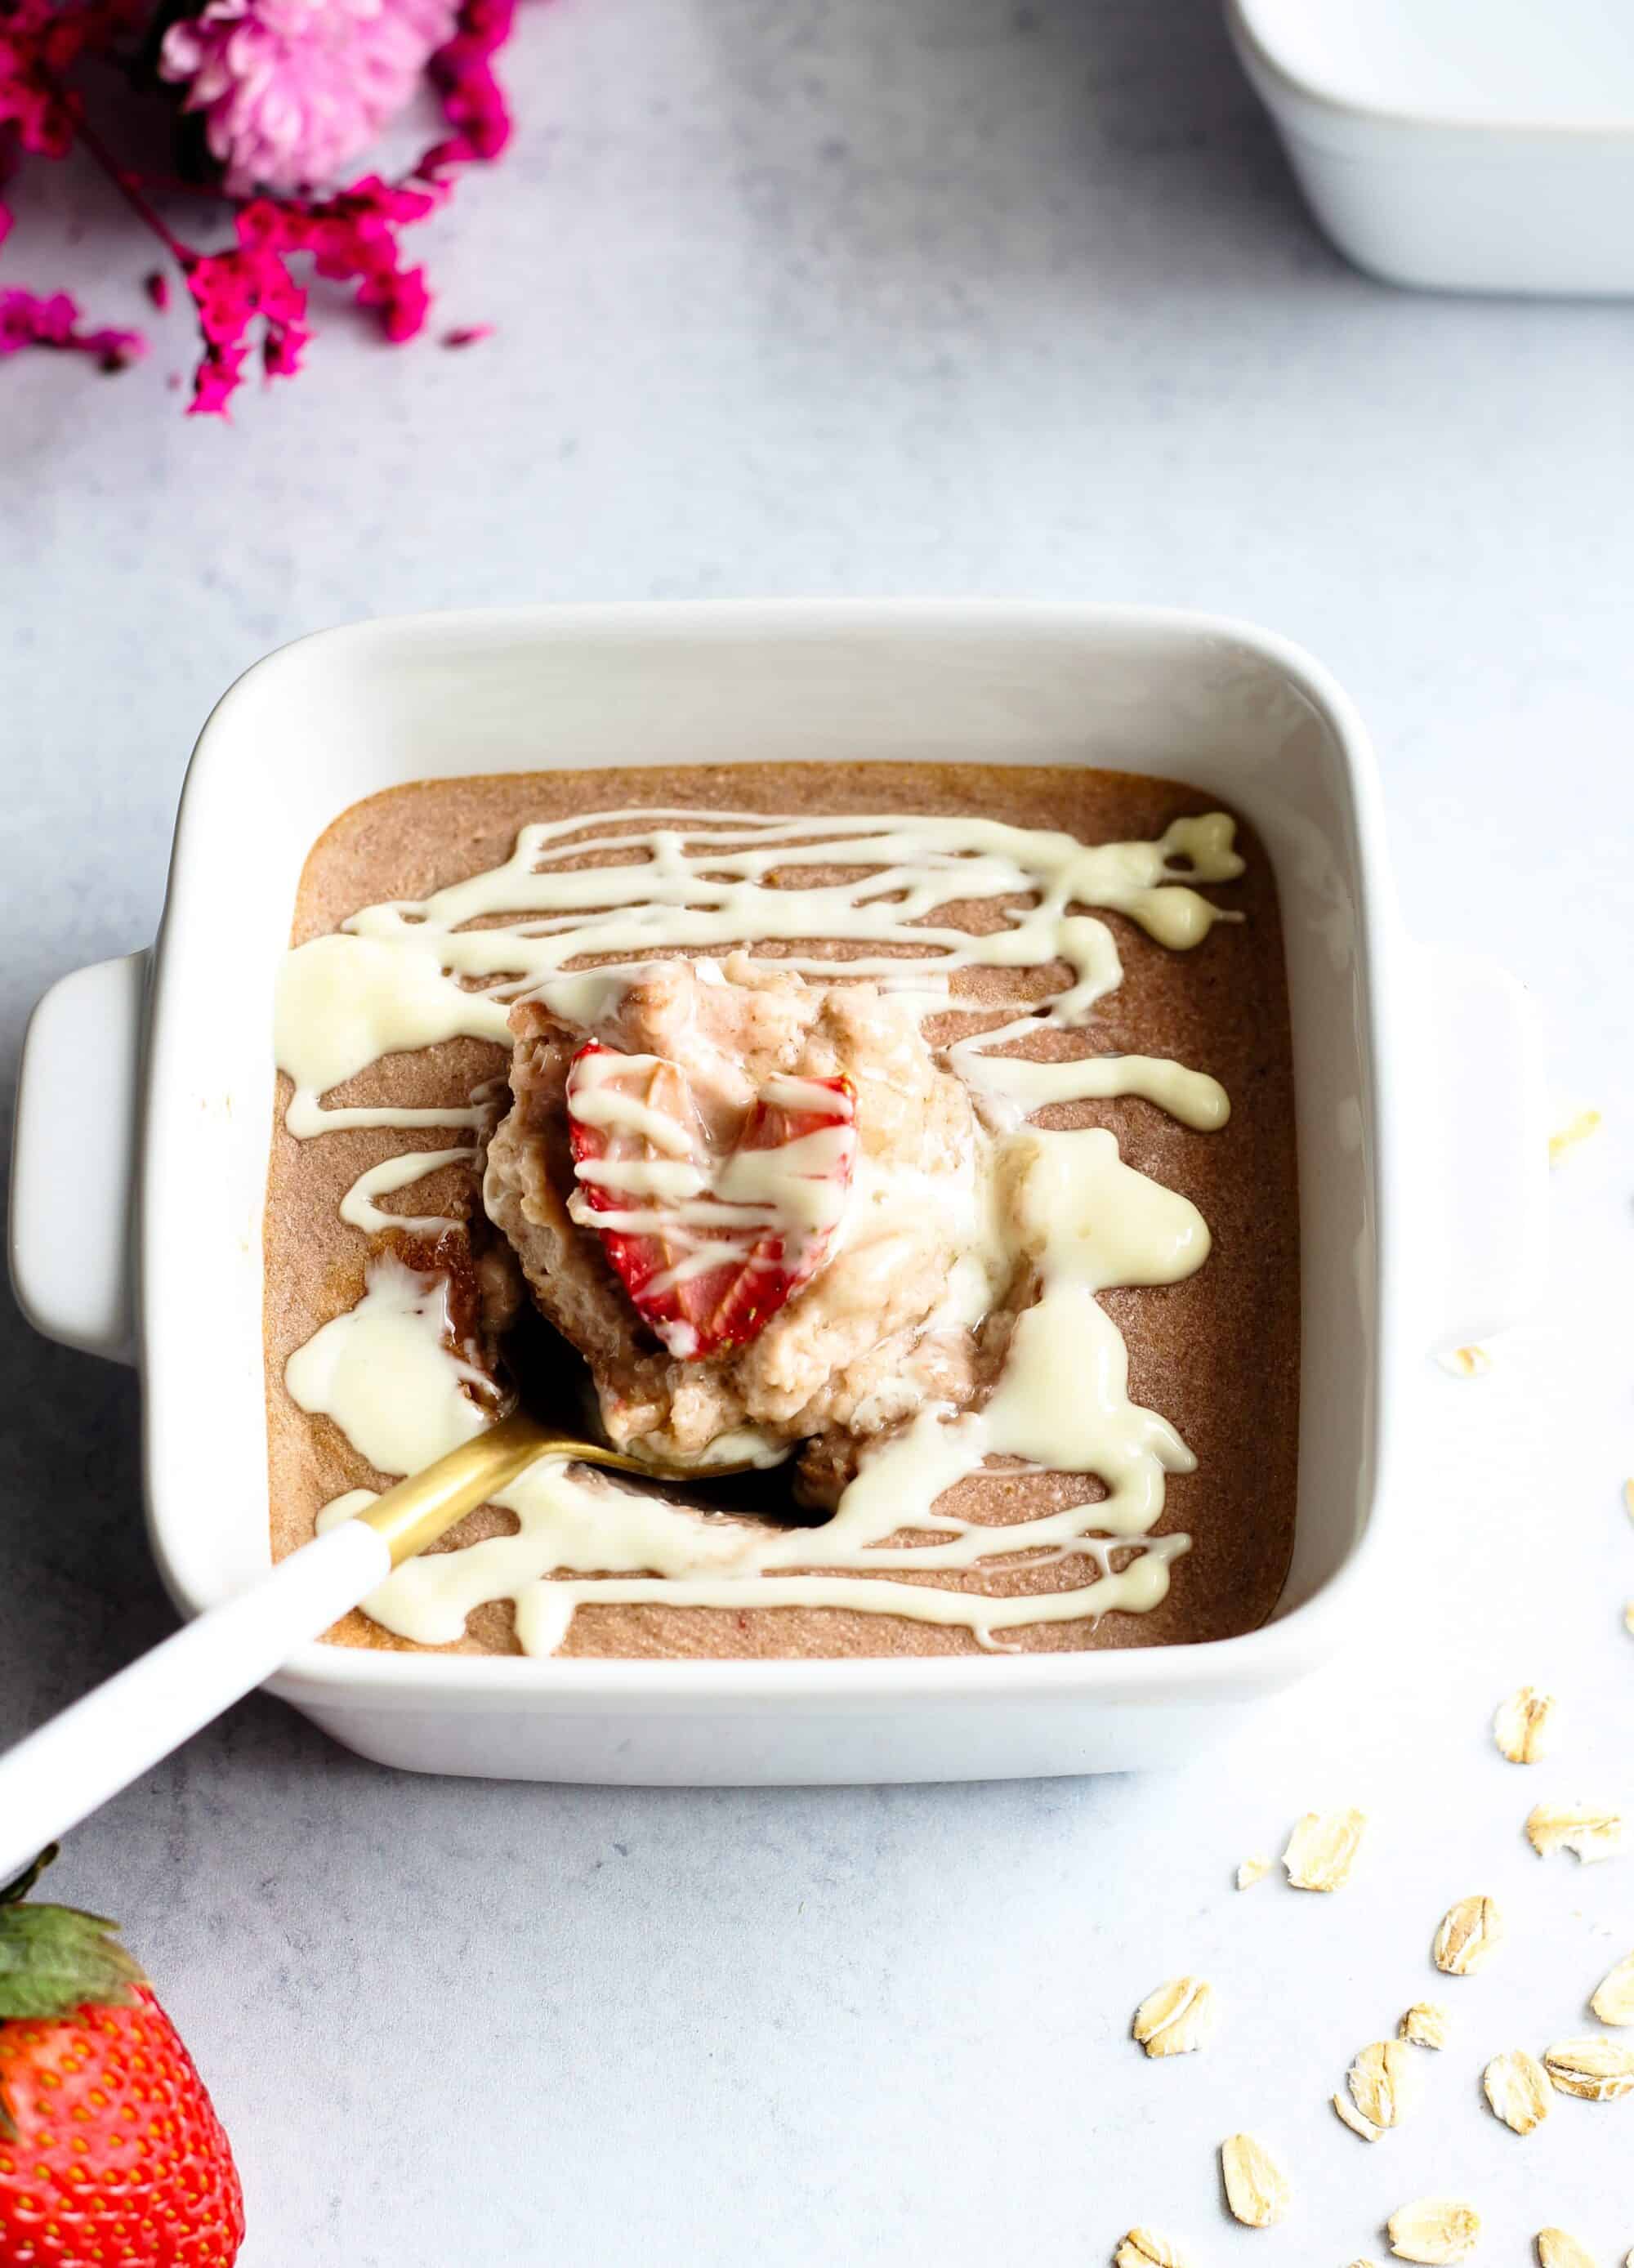
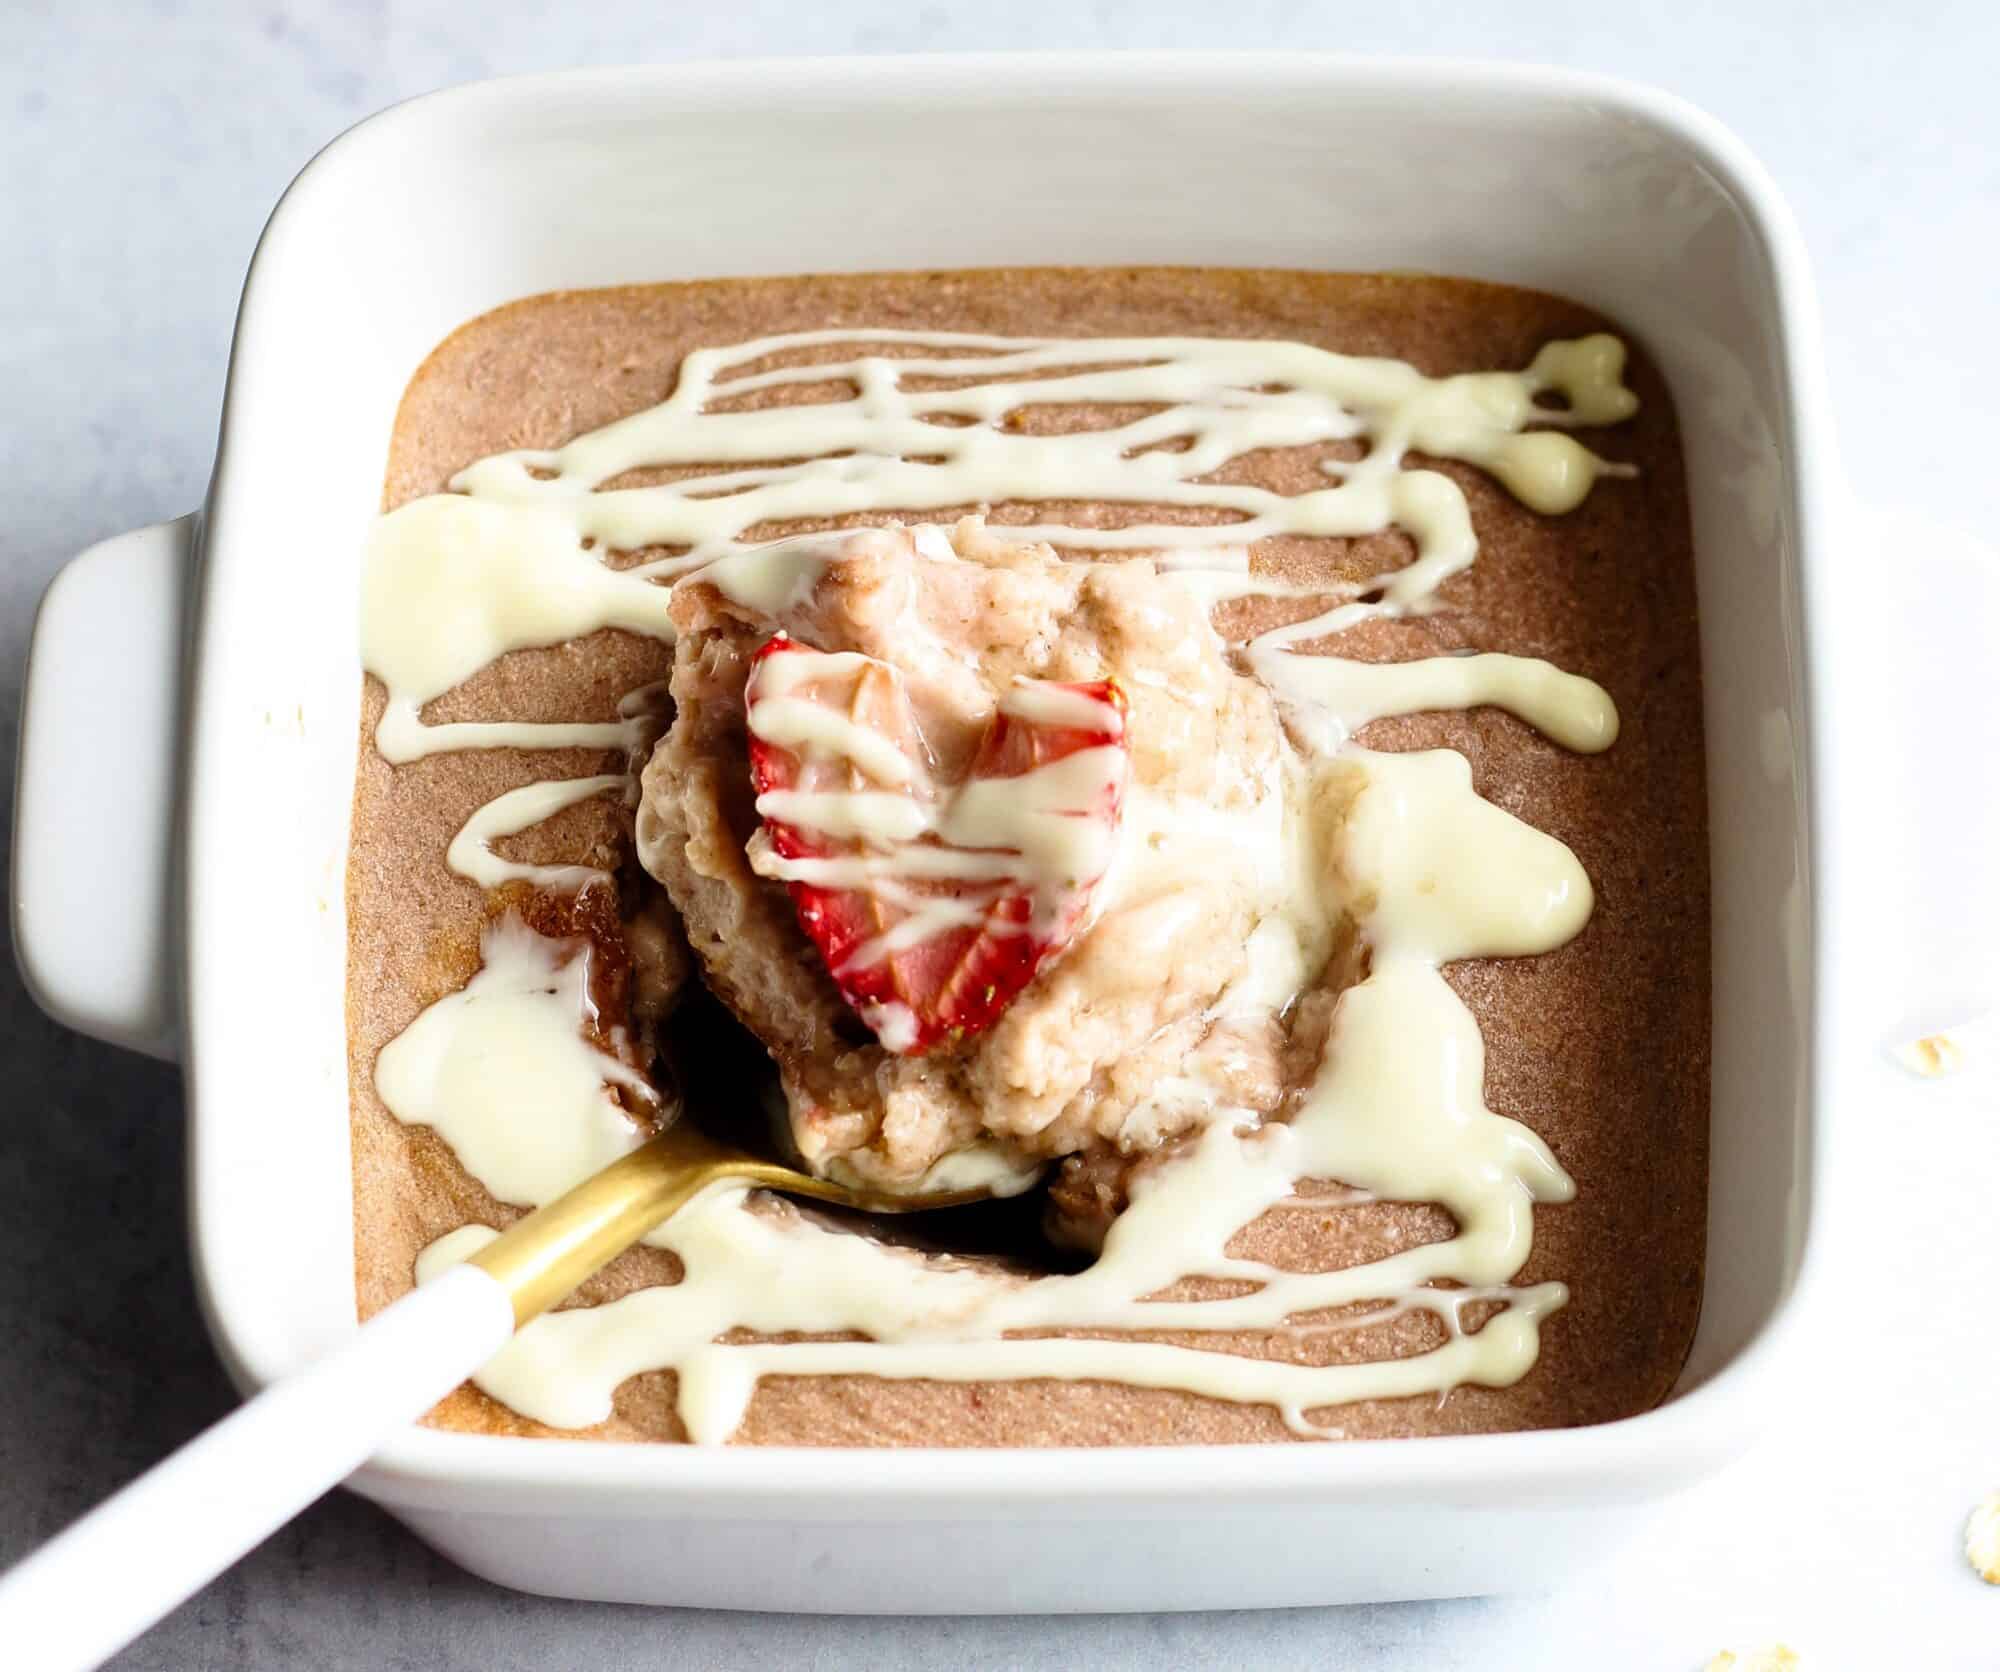
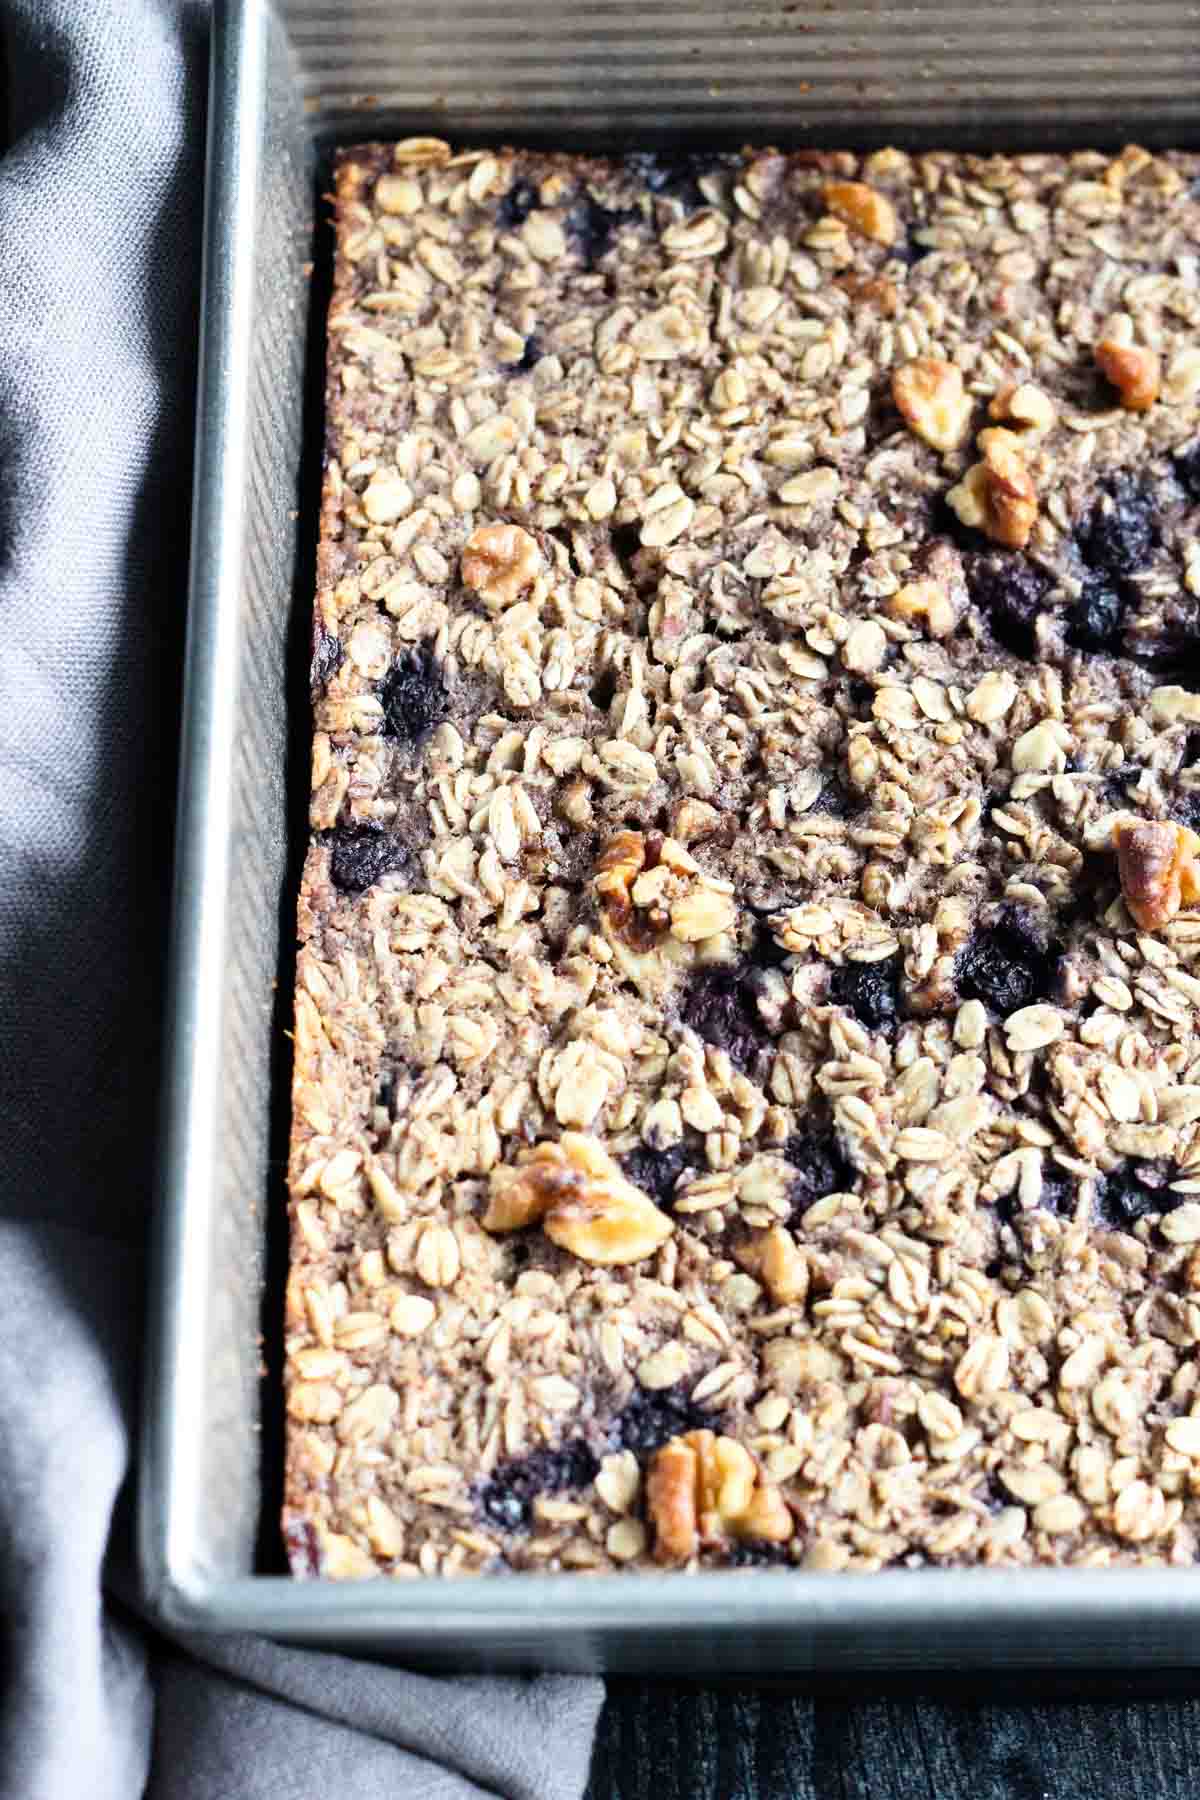
Making this could not be more simple. Just mix your ingredients, bake, and that's it! You only need a few minutes to put it together, and the ingredients can be mixed right in your baking dish for easy cleanup.
Note: Your oats are going to be swimming in a lot of liquid before baking and that's how they should look. The liquid will be absorbed and the oats will become soft as they bake. Don't overbake or they'll be too dry.
Substitutions
Use certified gluten-free oats if you need to keep this gluten-free. Some other ingredient substitutions:
- Oat Milk- instead of oat milk feel free to use your favorite milk of choice, like almond, cashew, or soy.
- Maple Syrup- although I haven't tested it, any sticky sweetener should work in this recipe.
- Walnuts- feel free to omit the nuts if you need to avoid them. If you're not a fan of walnuts, almonds or pecans will also work.
I don't recommend substituting the coconut oil as it solidifies when cooled and helps hold these oats together. I did not notice any hints of coconut in the final dish.
Variations
I love this recipe as-is but feel free to try your own variation. Some other options to try would be:
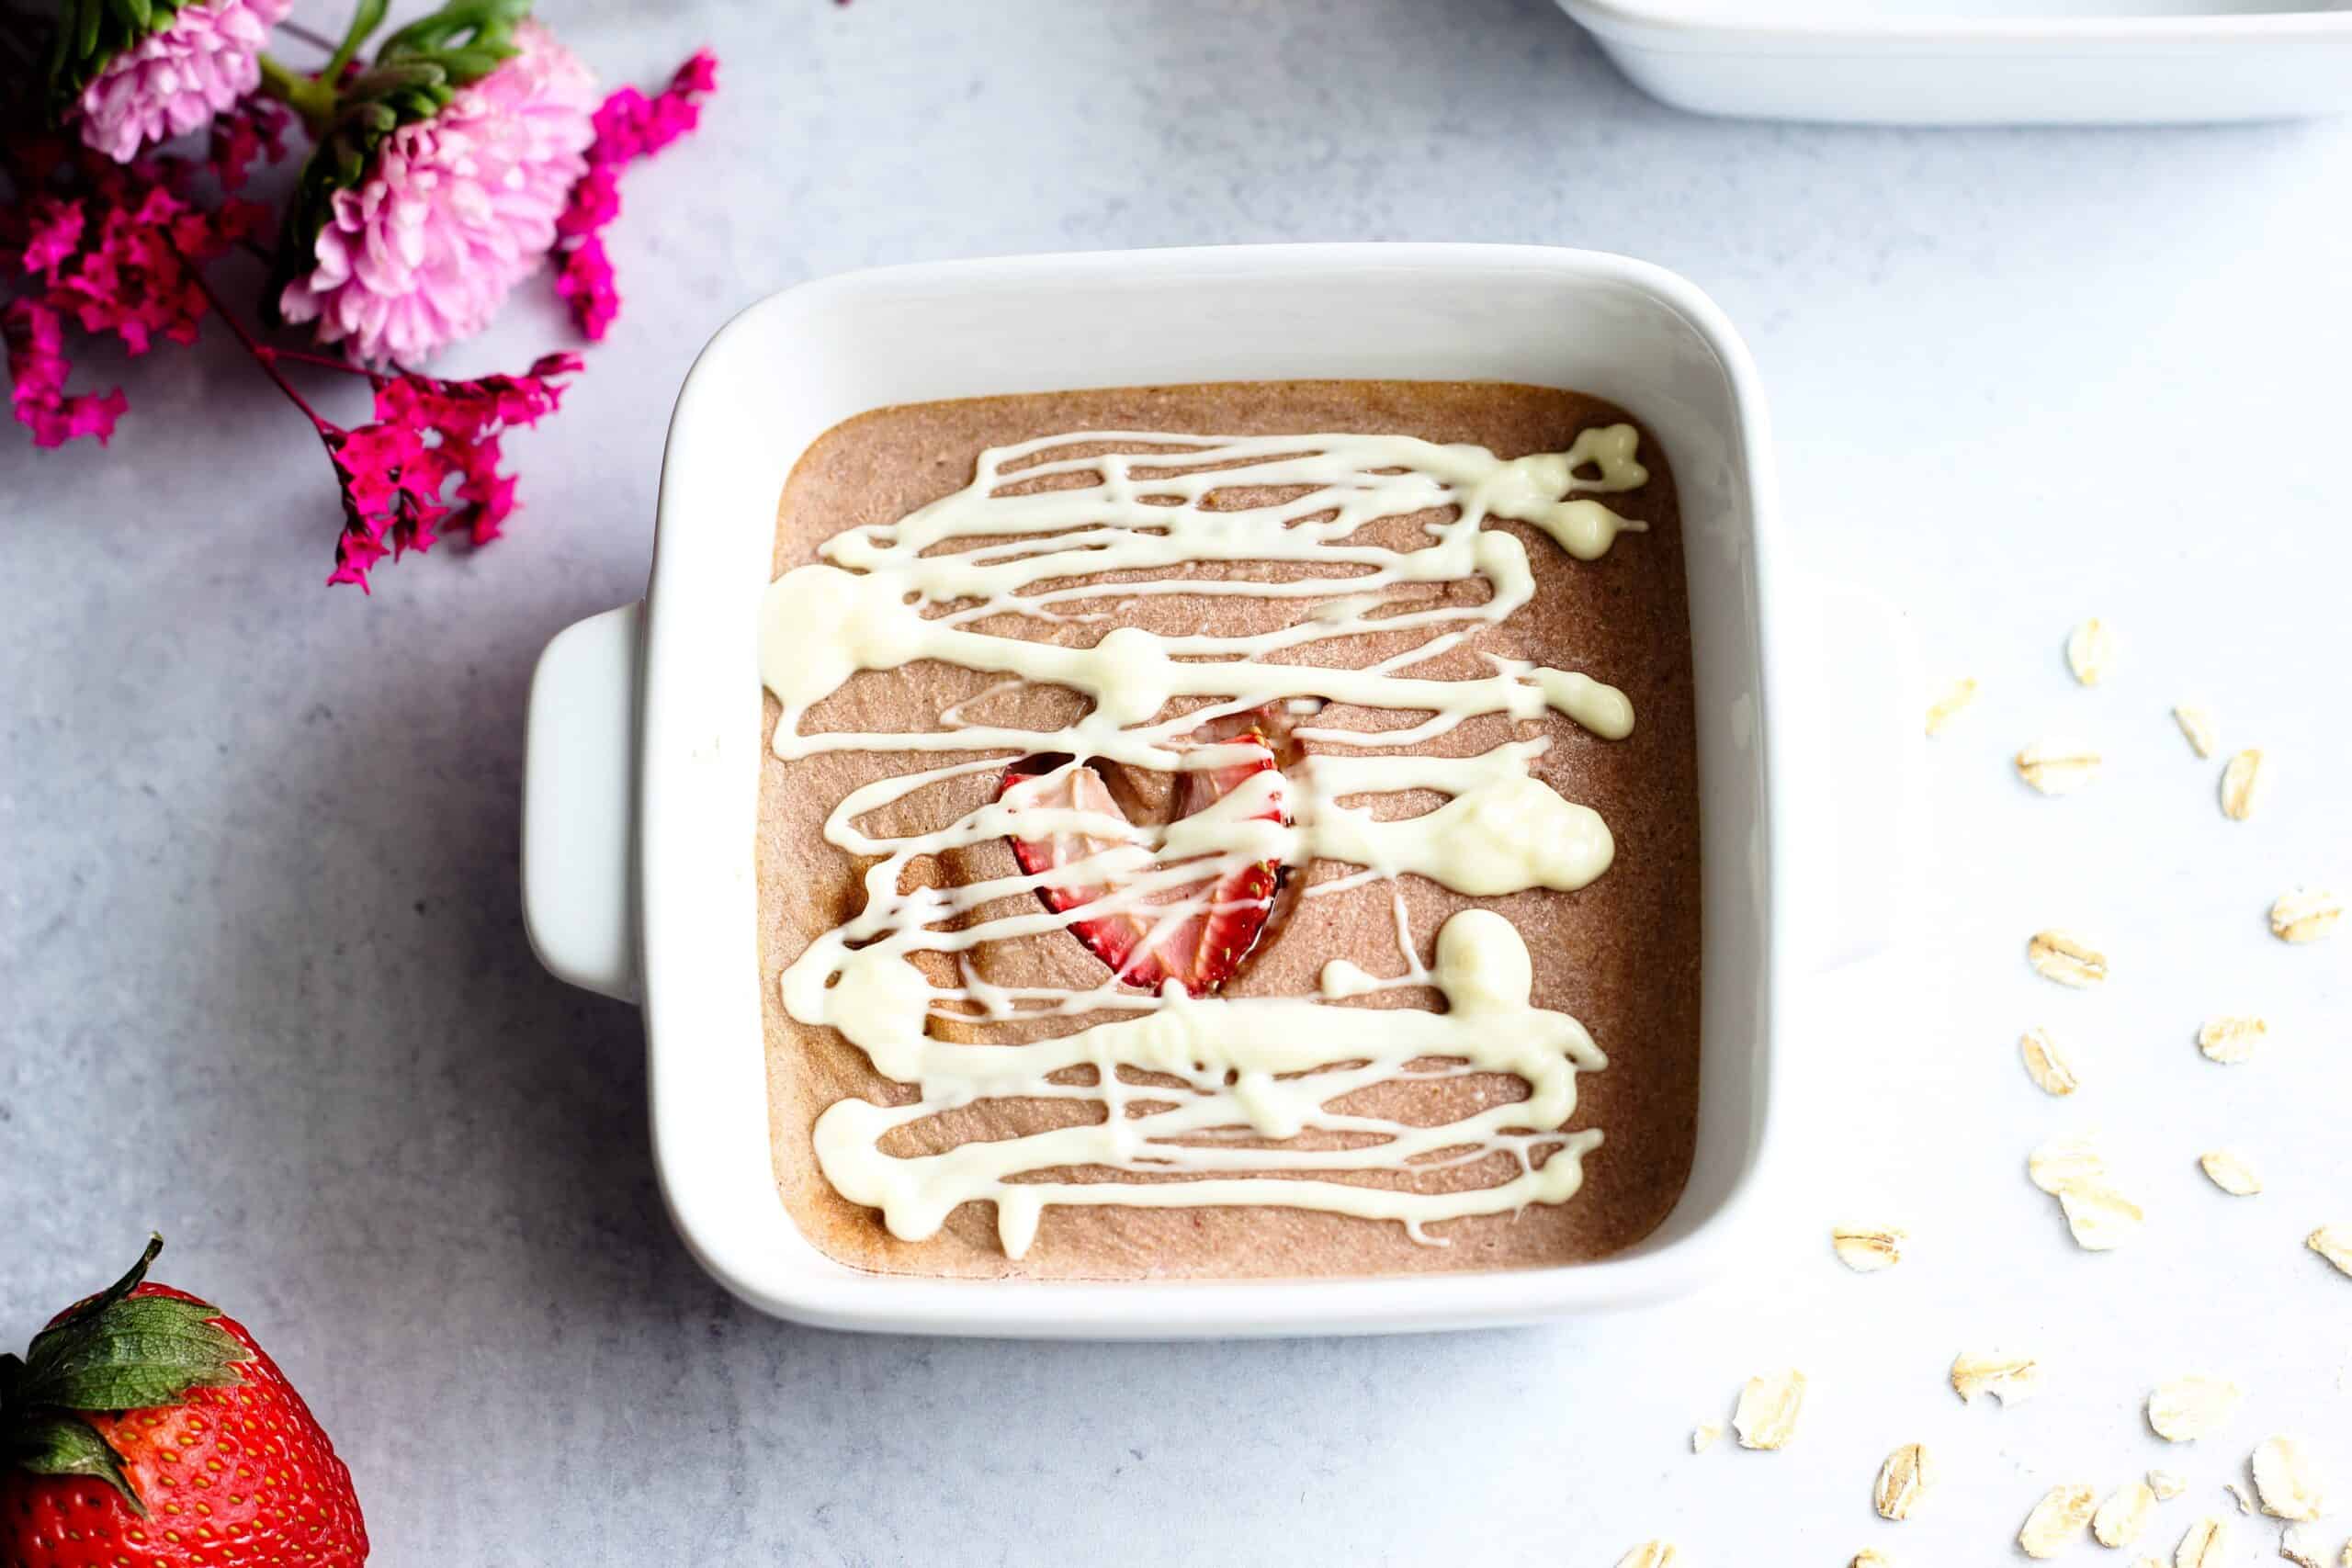
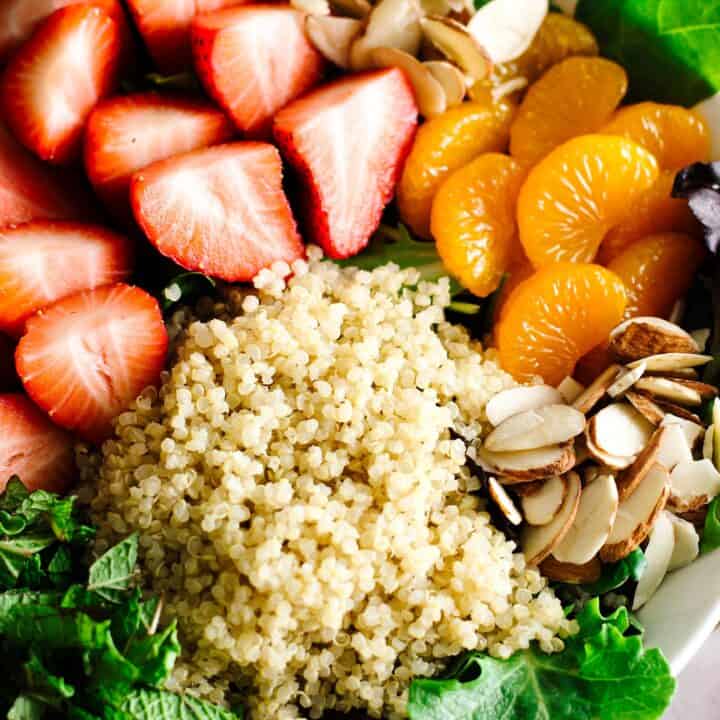
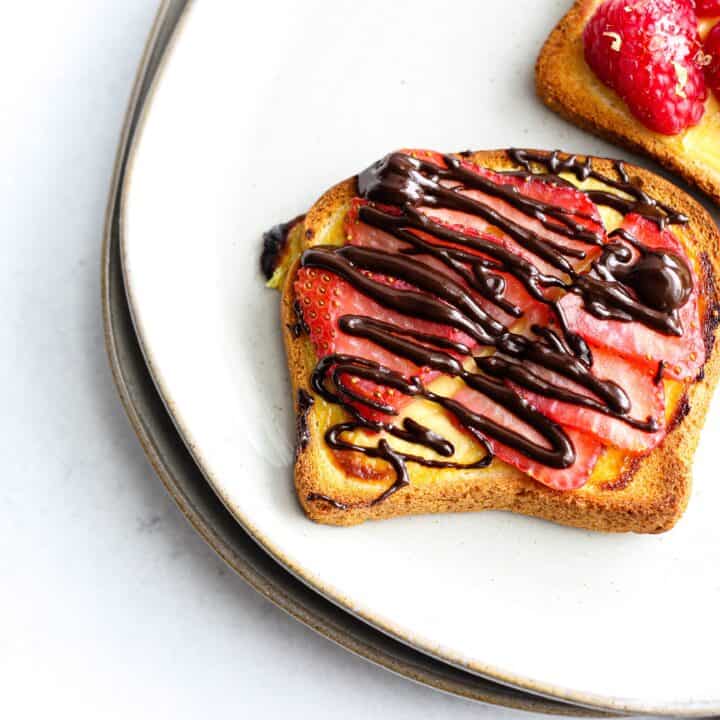
- Strawberry- try replacing the blueberries with strawberries for a tasty summer option
- Chocolate Chips - replace the blueberries with chocolate chips and top the oats with bananas after cooking. Kids love this option!
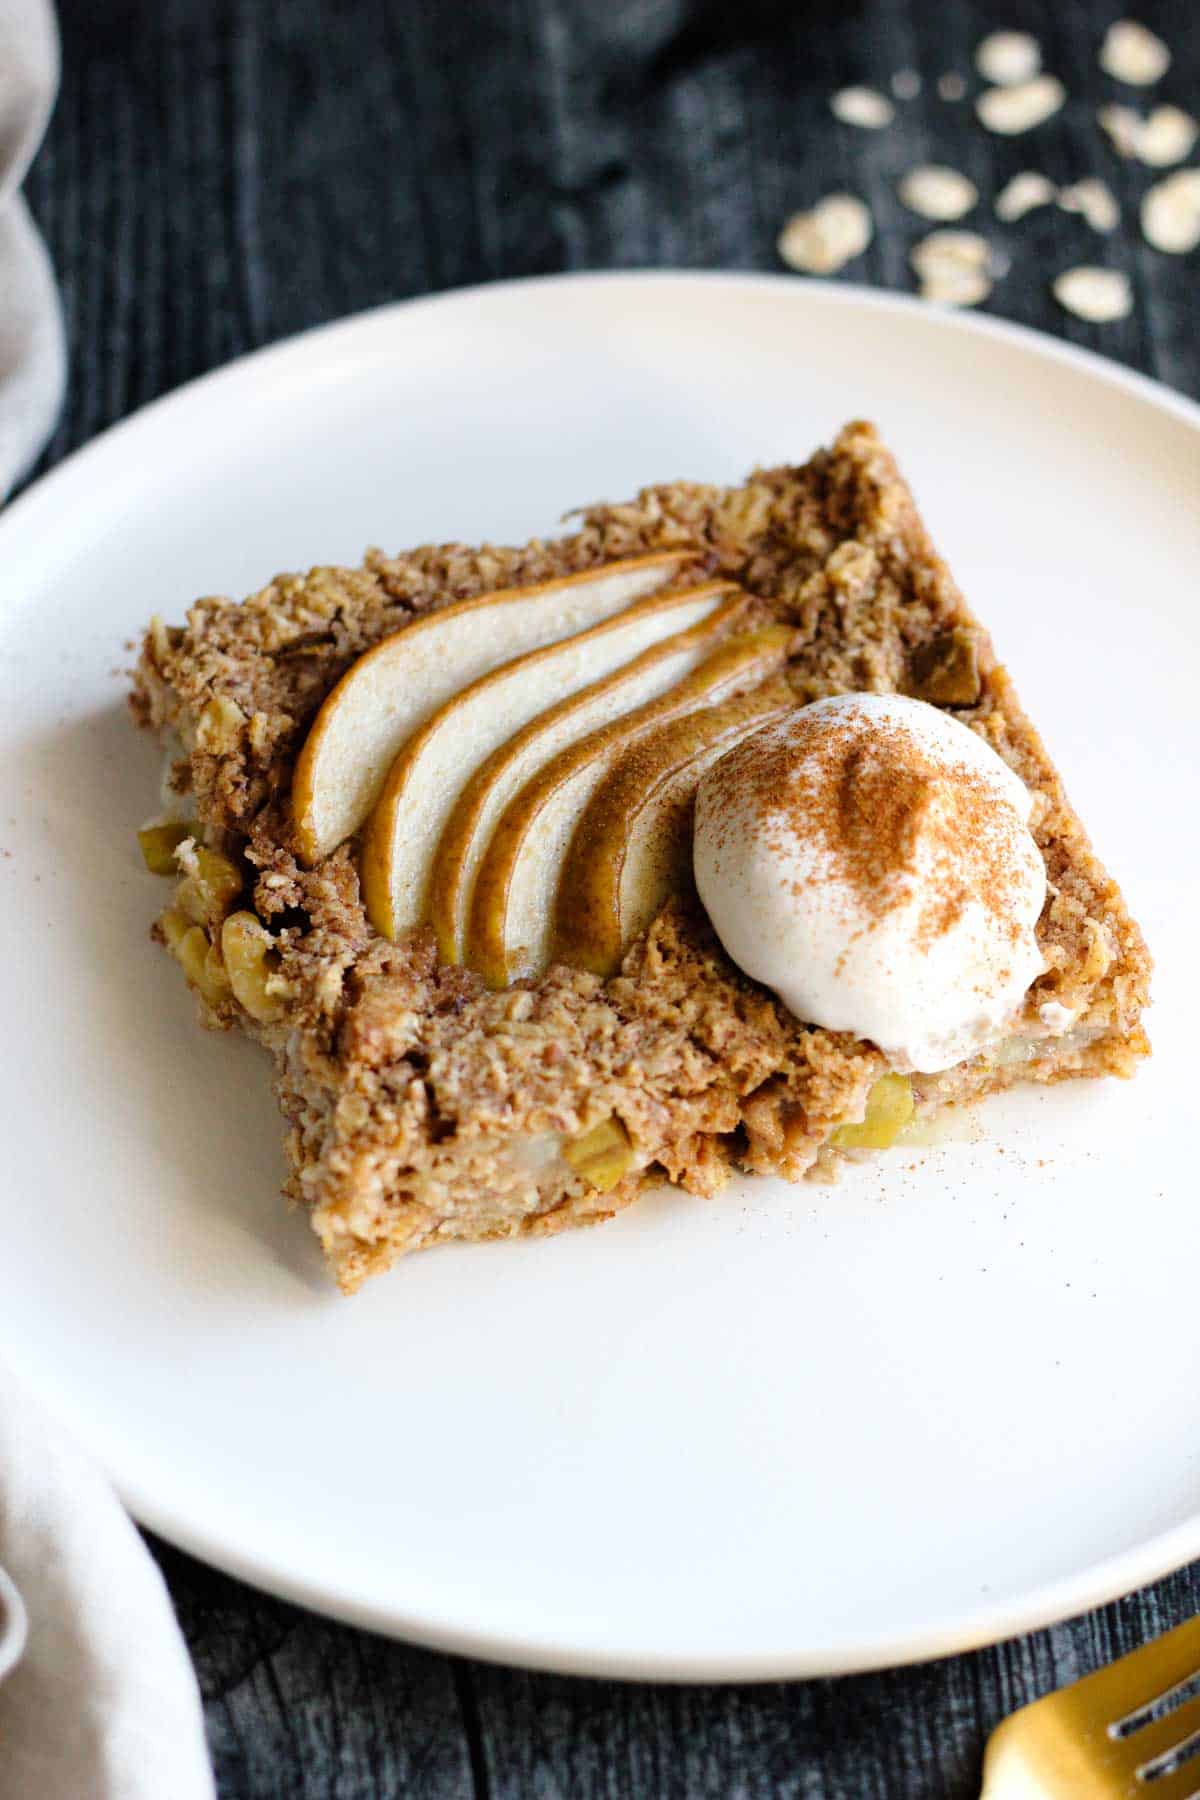
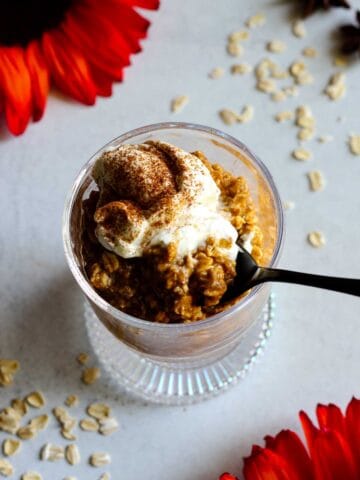
- Toppings- I like to top this with a dollop of nondairy yogurt, more nuts, and a sprinkle of cinnamon. A drizzle of peanut butter is tasty too.
Also try these Overnight Peanut Butter Oats!
Equipment
You won't need much kitchen equipment to whip up these oats. You'll just need a large spoon for mixing and an 8x8 inch baking dish. That's it! I like to use a metal baking dish because it helps the oats bake evenly and get perfectly browned. If you're using a glass dish, you may need to bake the oats a bit longer for more browning and to ensure the center is set.
Storage
Store any leftovers covered in the refrigerator for up to one week. After a week, the texture will start to dry out and the oats will become more chewy.
Tip
These baked oats are great for meal prep and can be reheated in the microwave for about 1 ½ minutes (depending on your make and model). Feel free to add a splash of milk to them before reheating to keep them moist and soft.
FAQ
If your oats are mushy after baking they may not have cooked long enough. Improperly measuring your liquid will also cause mushy oats.
I believe in bio-individuality, so healthy means something different to everybody. Oats are high in carbohydrates, so if you're watching your blood sugar these may not be healthy for you. If you're looking to incorporate a plant-based food that includes carbohydrates, fiber, protein, and calcium then this recipe will be a great option for you.
Other Recipes to Try
Looking for more oat recipes? Try these:


Vegan Blueberry Baked Oatmeal
Ingredients
- 2 cups rolled old-fashioned oats
- 1 teaspoon cinnamon
- 1 tablespoon ground flaxseed
- 1 tsp baking powder
- ½ teaspoon kosher salt
- 1 ¾ cup oat milk
- ¼ cup maple syrup
- 1 tablespoon melted coconut oil
- 1 teaspoon vanilla extract
- ½ cup unsweetened applesauce
- ¾ cup wild blueberries
- ¾ cup walnuts roughly chopped
Instructions
- Preheat your oven to 375°F and spray or rub an 8x8 inch baking dish with a bit of coconut oil.
- Combine all of your ingredients in a large bowl and mix well.
- Bake for 35-40 minutes, until the liquid is absorbed and the oats are soft and chewy.
- Serve warm. If you'd like you can top it with more blueberries and a dollop of your favorite dairy free yogurt.