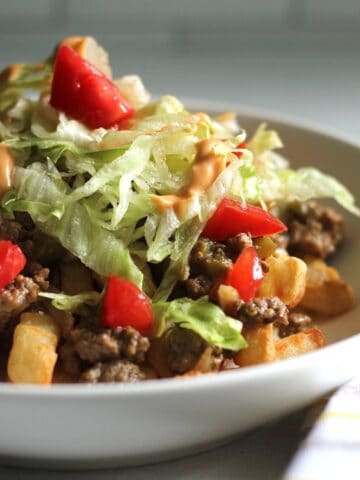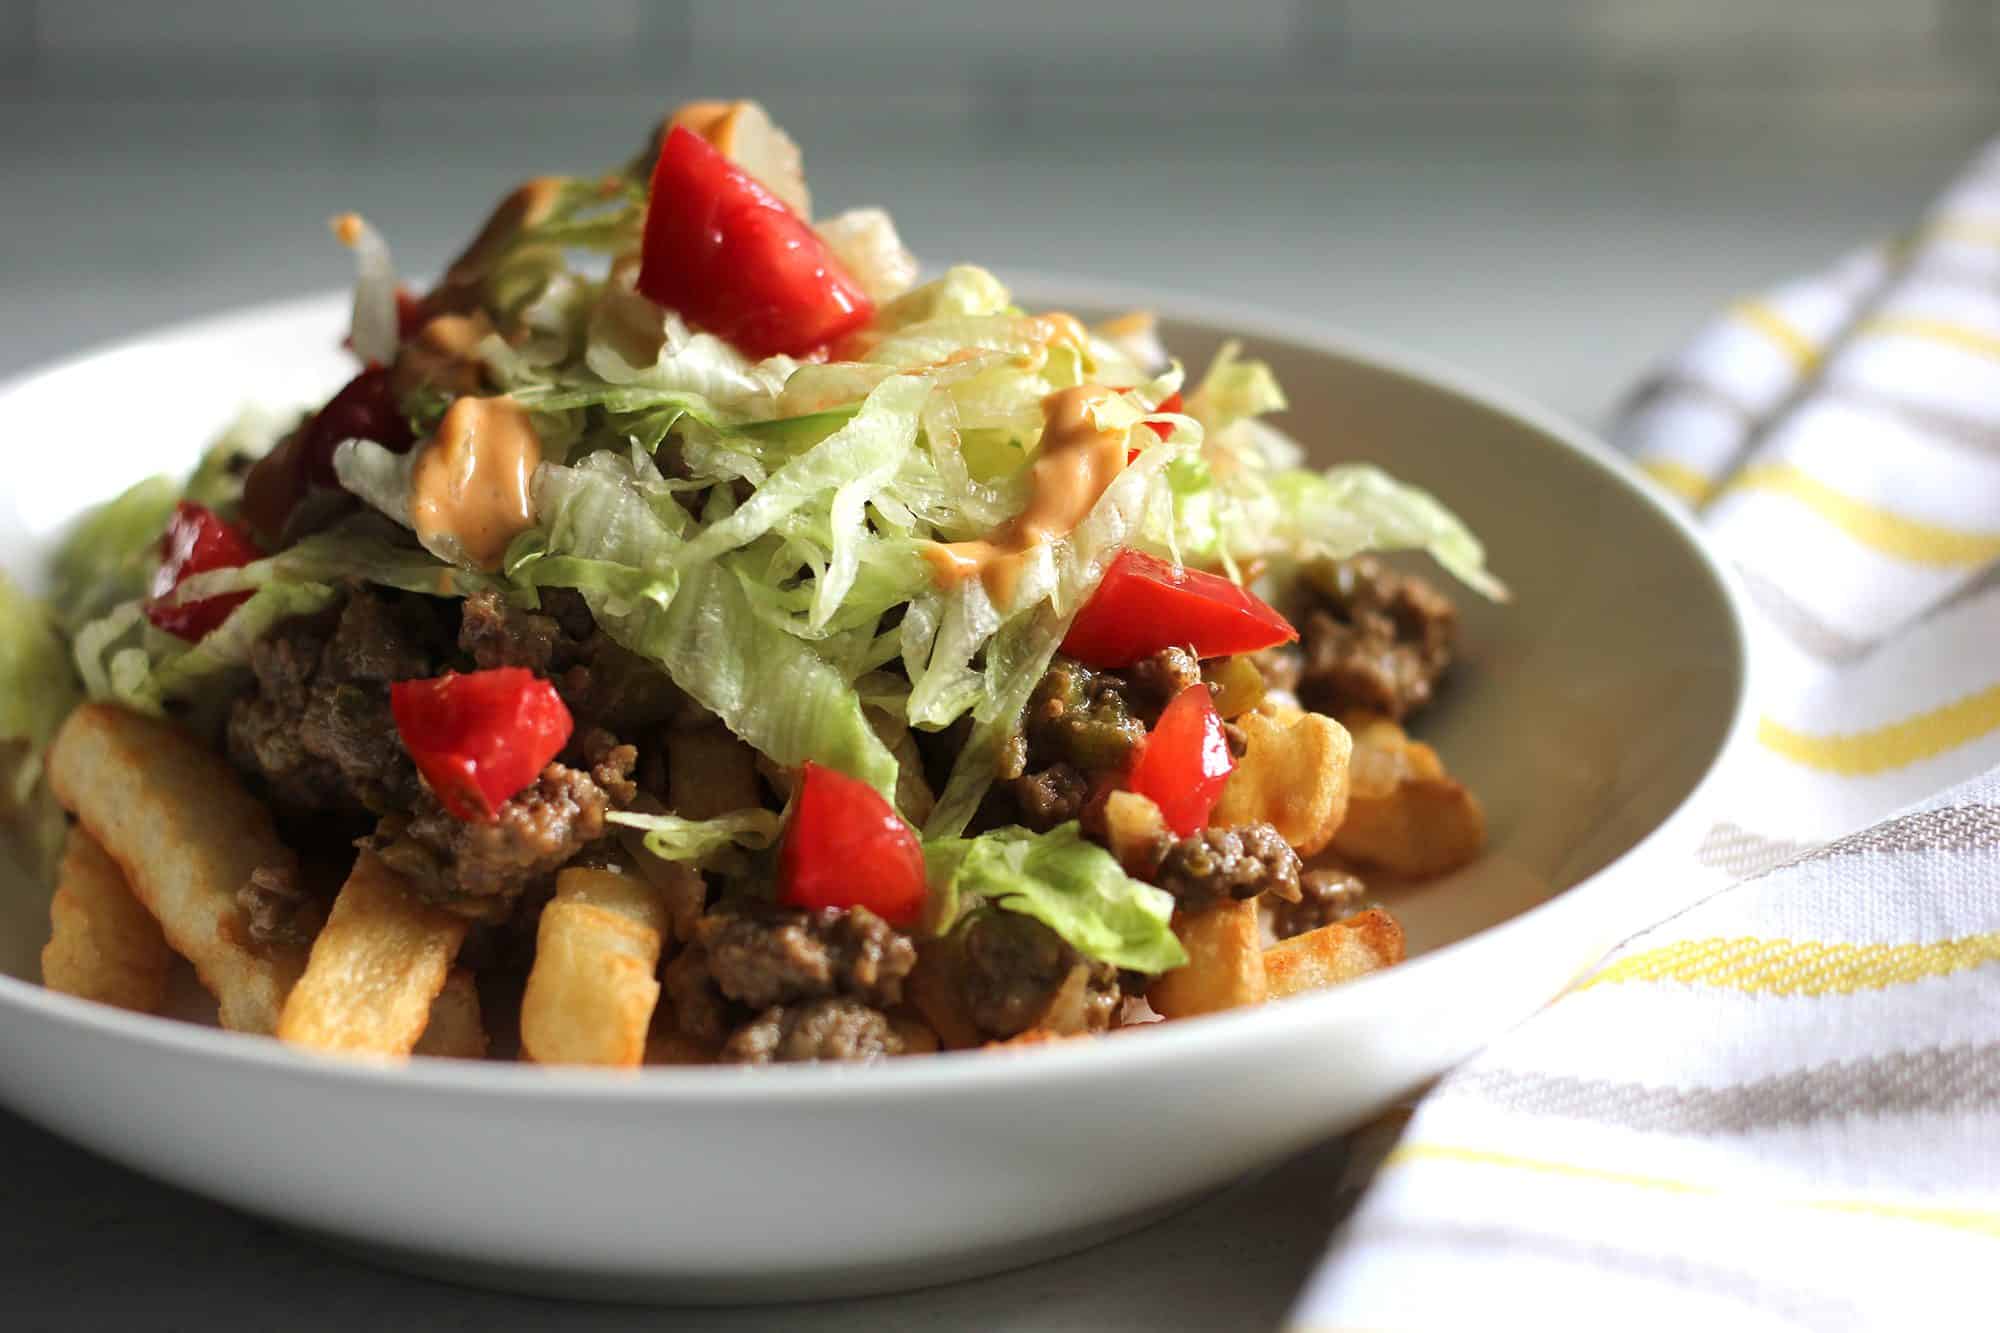
Custard toast is the latest food craze to trend on social media, and I just had to try it. It's genius, really, and if I knew who the original creator was I would certainly credit them here. The recipe uses an egg, yogurt (I used dairy-free), and some honey or maple syrup to create a custard that's spooned on to sliced bread and baked. This is one trend that lives up to the hype, and I actually find that it tastes similar to cheesecake. It's simple to make, requires only a few minutes, and it's my new favorite way to enjoy toast.

I tested this custard toast with traditional bread and yogurt, and also with gluten-free bread and dairy-free yogurt. The gluten and dairy-free toast is just as delicious as the traditional version, and there was little difference in flavor or texture.
Gluten-Free Bread
I'm using Udi's gluten-free white bread to make this, and it works great. If you don't need to avoid gluten, feel free to use your favorite. Dairy-free brioche, croissants, or cinnamon raisin bread would also be delicious with this. Just be sure your bread doesn't have any holes in it or the custard will leak through. You'll want to gently press a good well in the middle of your slices for the custard to rest, so it doesn't spill over the sides.
Dairy-Free Yogurt
Kite Hill is my go-to for Greek-style yogurt, and it worked perfectly for this recipe. The custard set just as it was supposed to, and it wasn't runny or watery. You can try your favorite brand of dairy-free yogurt in this, but be aware that it may yield different results. Each brand contains varied ingredients, so the product may behave differently for you. I would avoid yogurts with a watery consistency and use one that is thick and creamy to ensure the custard sets properly.
Make It Vegan
You can make this custard toast vegan by replacing the egg with 3 tablespoons of Just Egg. You can also replace the honey with maple syrup, and serve it on a vegan croissant or your favorite bread.
Air Fried or Baked
I make this in my air fryer at 350°F on the baking pan lined with parchment. The toast gets perfectly crisp, and the custard sets at about 5 minutes without the bread getting too brown. You can also bake this in your oven on a baking sheet at 350°F. I do not recommend cooking this in your air fryer basket. If the custard drips over the edges of your bread, you'll have a bit of a mess on your hands.
Topping Your Toast
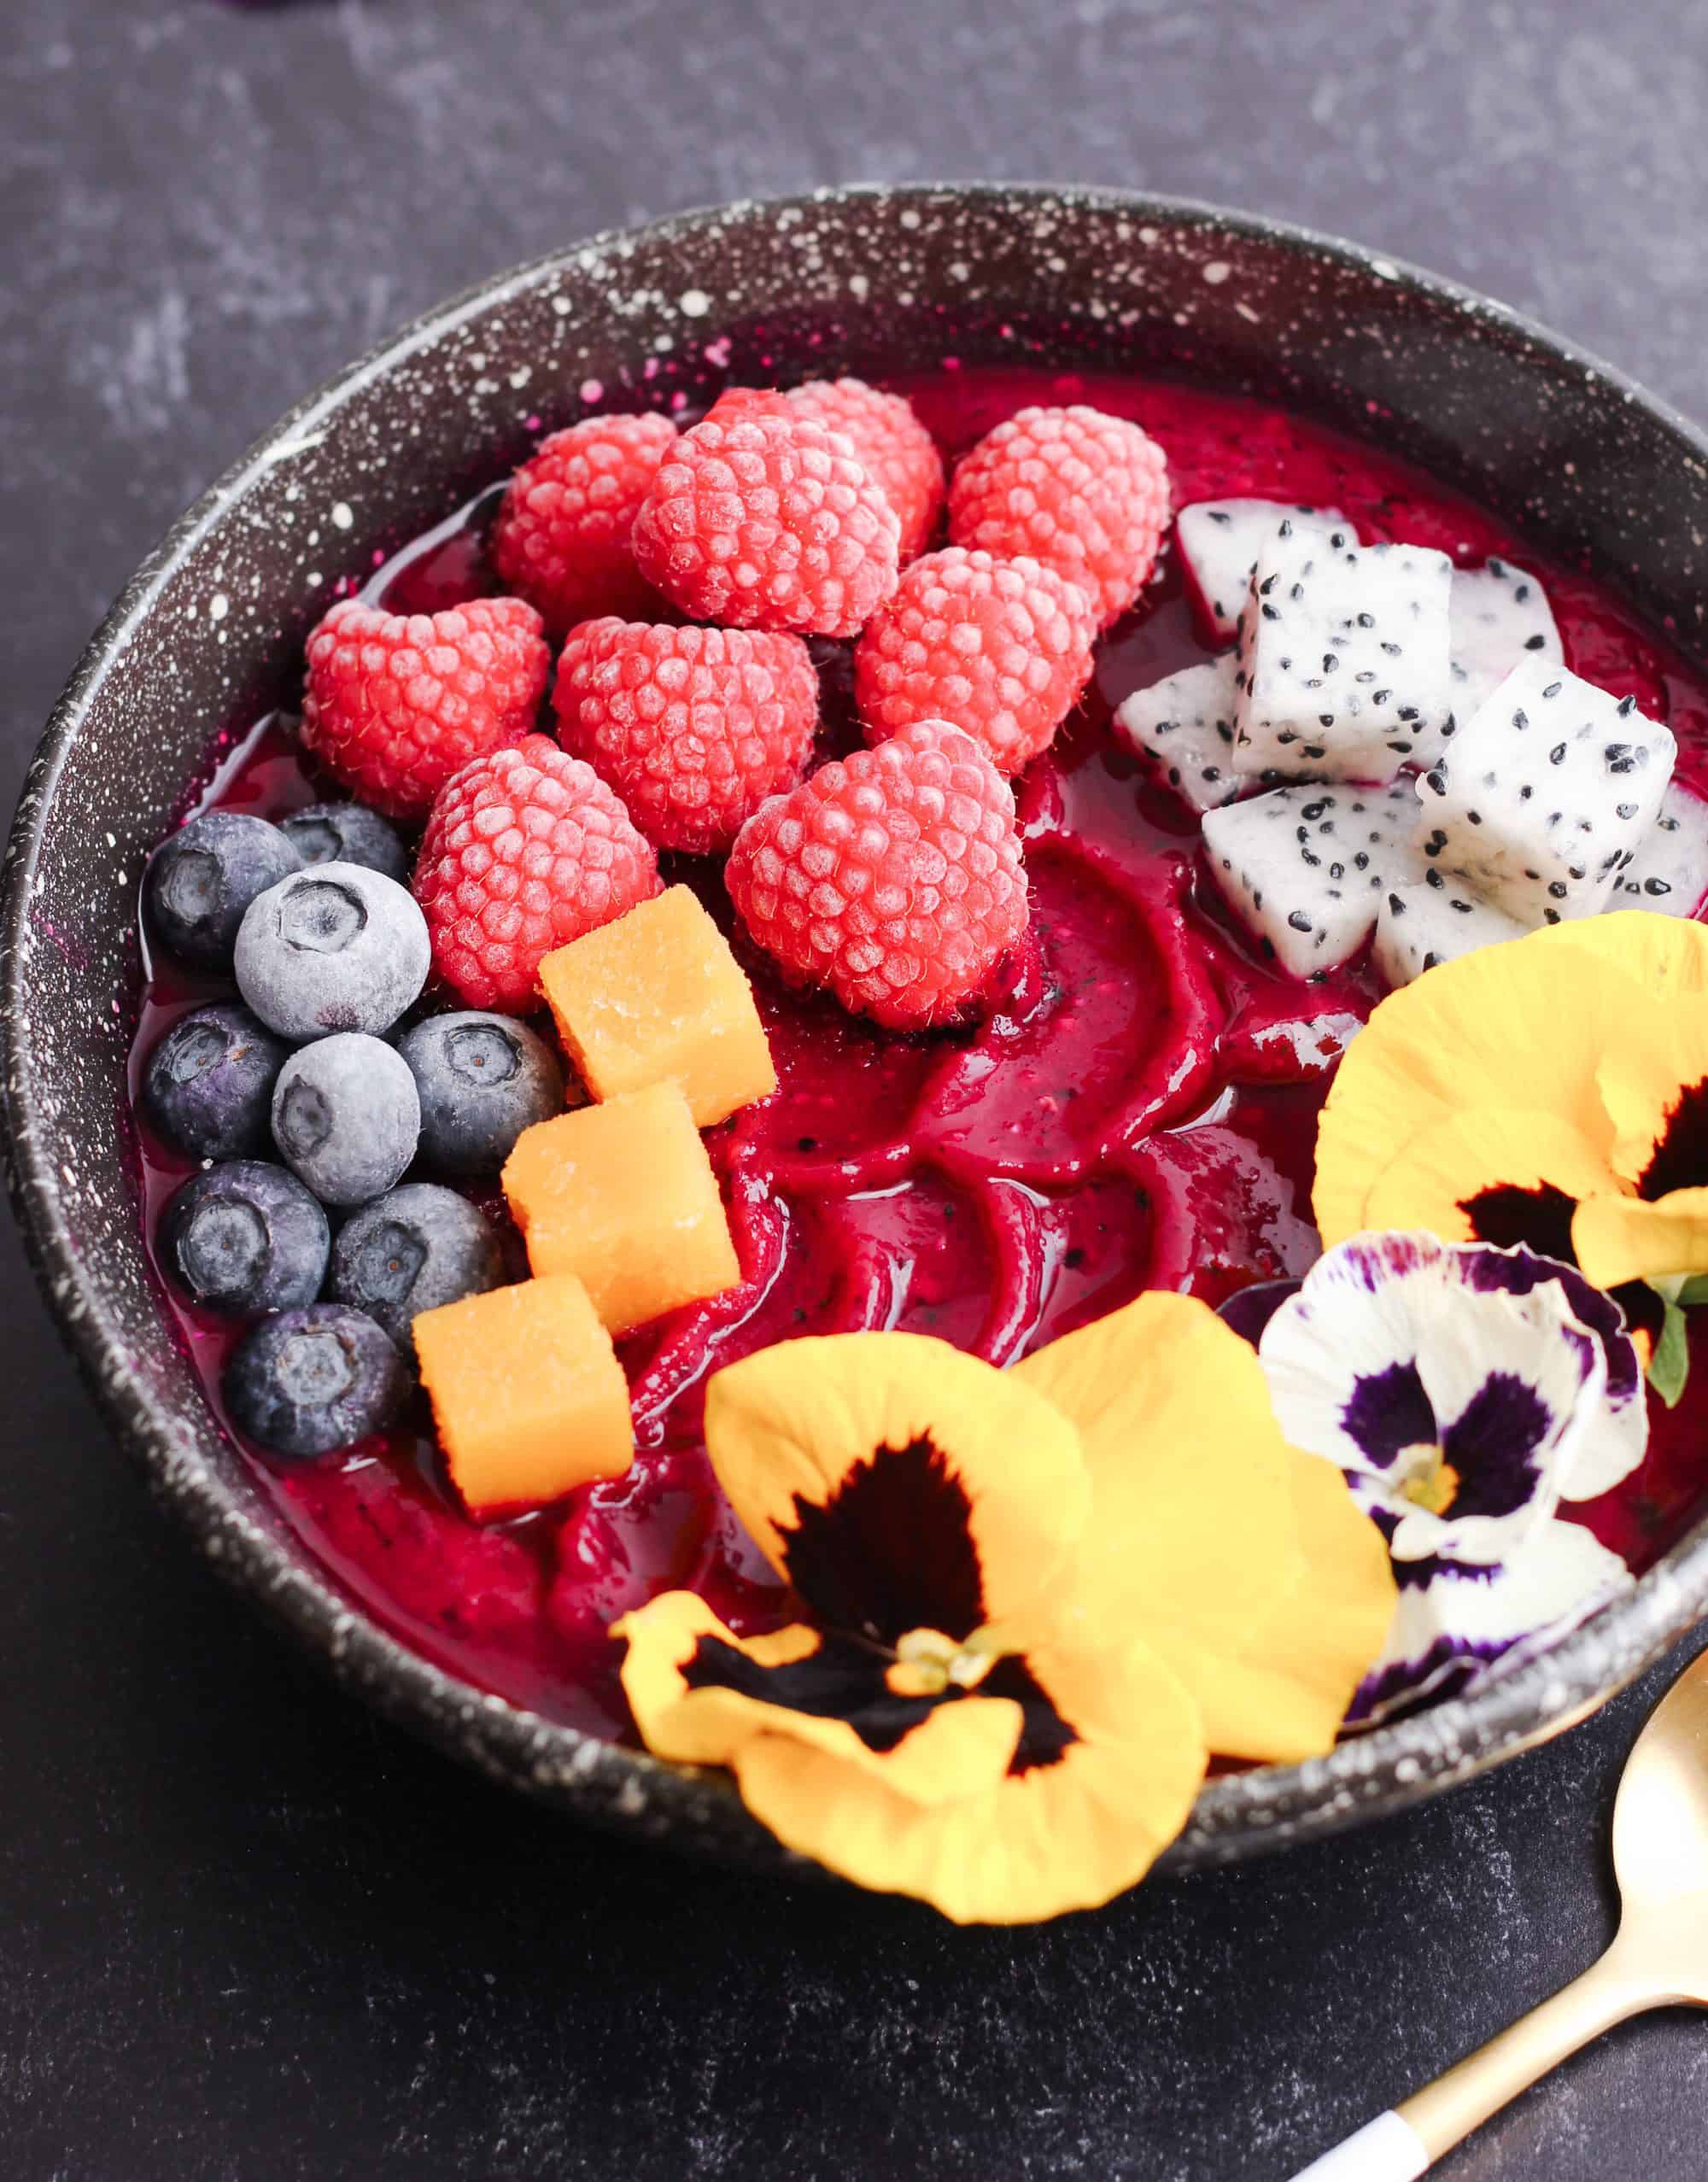
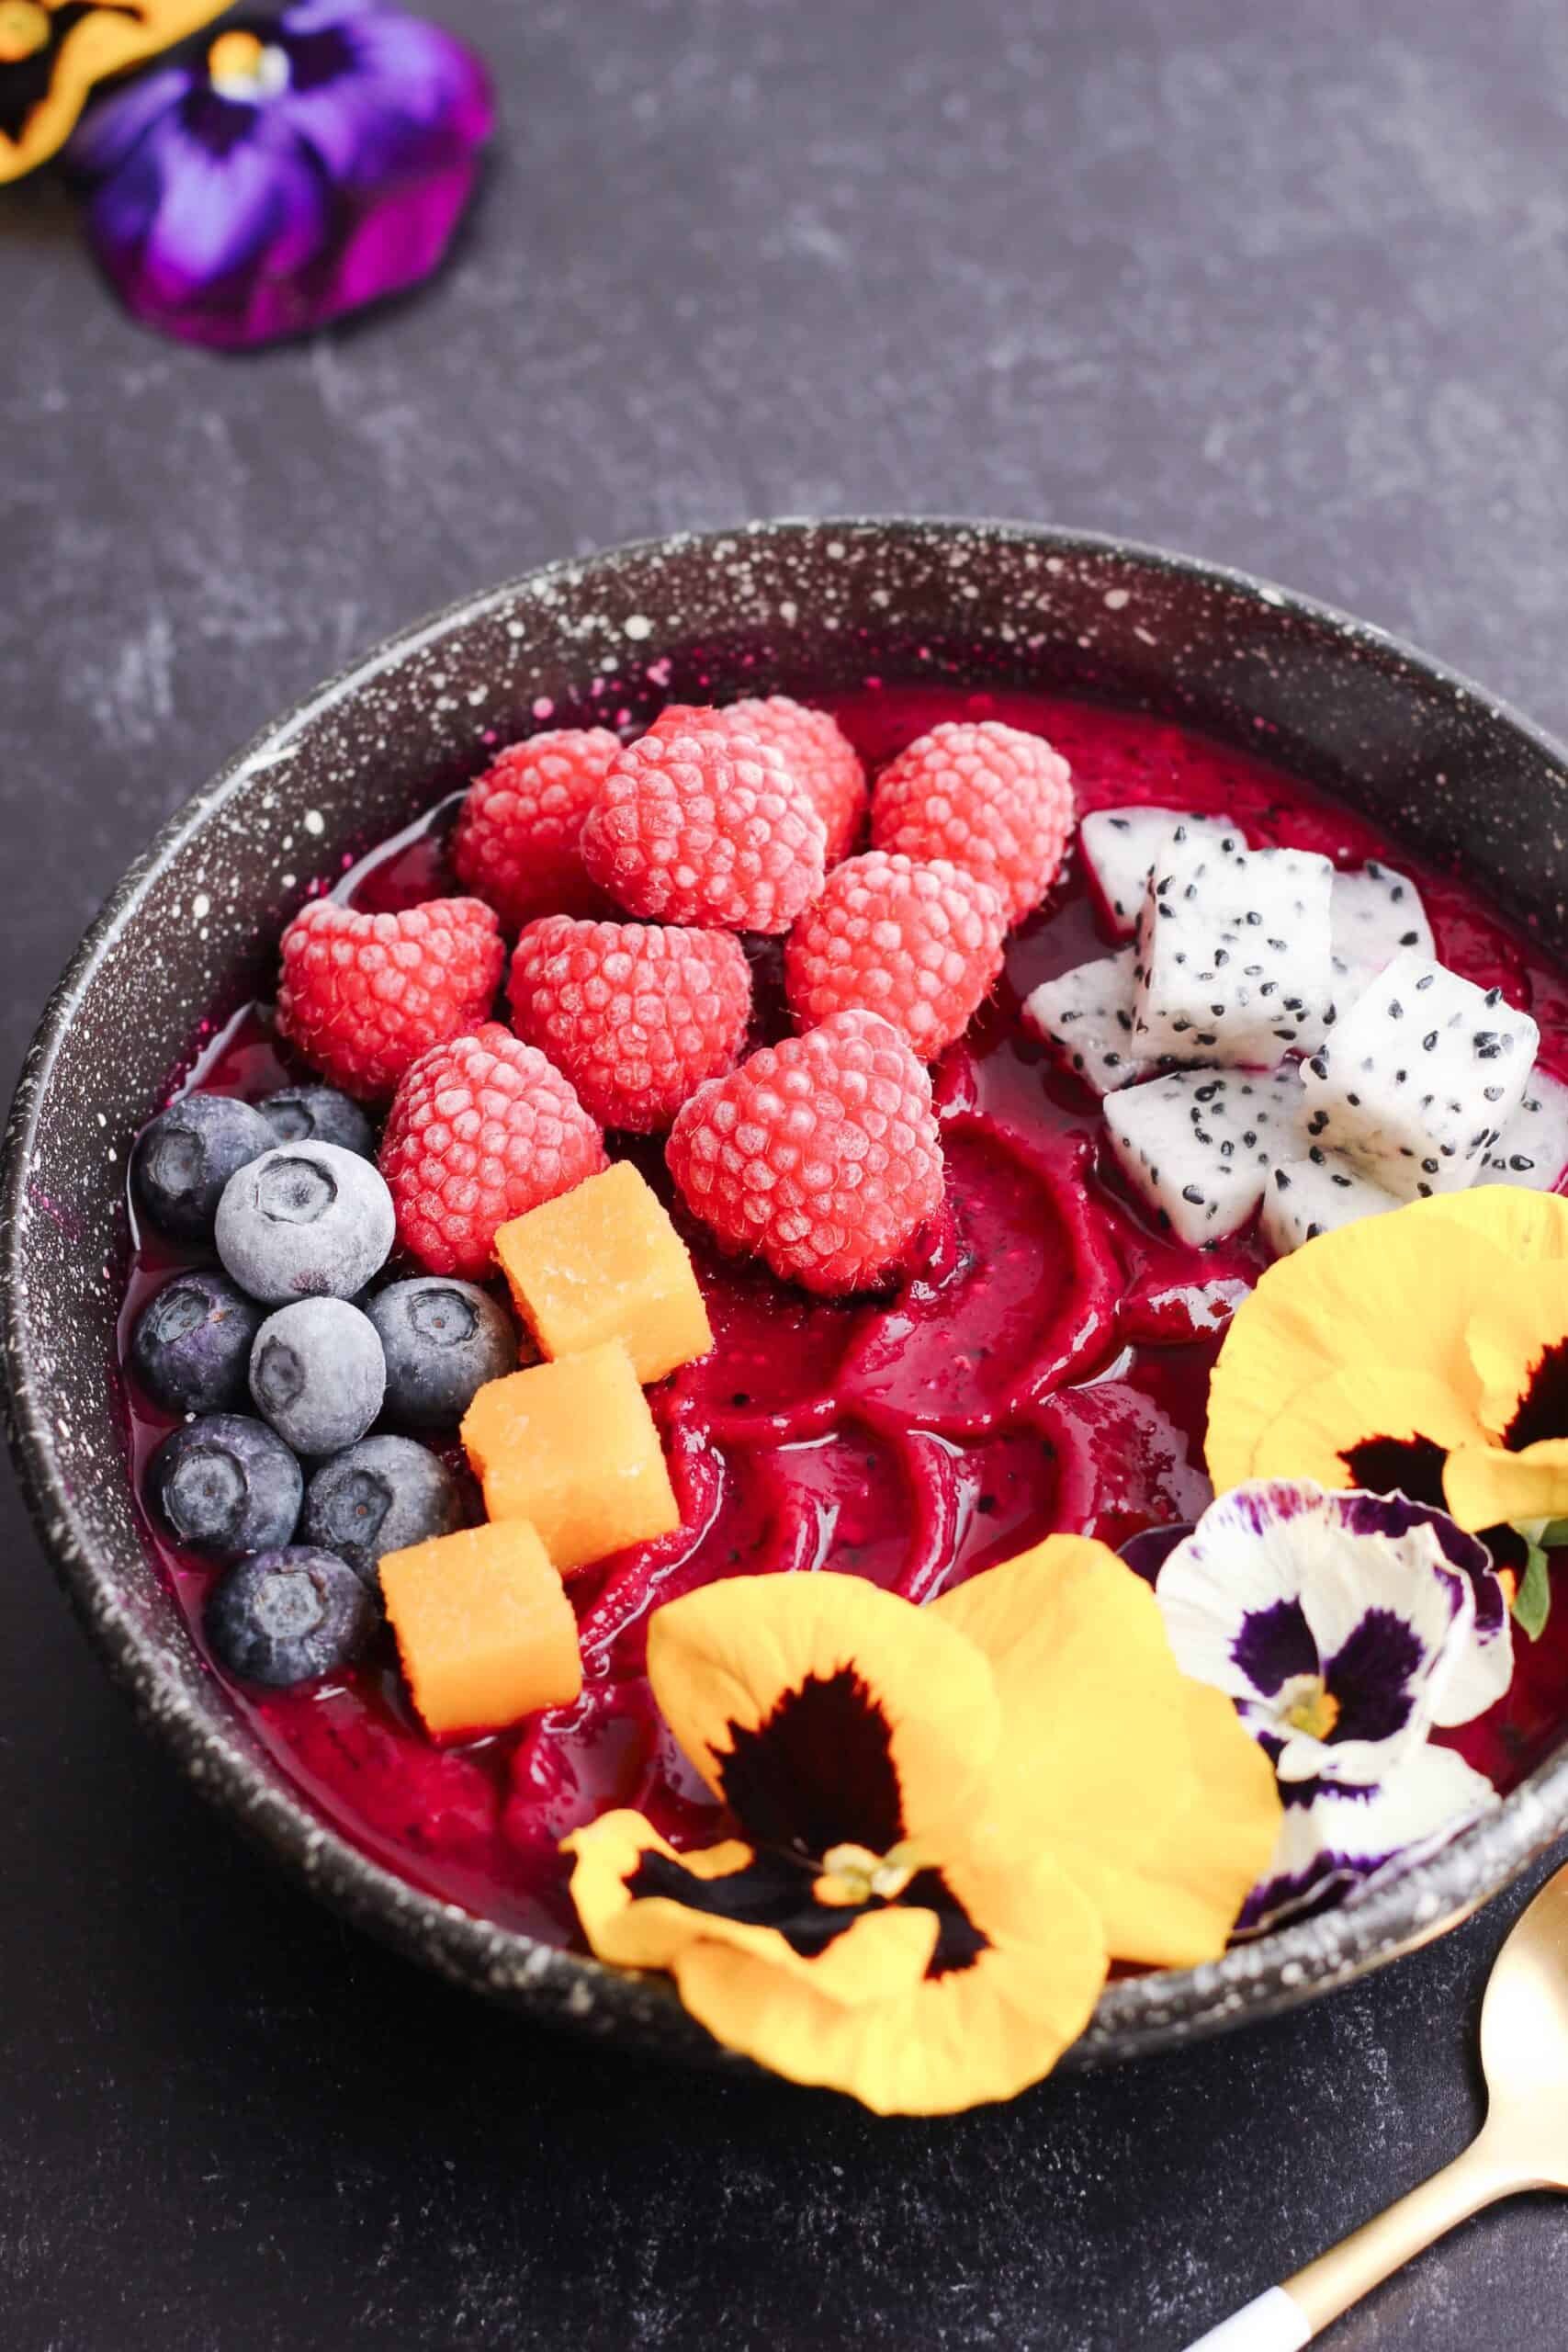
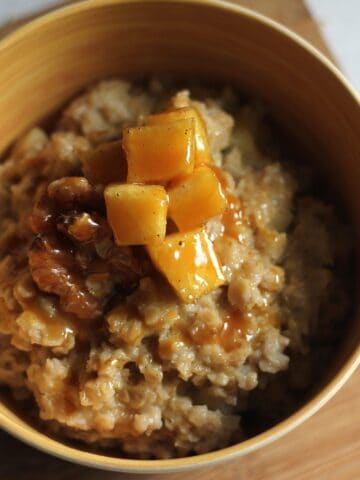
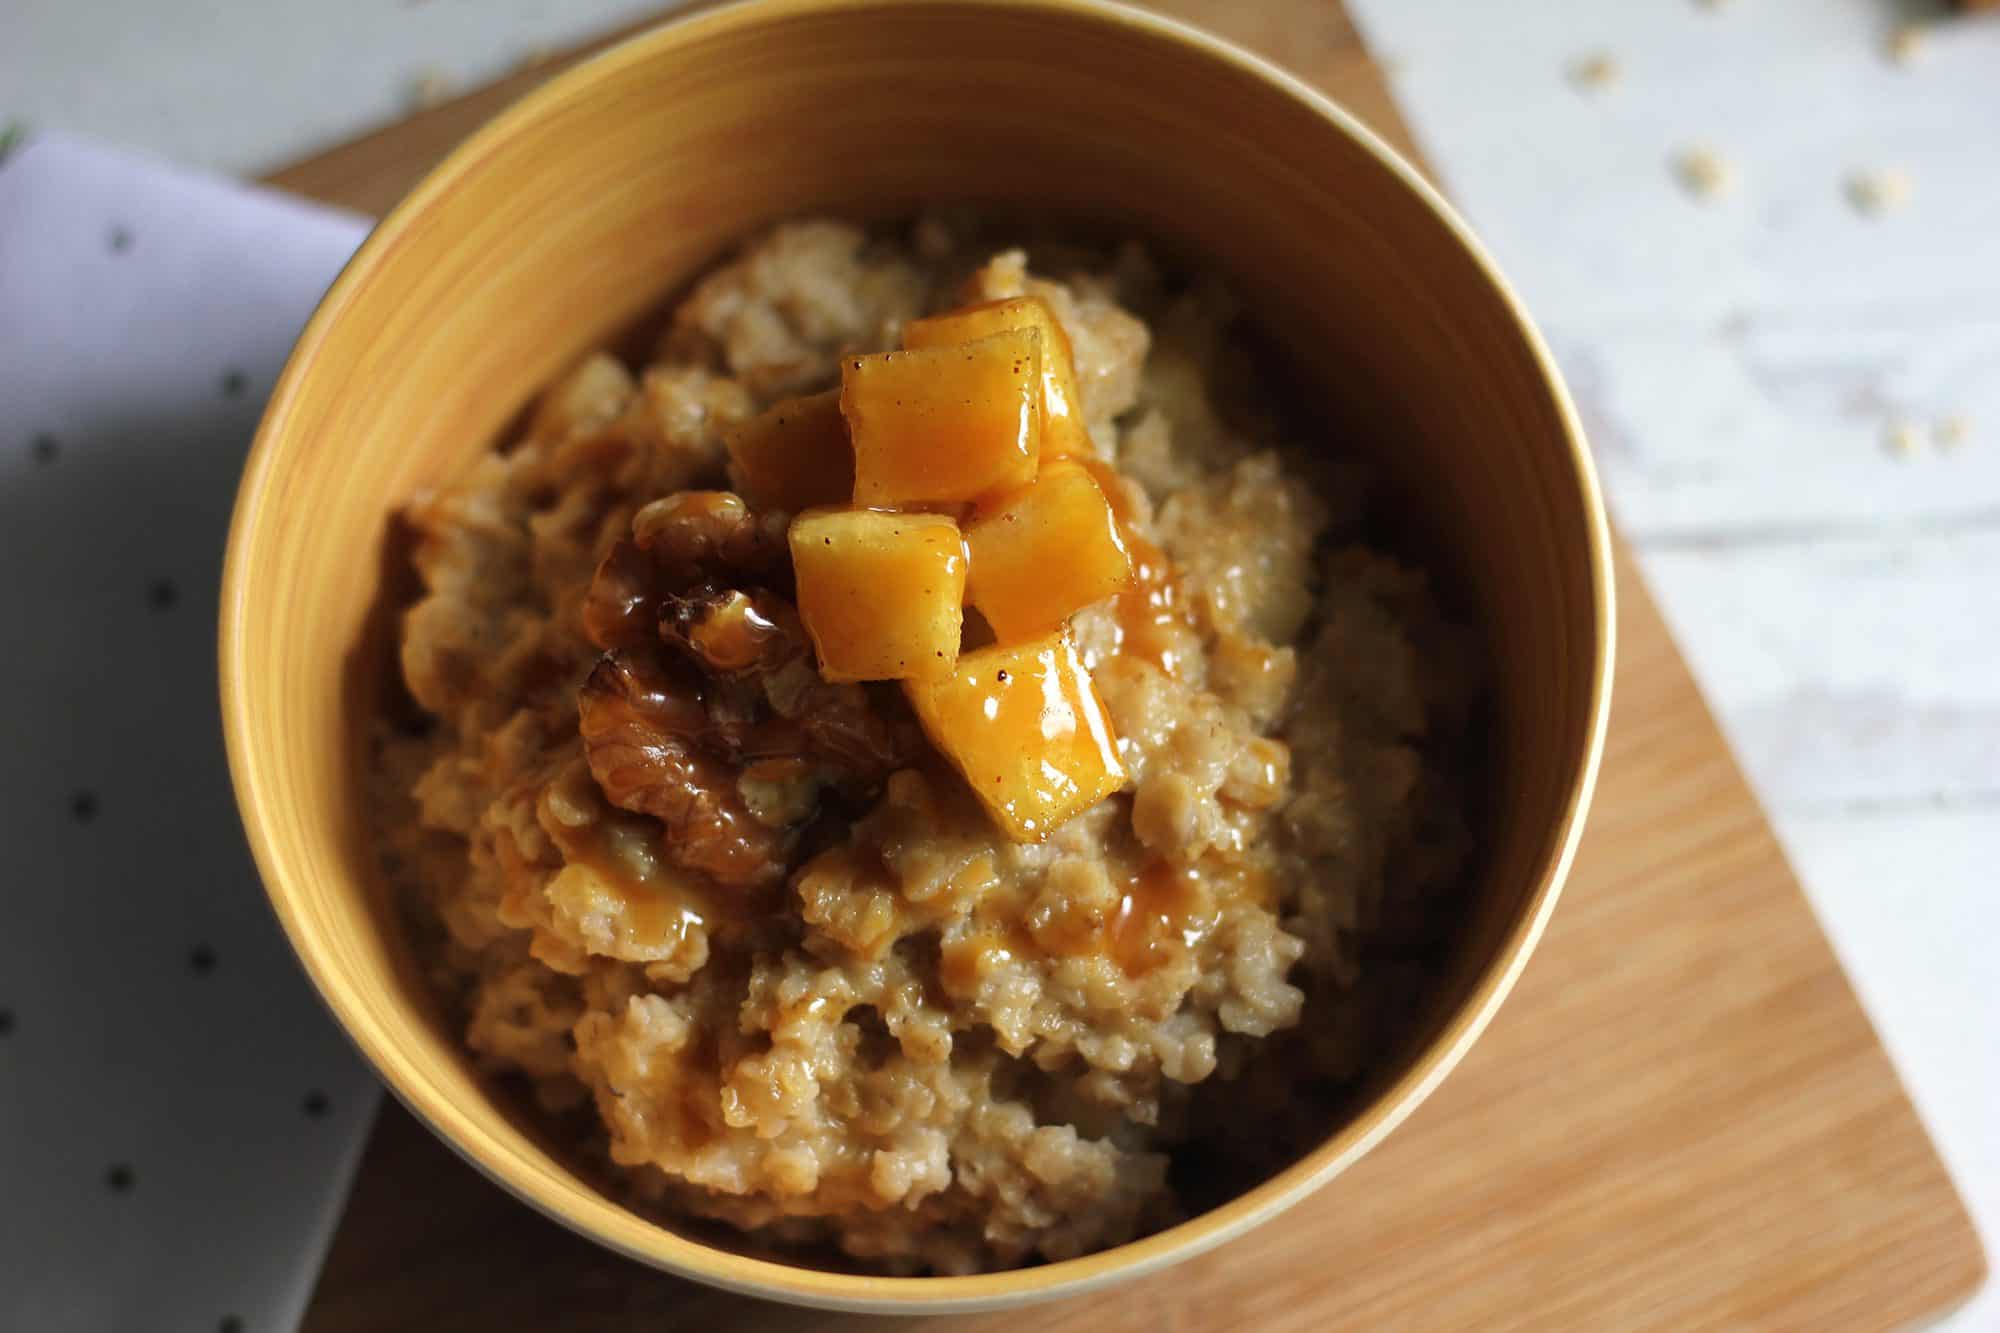
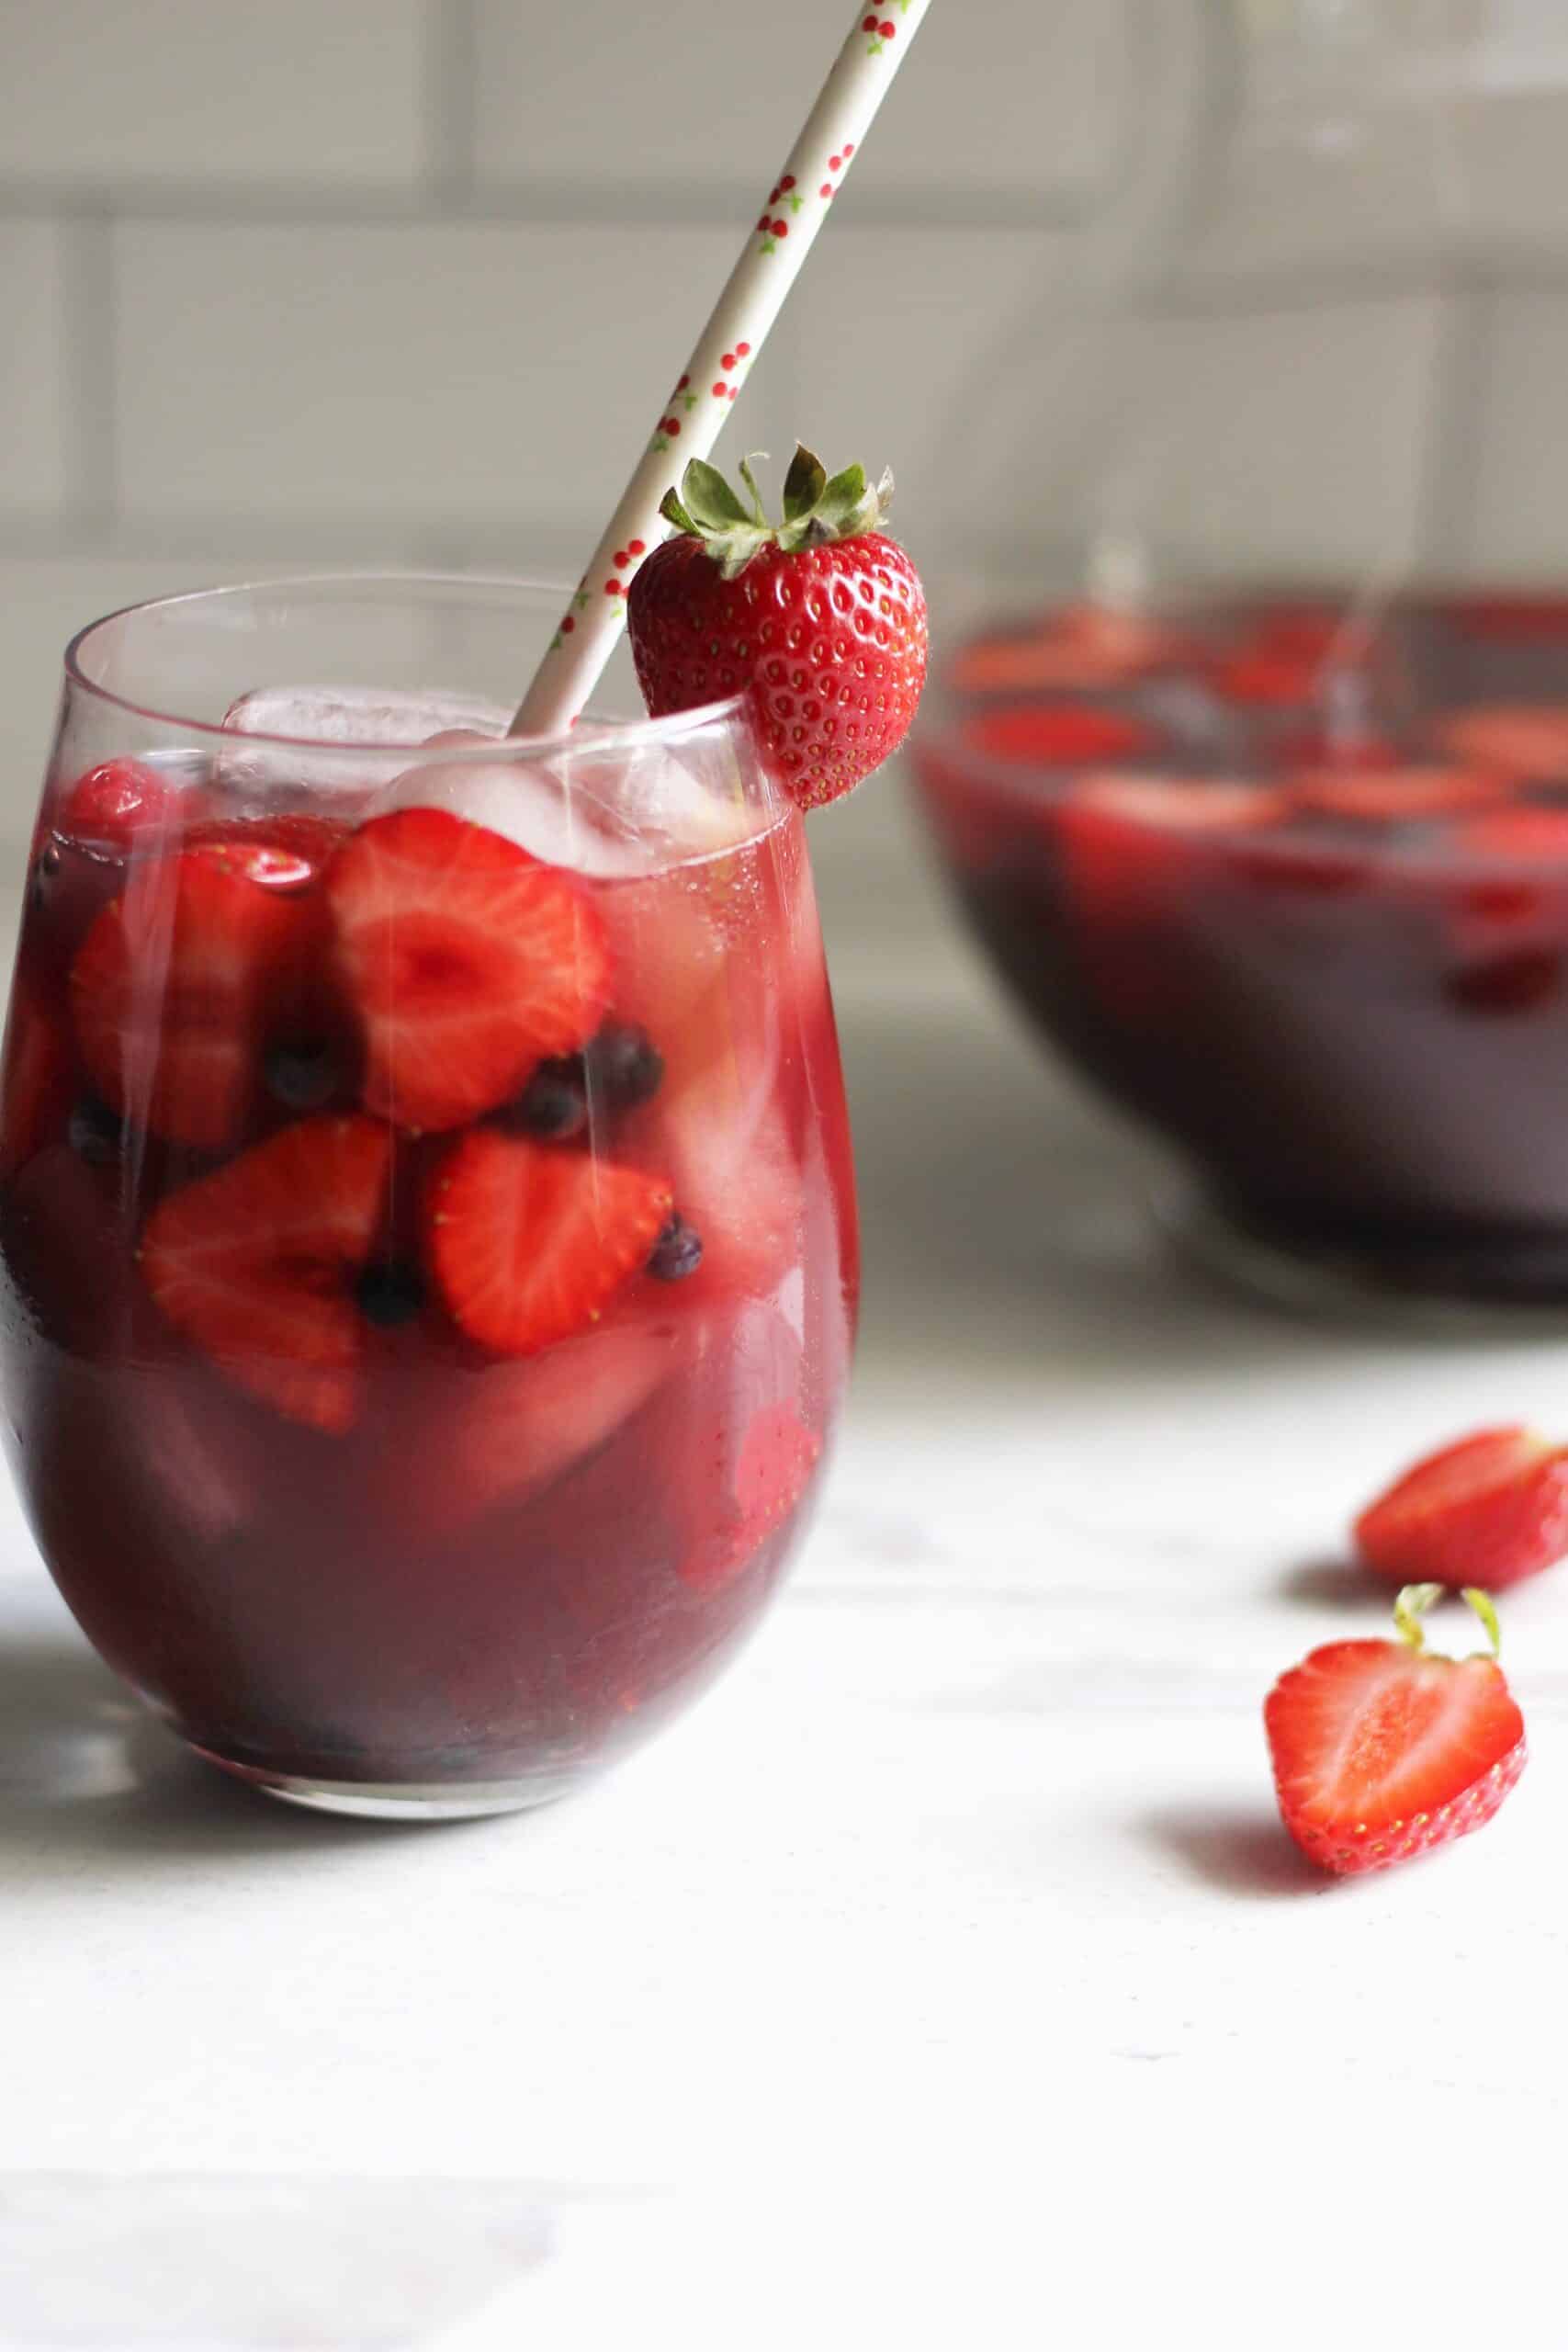
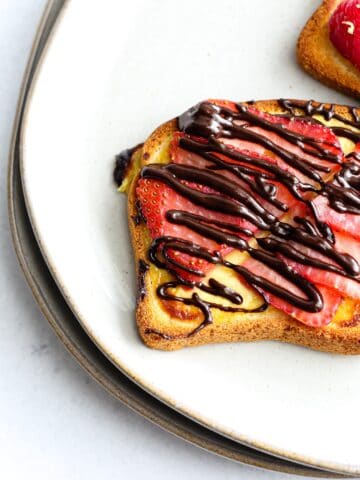
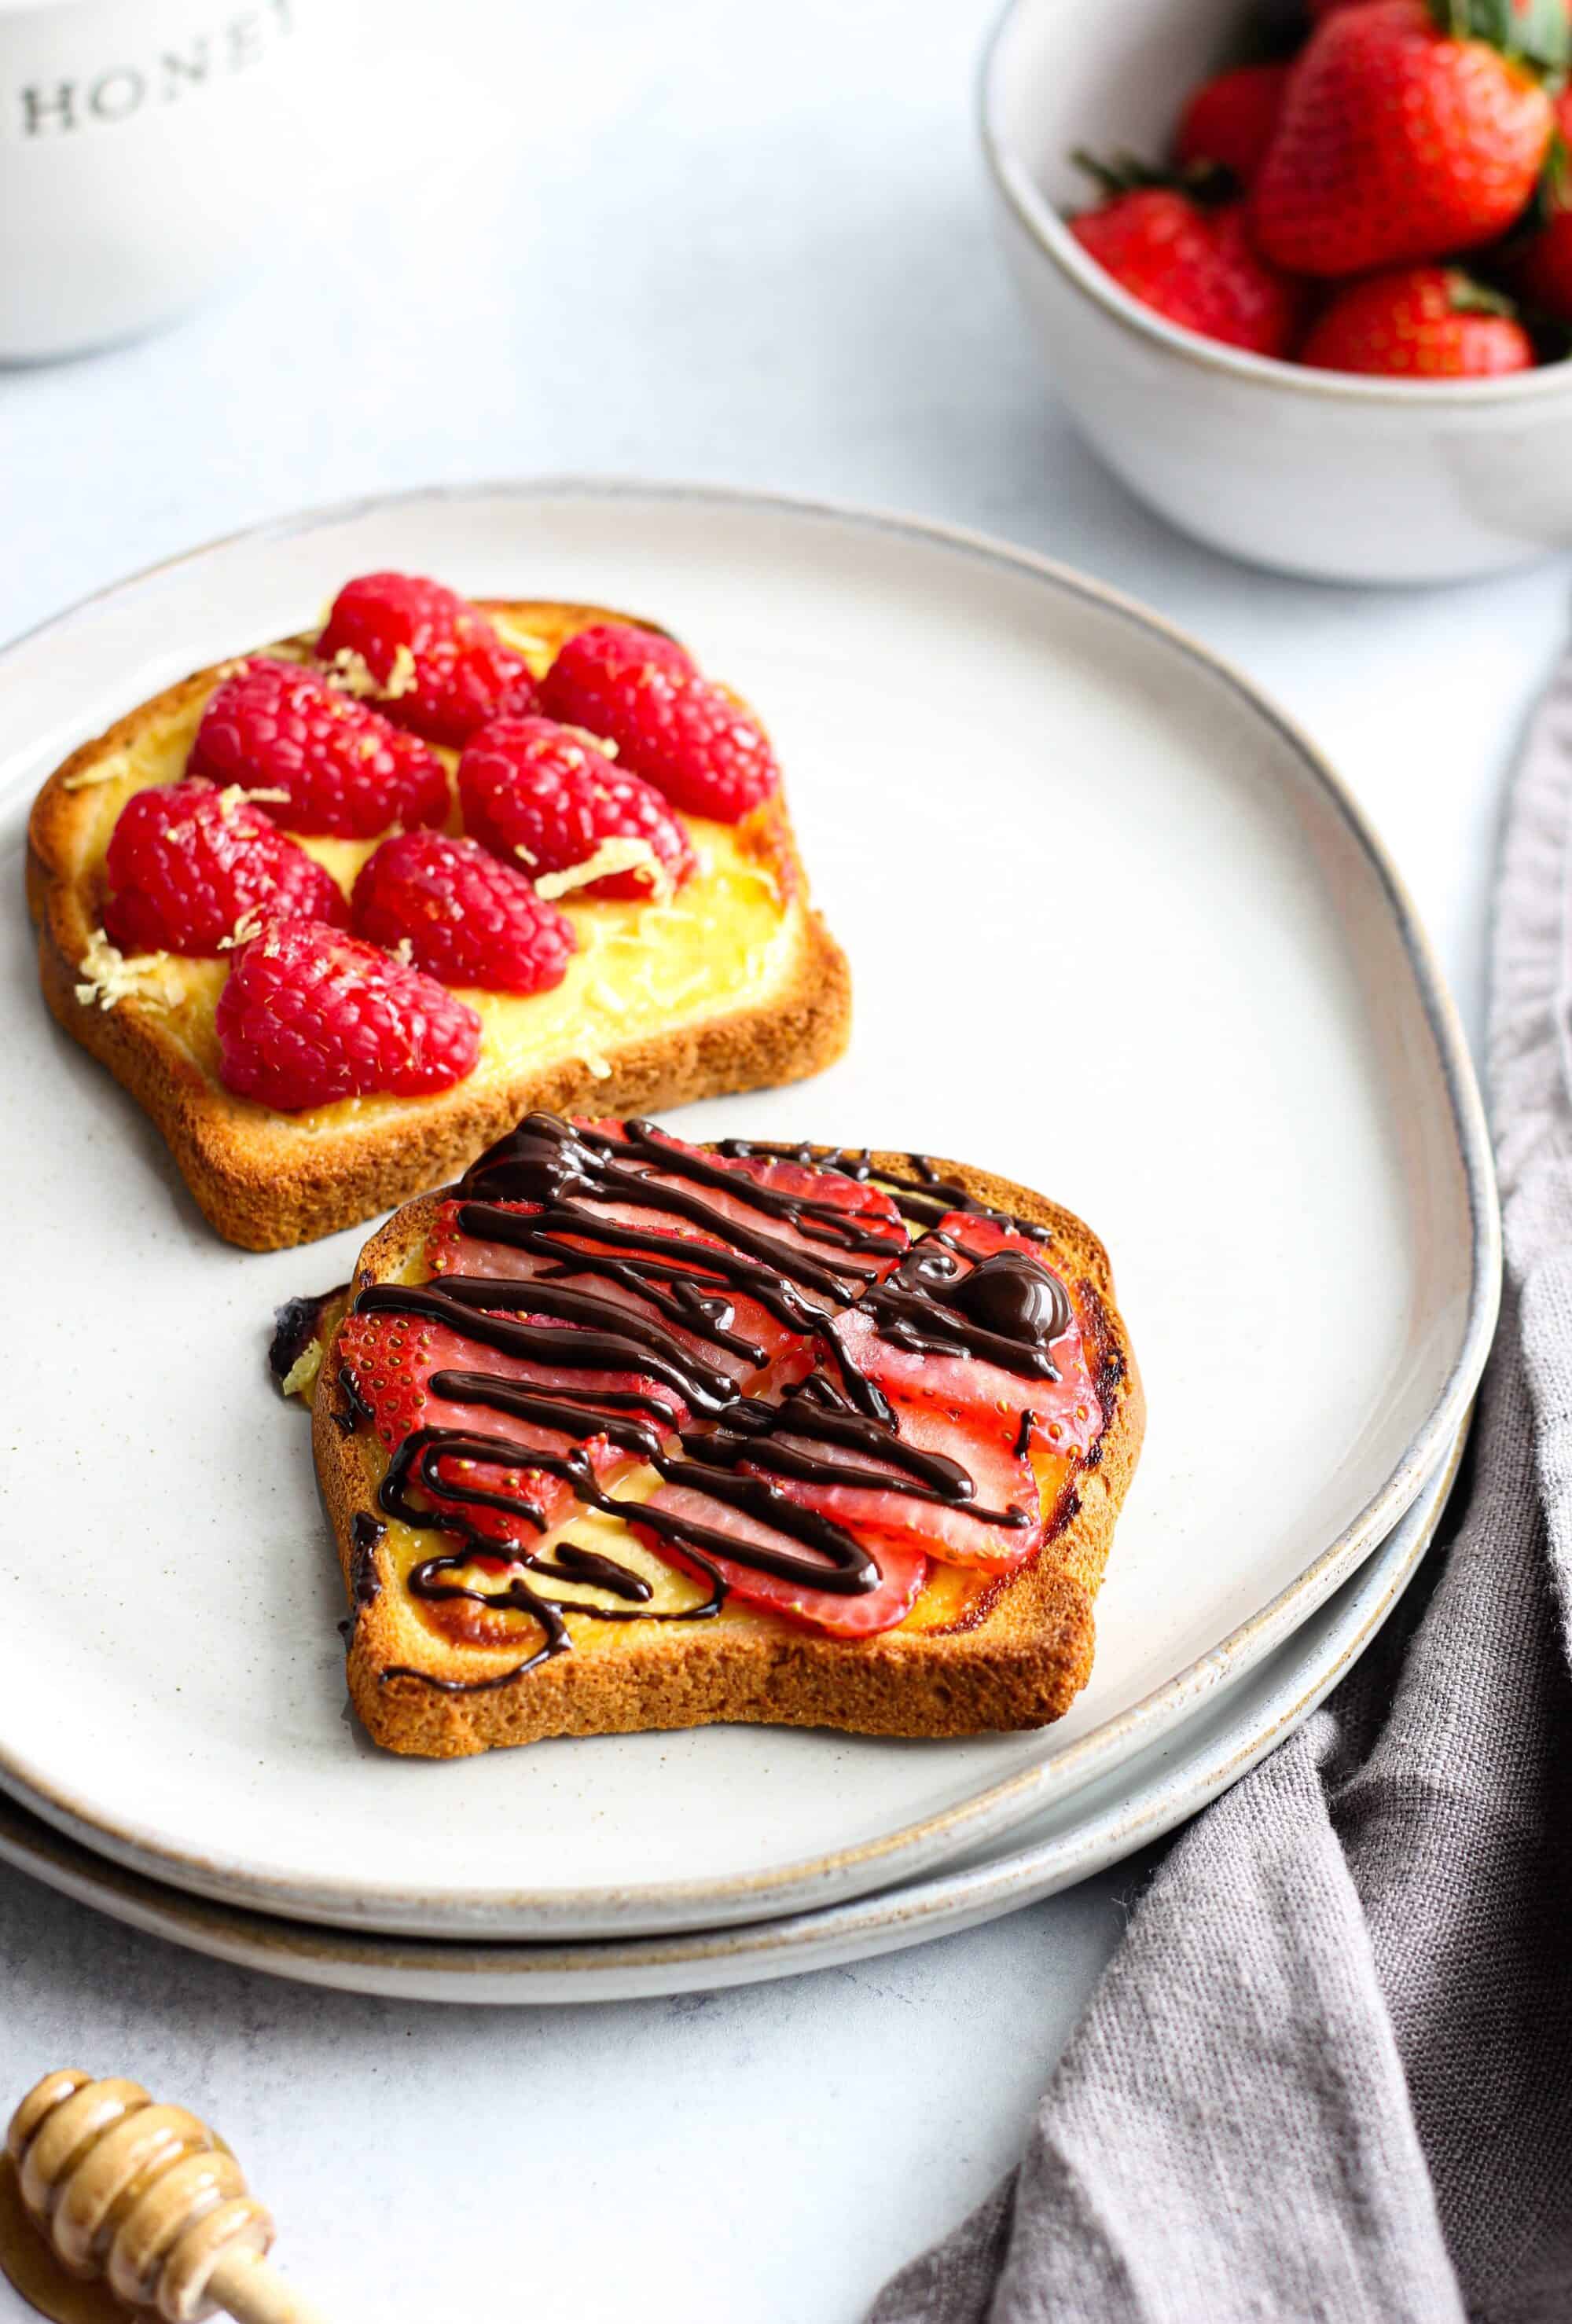
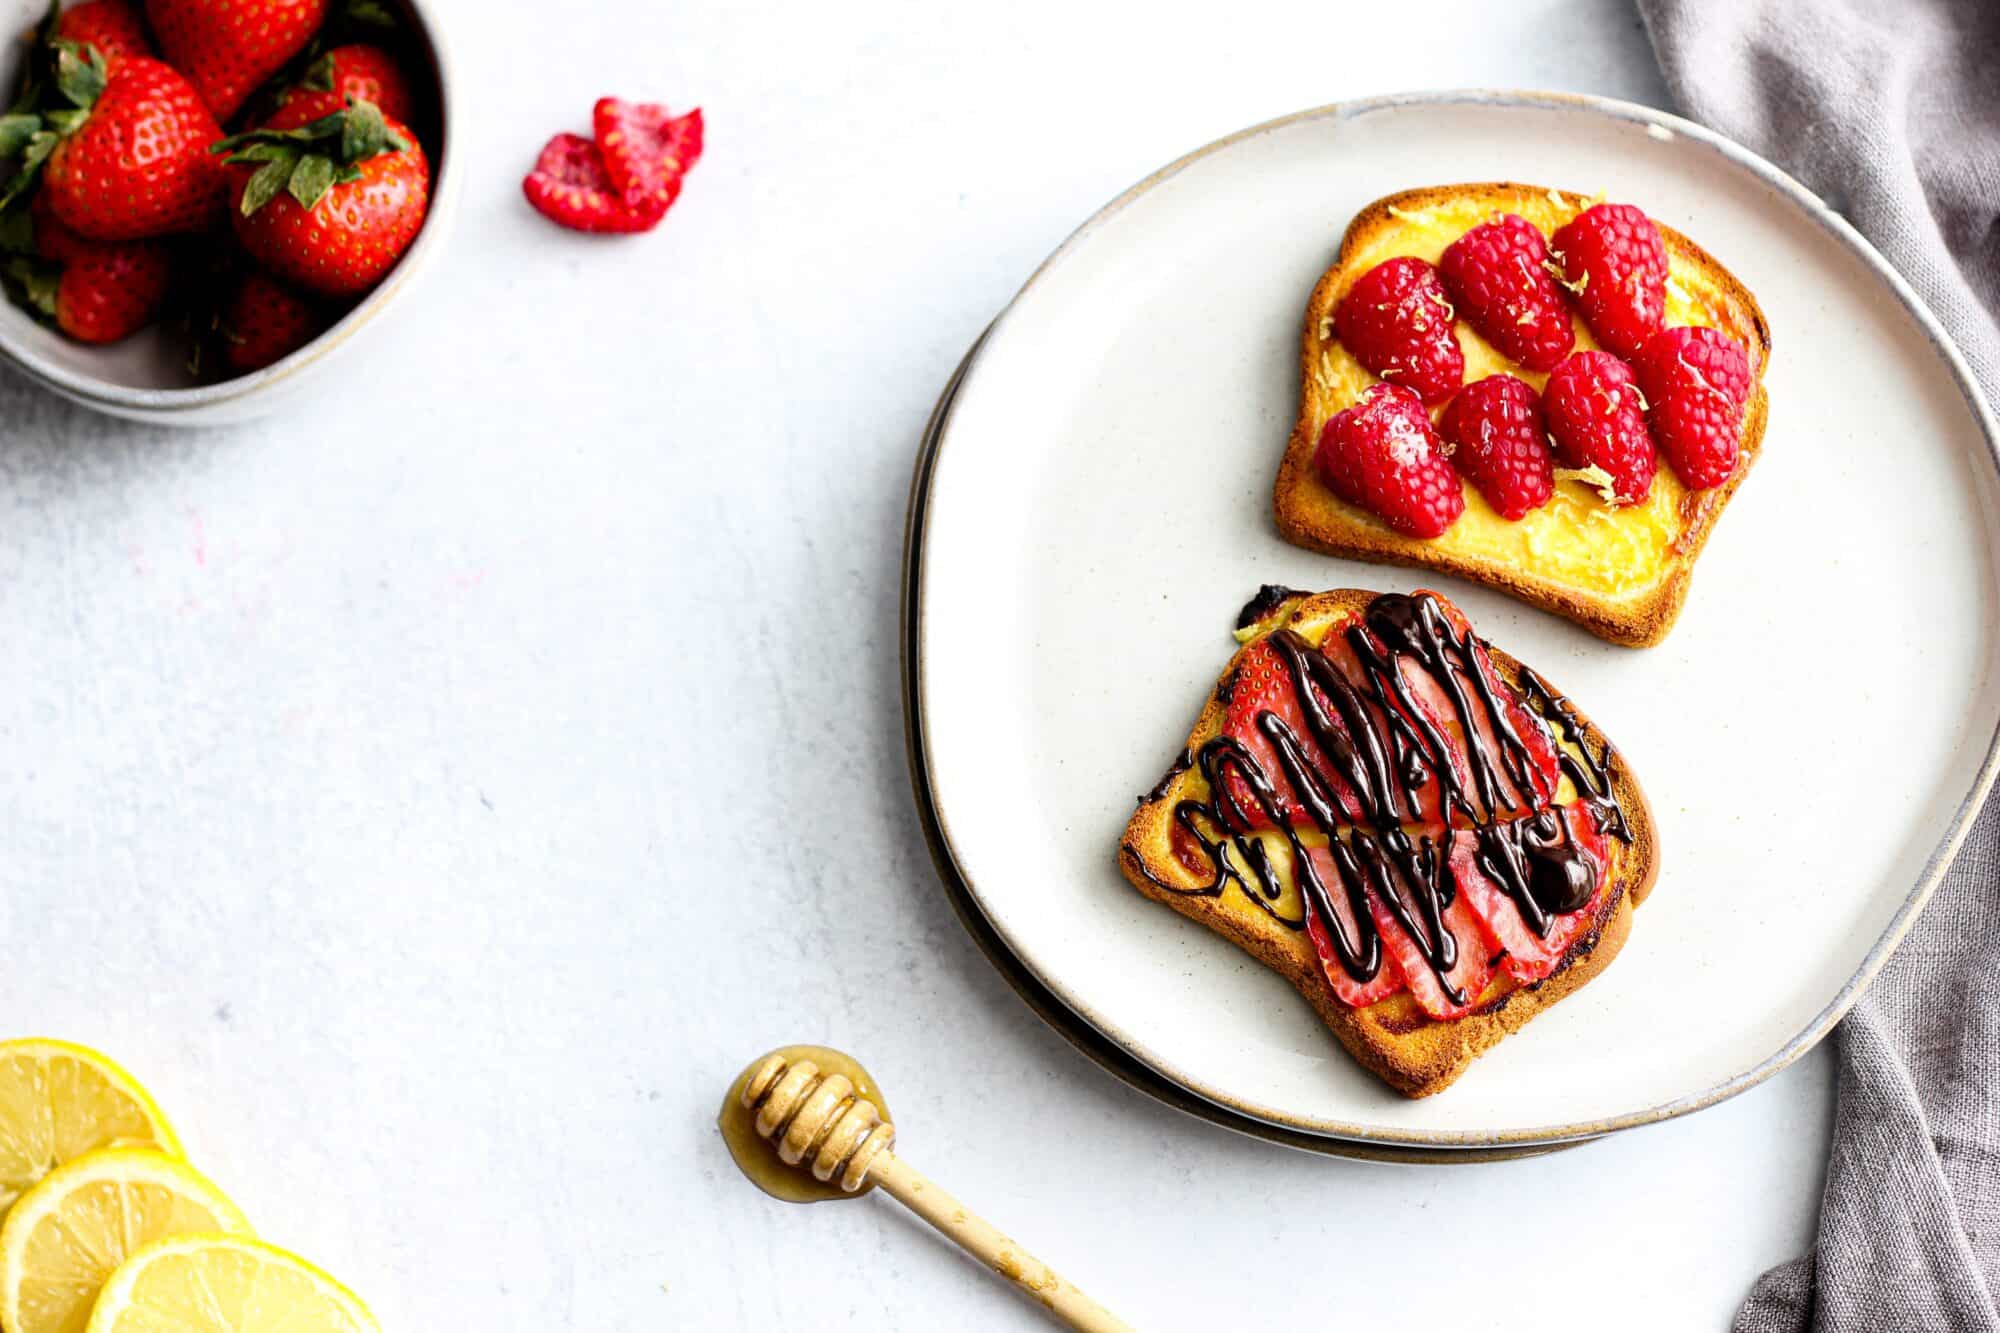
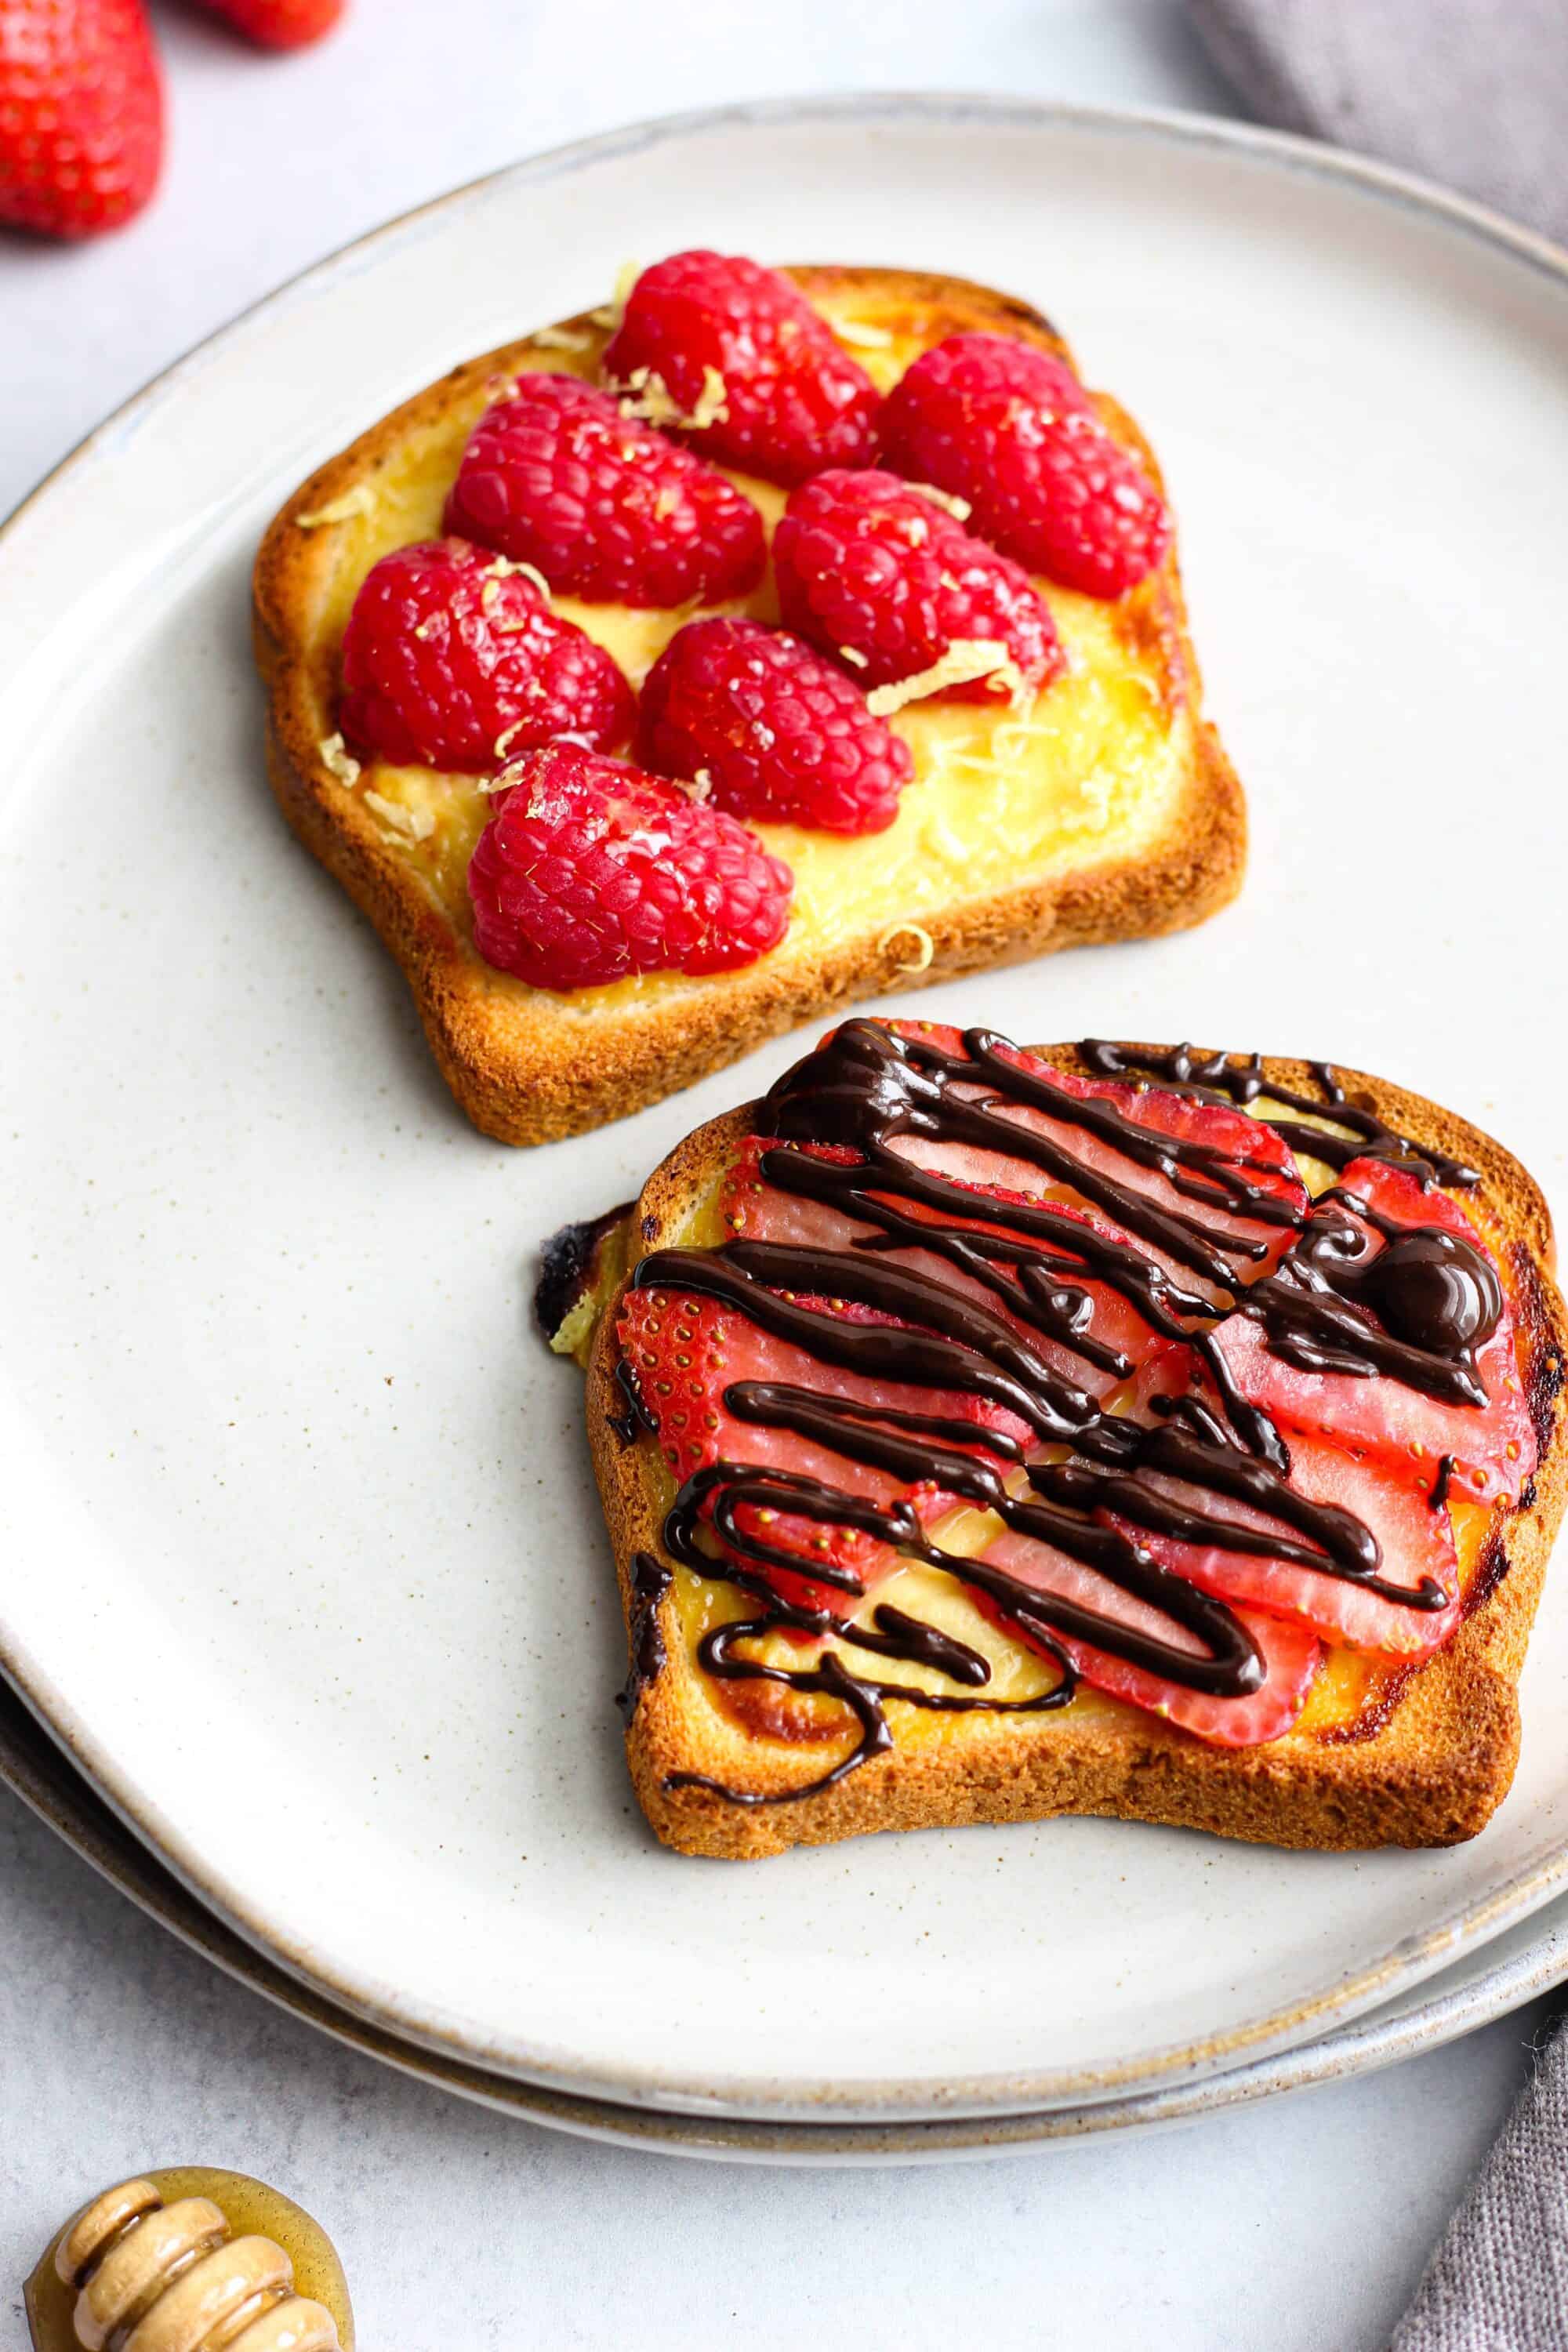
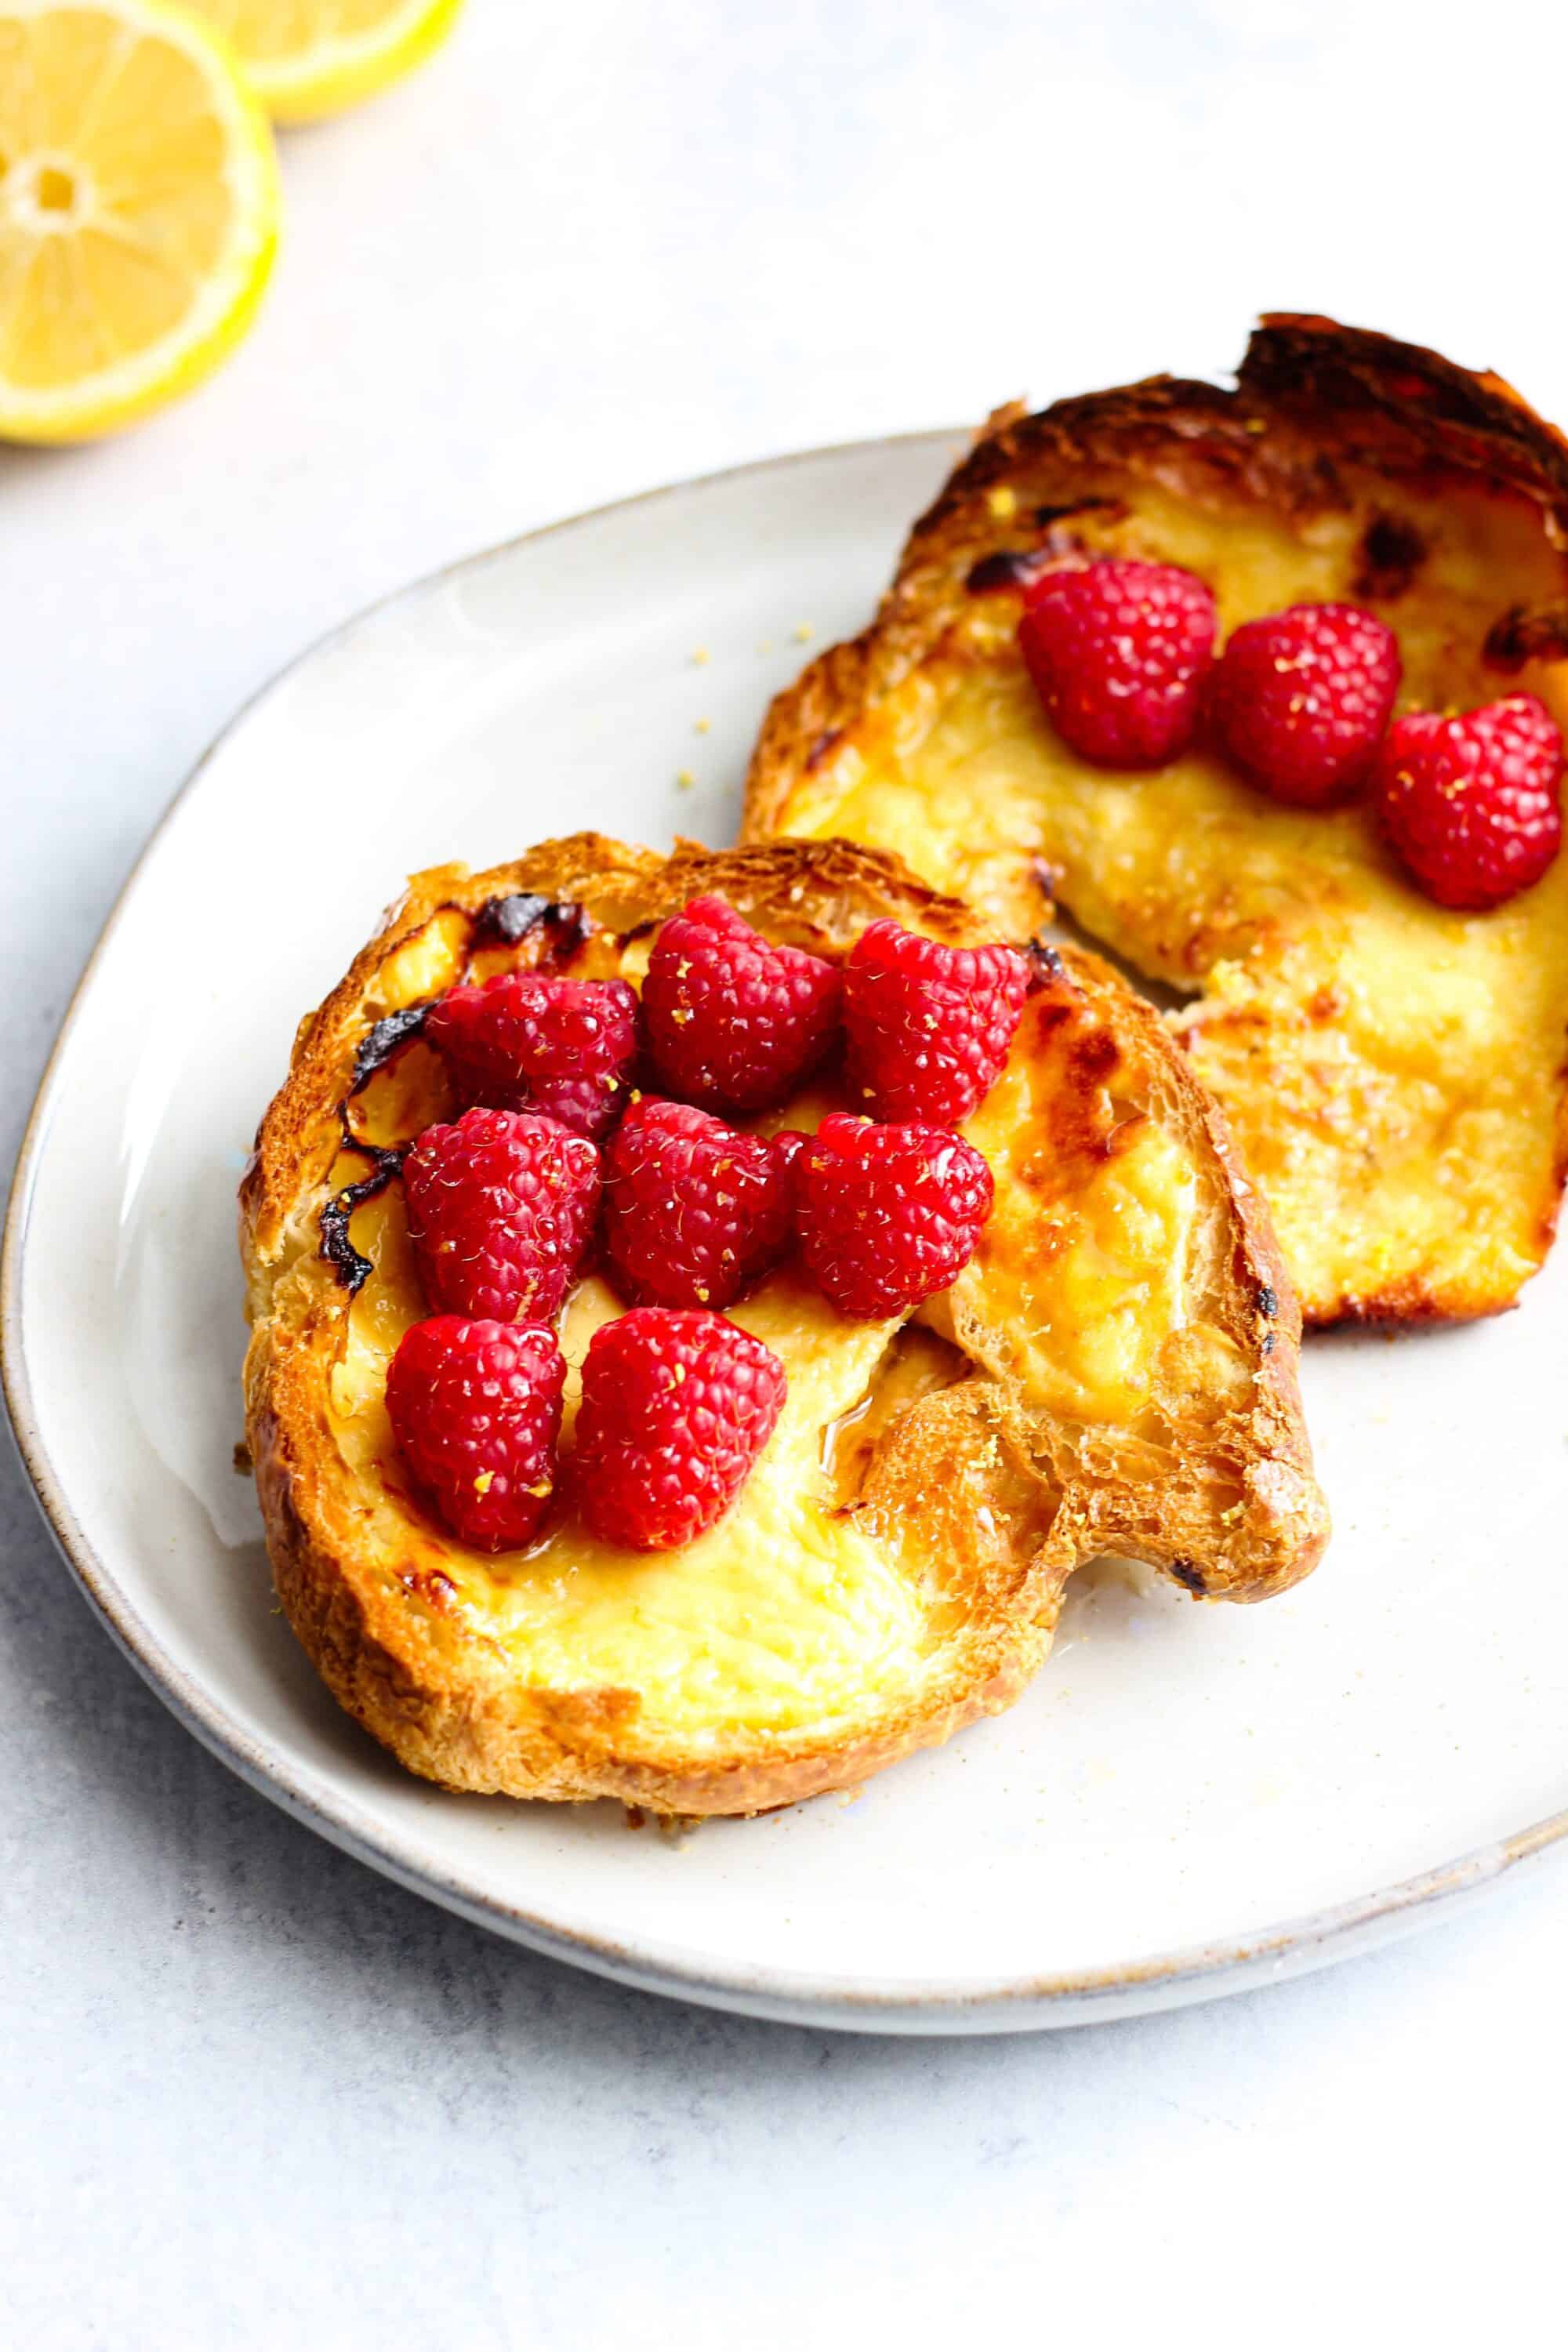
The flavor combinations for custard toast are practically endless. Since I find that the flavor and texture are similar to cheesecake, I enjoy it most with fresh fruit. A bright burst of lemon zest is delicious with fresh raspberries, and a drizzle of melted chocolate over ripe sliced strawberries is just heavenly. You could also try chocolate peanut butter, banana with peanut butter and chocolate, blueberry banana, the list goes on. You can switch it up depending on the season or what you happen to have on hand.

Custard Toast (dairy & gluten free)
Ingredients
- 3 slices gluten free bread I used Udi's
- 1 large egg
- 3 tablespoon dairy free greek style yogurt I used Kite Hill
- 1 tablespoon honey maple syrup works, too
For Lemon Raspberry Toast
- 1 teaspoon lemon zest + more for garnish
- drizzle of honey for garnish
- ¼ cup raspberries halved
For Strawberry Chocolate Toast
- ¼ cup strawberries sliced
- 1 teaspoon hazelnut spread I used Nocciolata
Instructions
- Preheat your air fryer to 350°F. (see notes below for oven instructions)
- Using a fork or your fingers, gently press down in the middle of your bread slices. You want to create a well in the center of your bread for your custard to rest in. (see the video for a demonstration)
- Place your bread on to the tray for your air fryer.
- In a small bowl whisk together the egg, yogurt, and honey.
- If you're making the chocolate strawberry toast, gently spoon some custard over your slice of bread until the custard fills the center of the bread but isn't running over the sides.
- Add the lemon zest to the bowl of remaining custard and whisk to combine.
- Top your remaining bread slices with the lemon custard.
- Air fry your bread for about 5 minutes until the center is set. Keep an eye on it to be sure the top doesn't brown too much or burn.
- Top your lemon custard with fresh raspberries, and the plain custard with strawberries.
- Drizzle the raspberry toast with a bit more honey and a pinch of lemon zest.
- Top the strawberry toast with a drizzle of hazelnut spread. If the spread isn't soft enough to drizzle you can melt it in the microwave for 10-20 seconds.