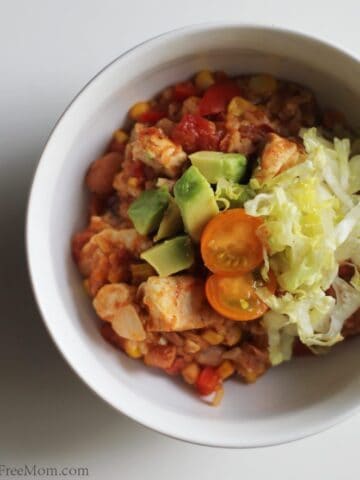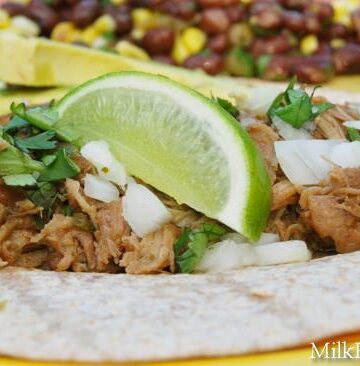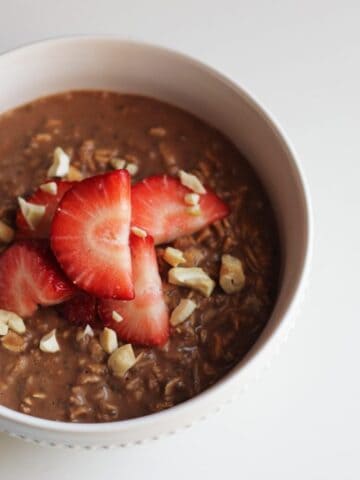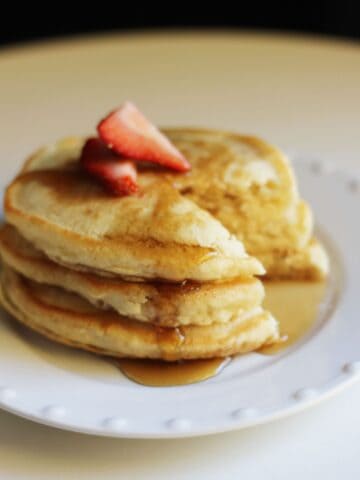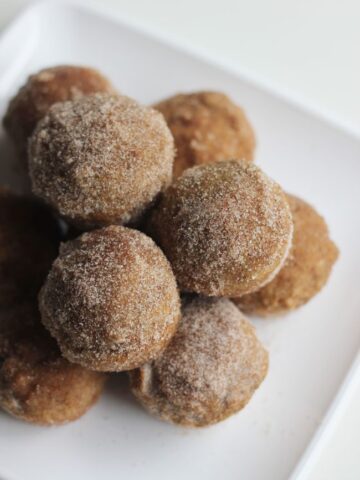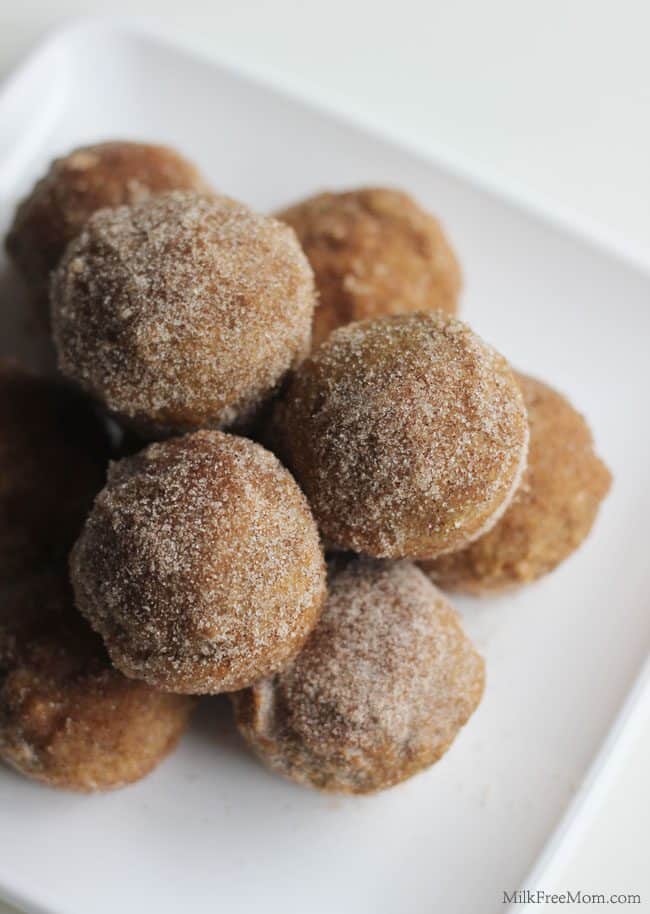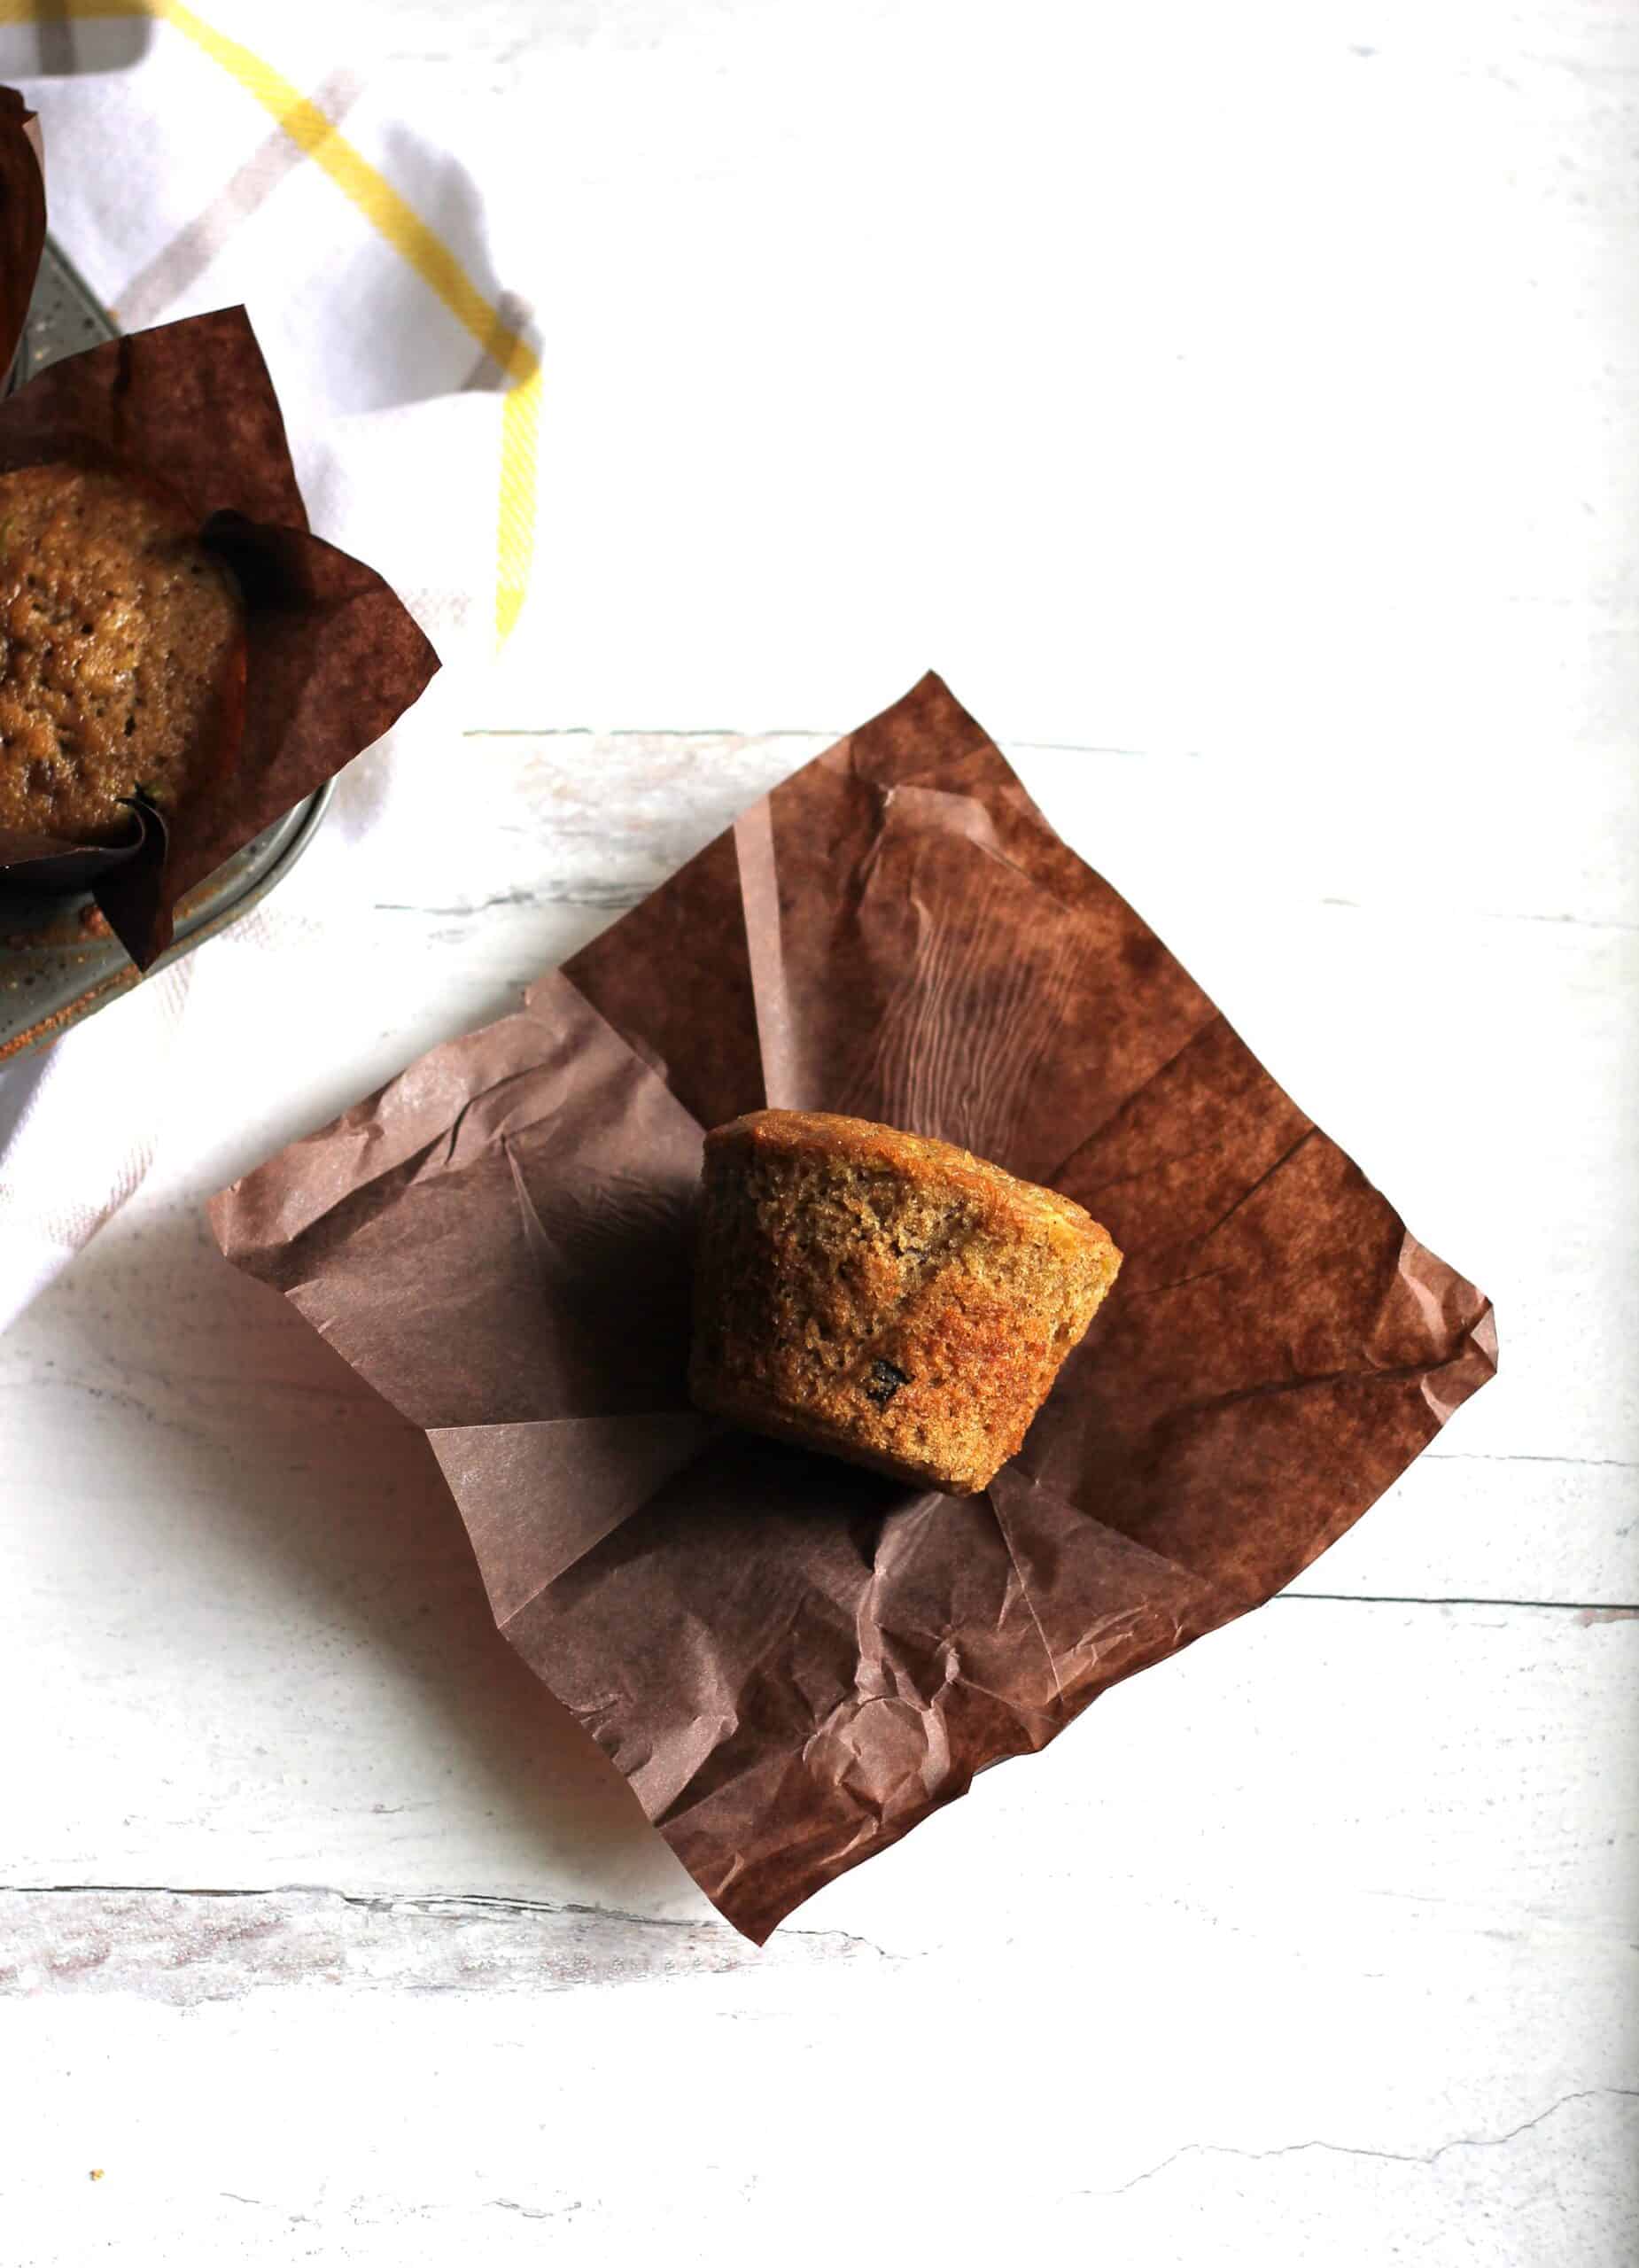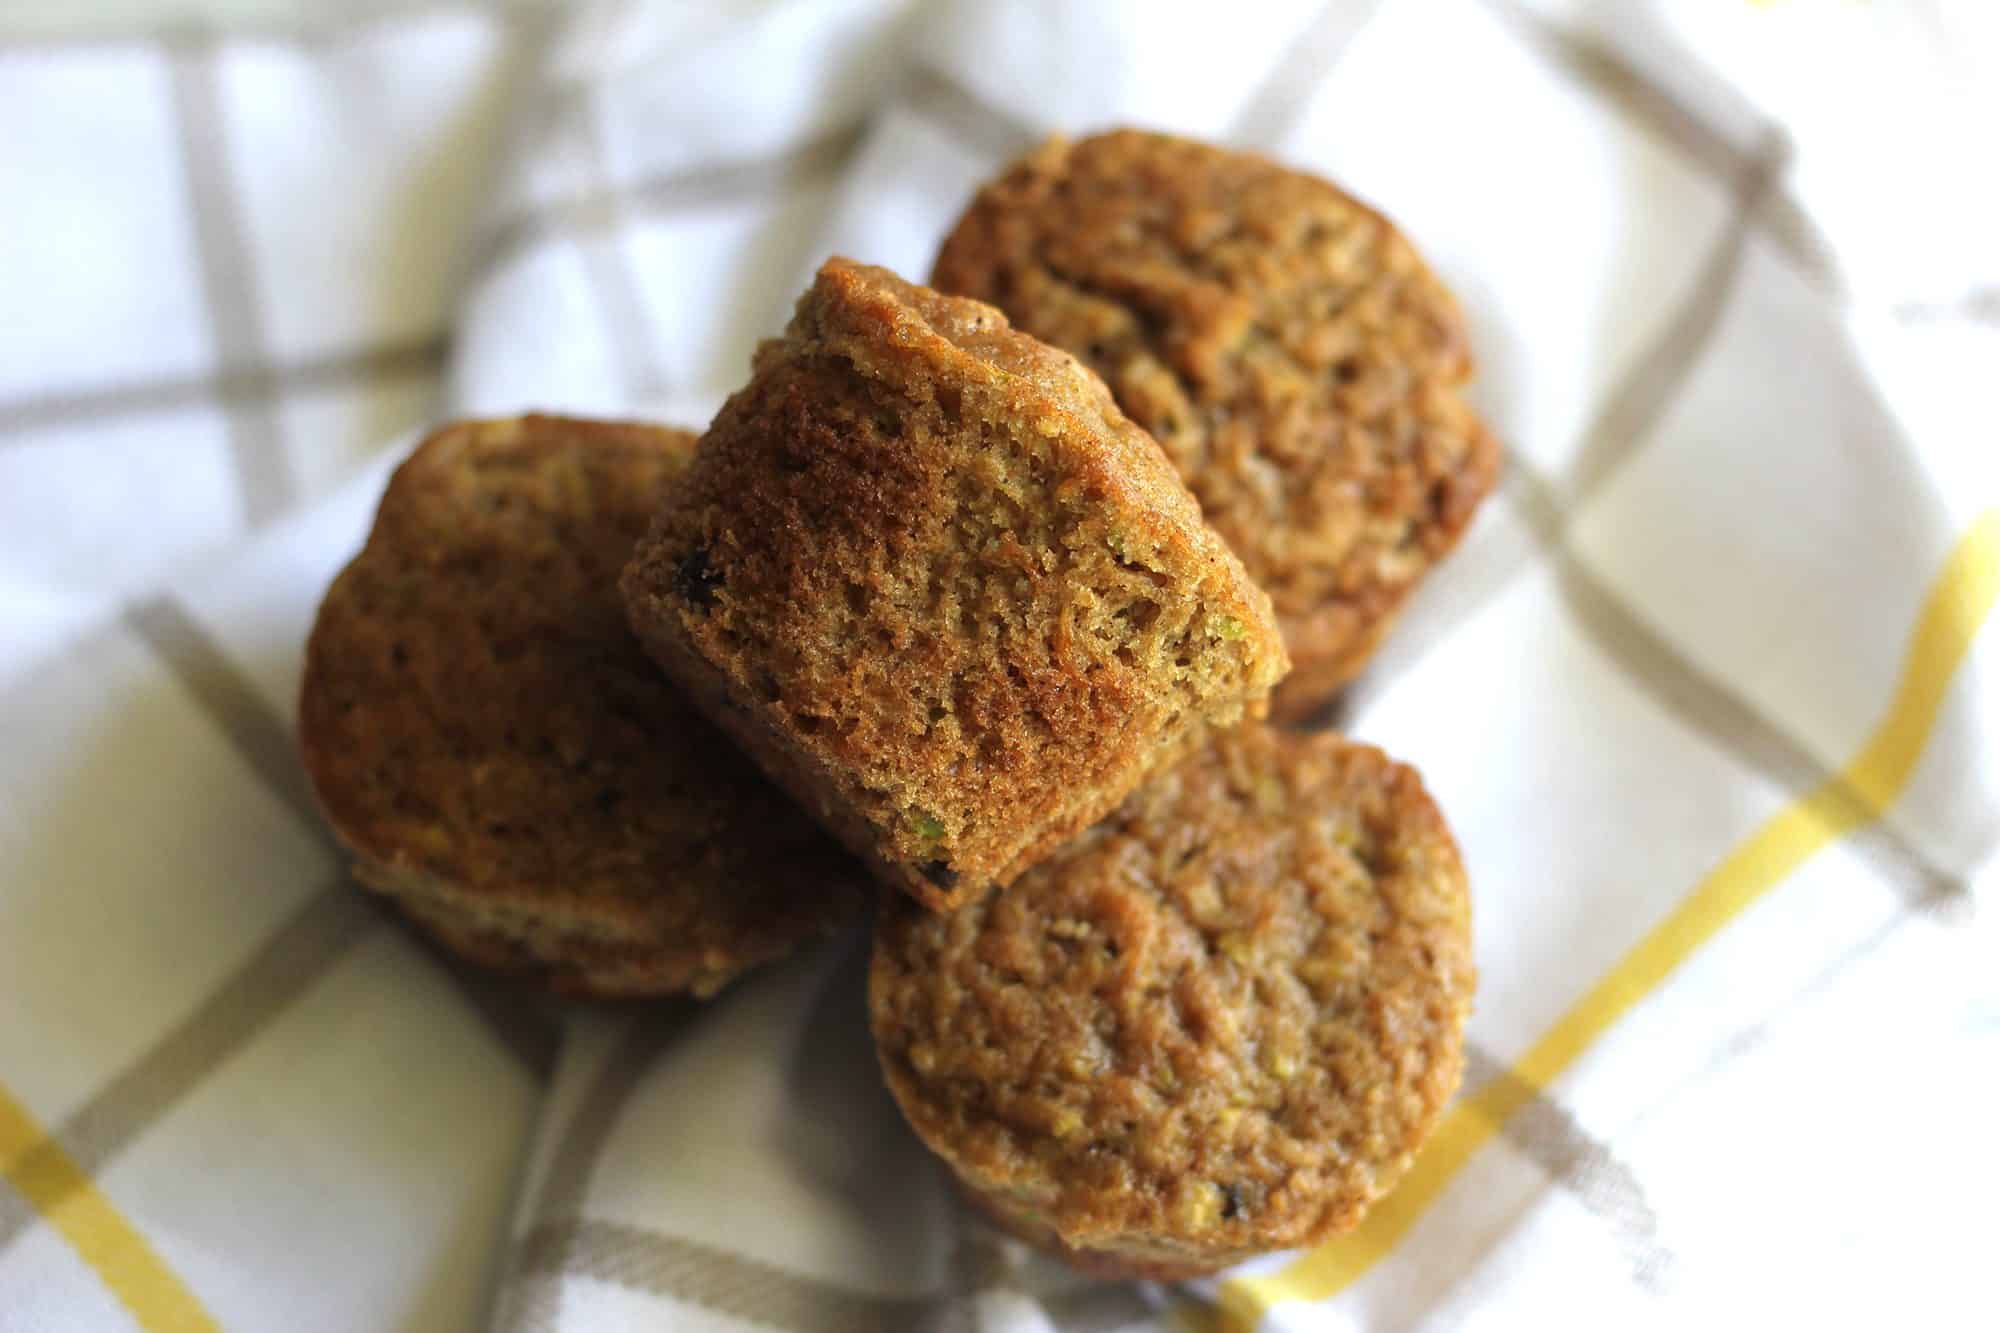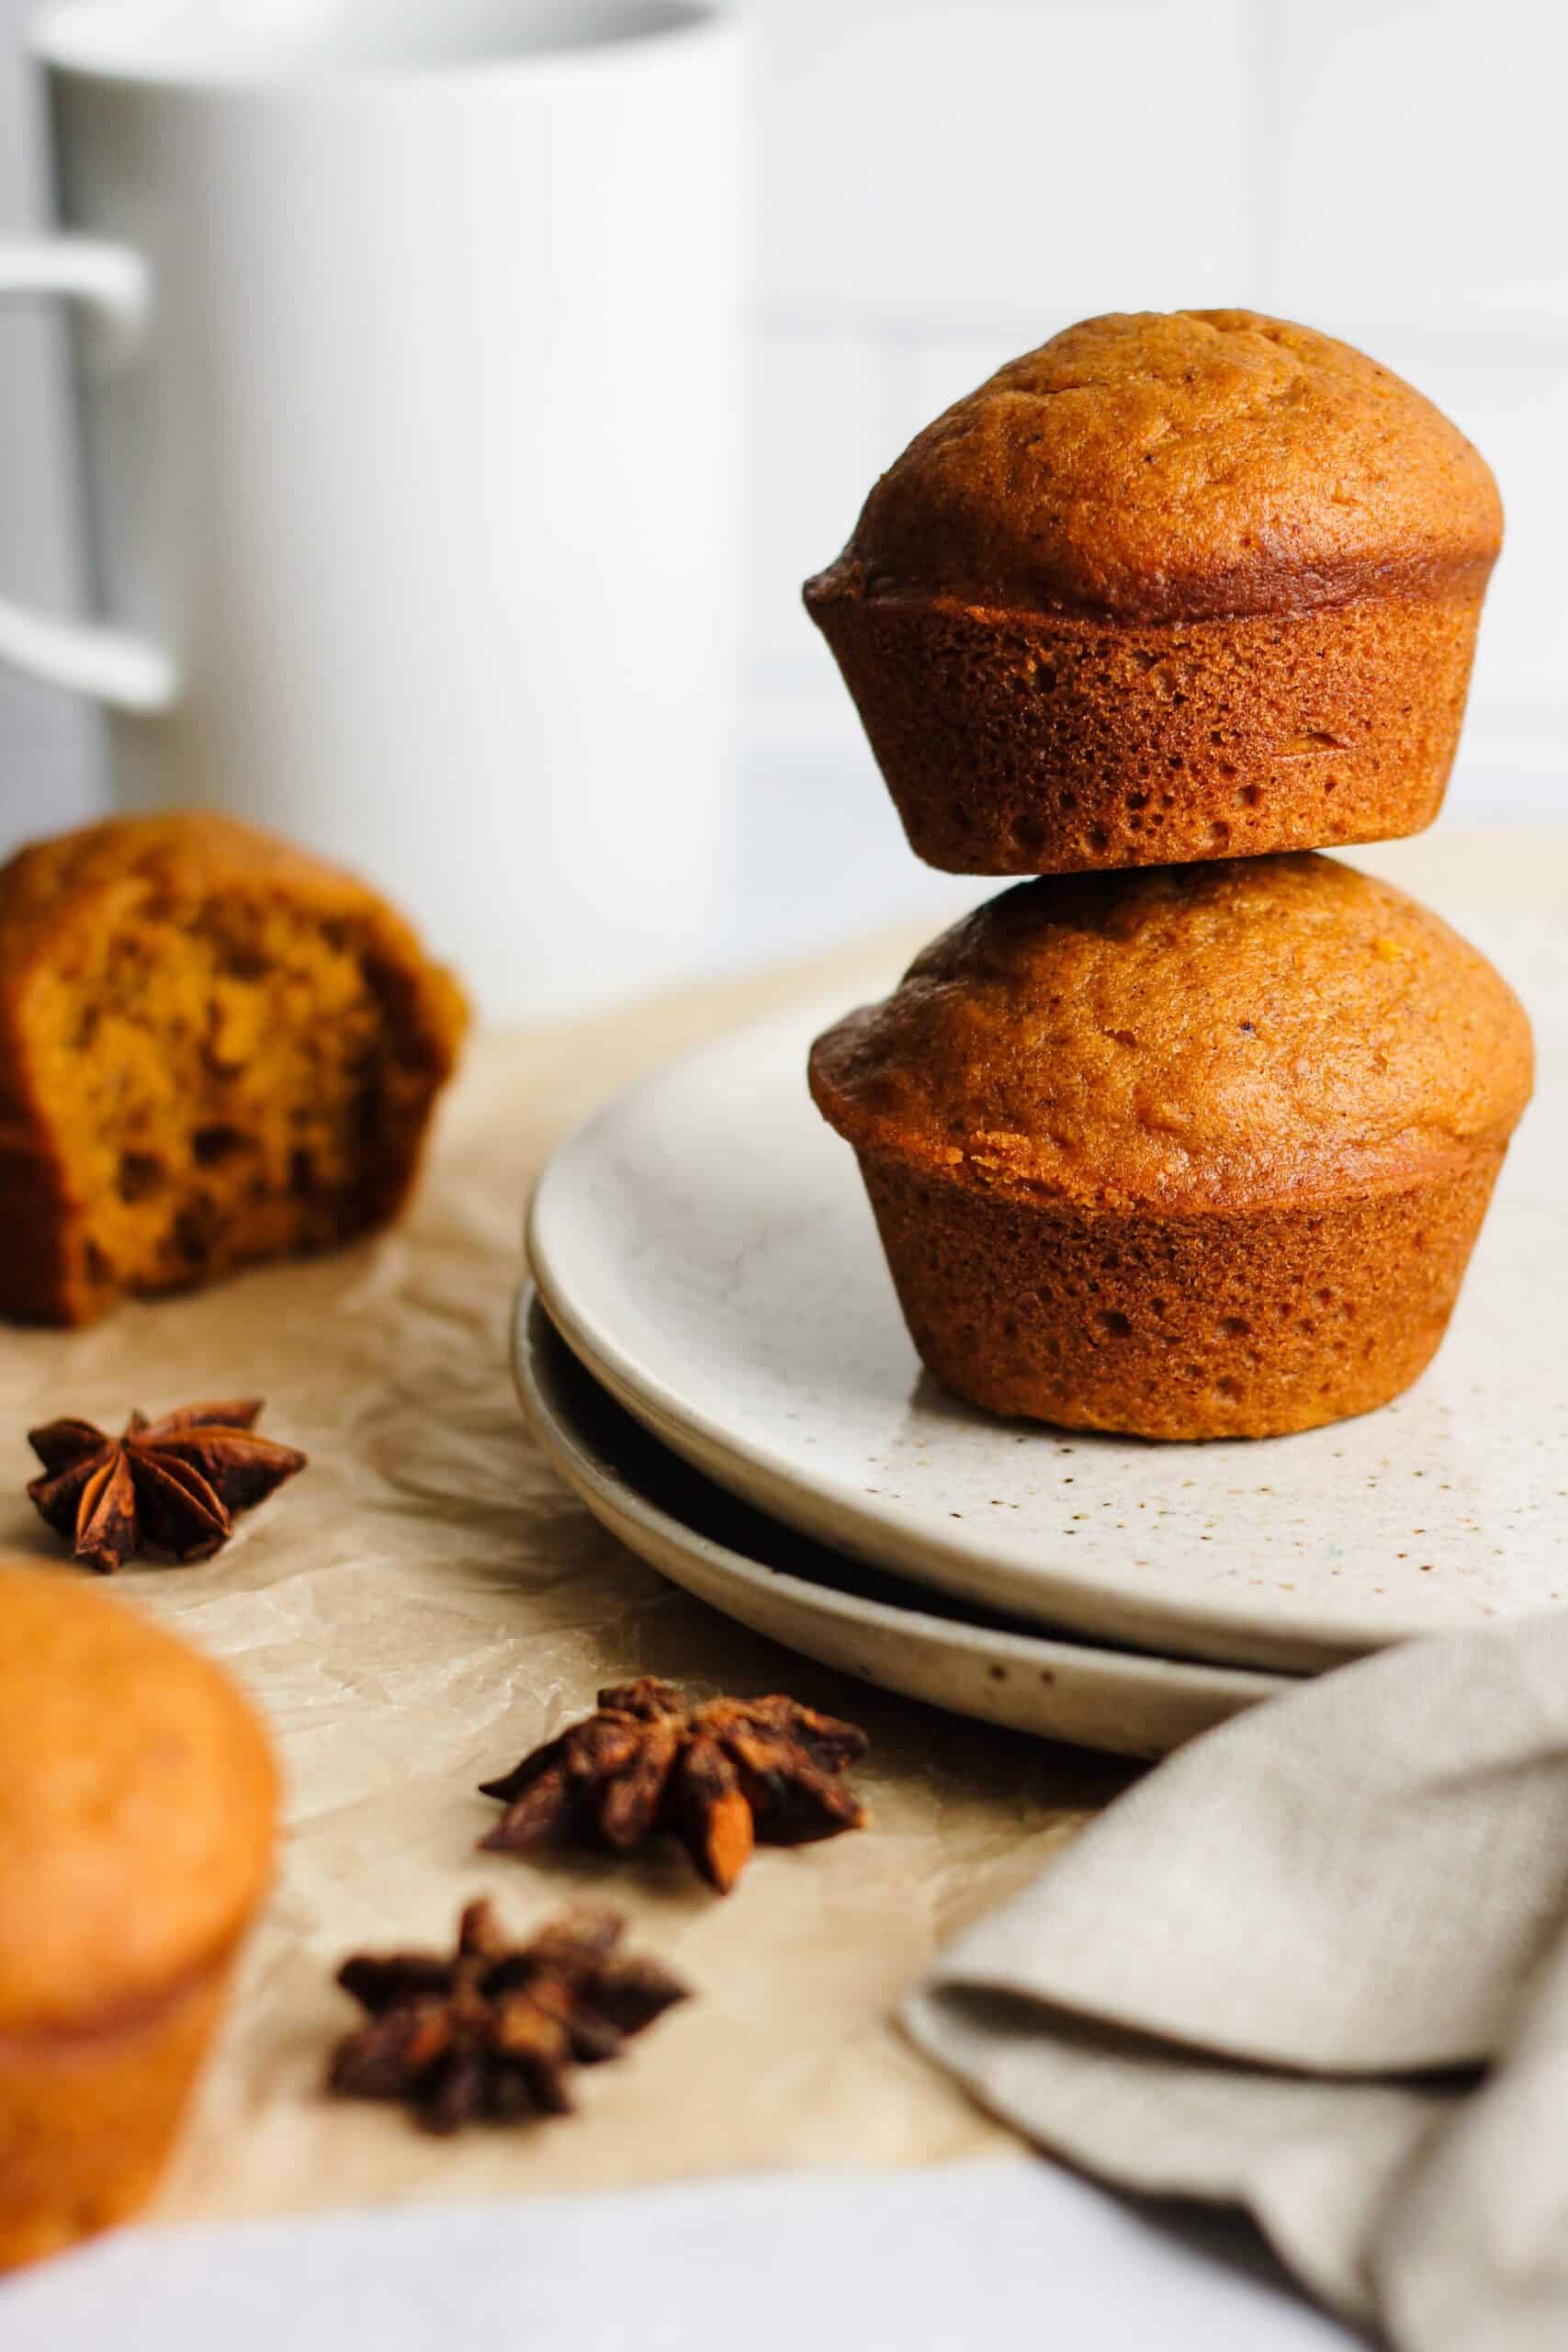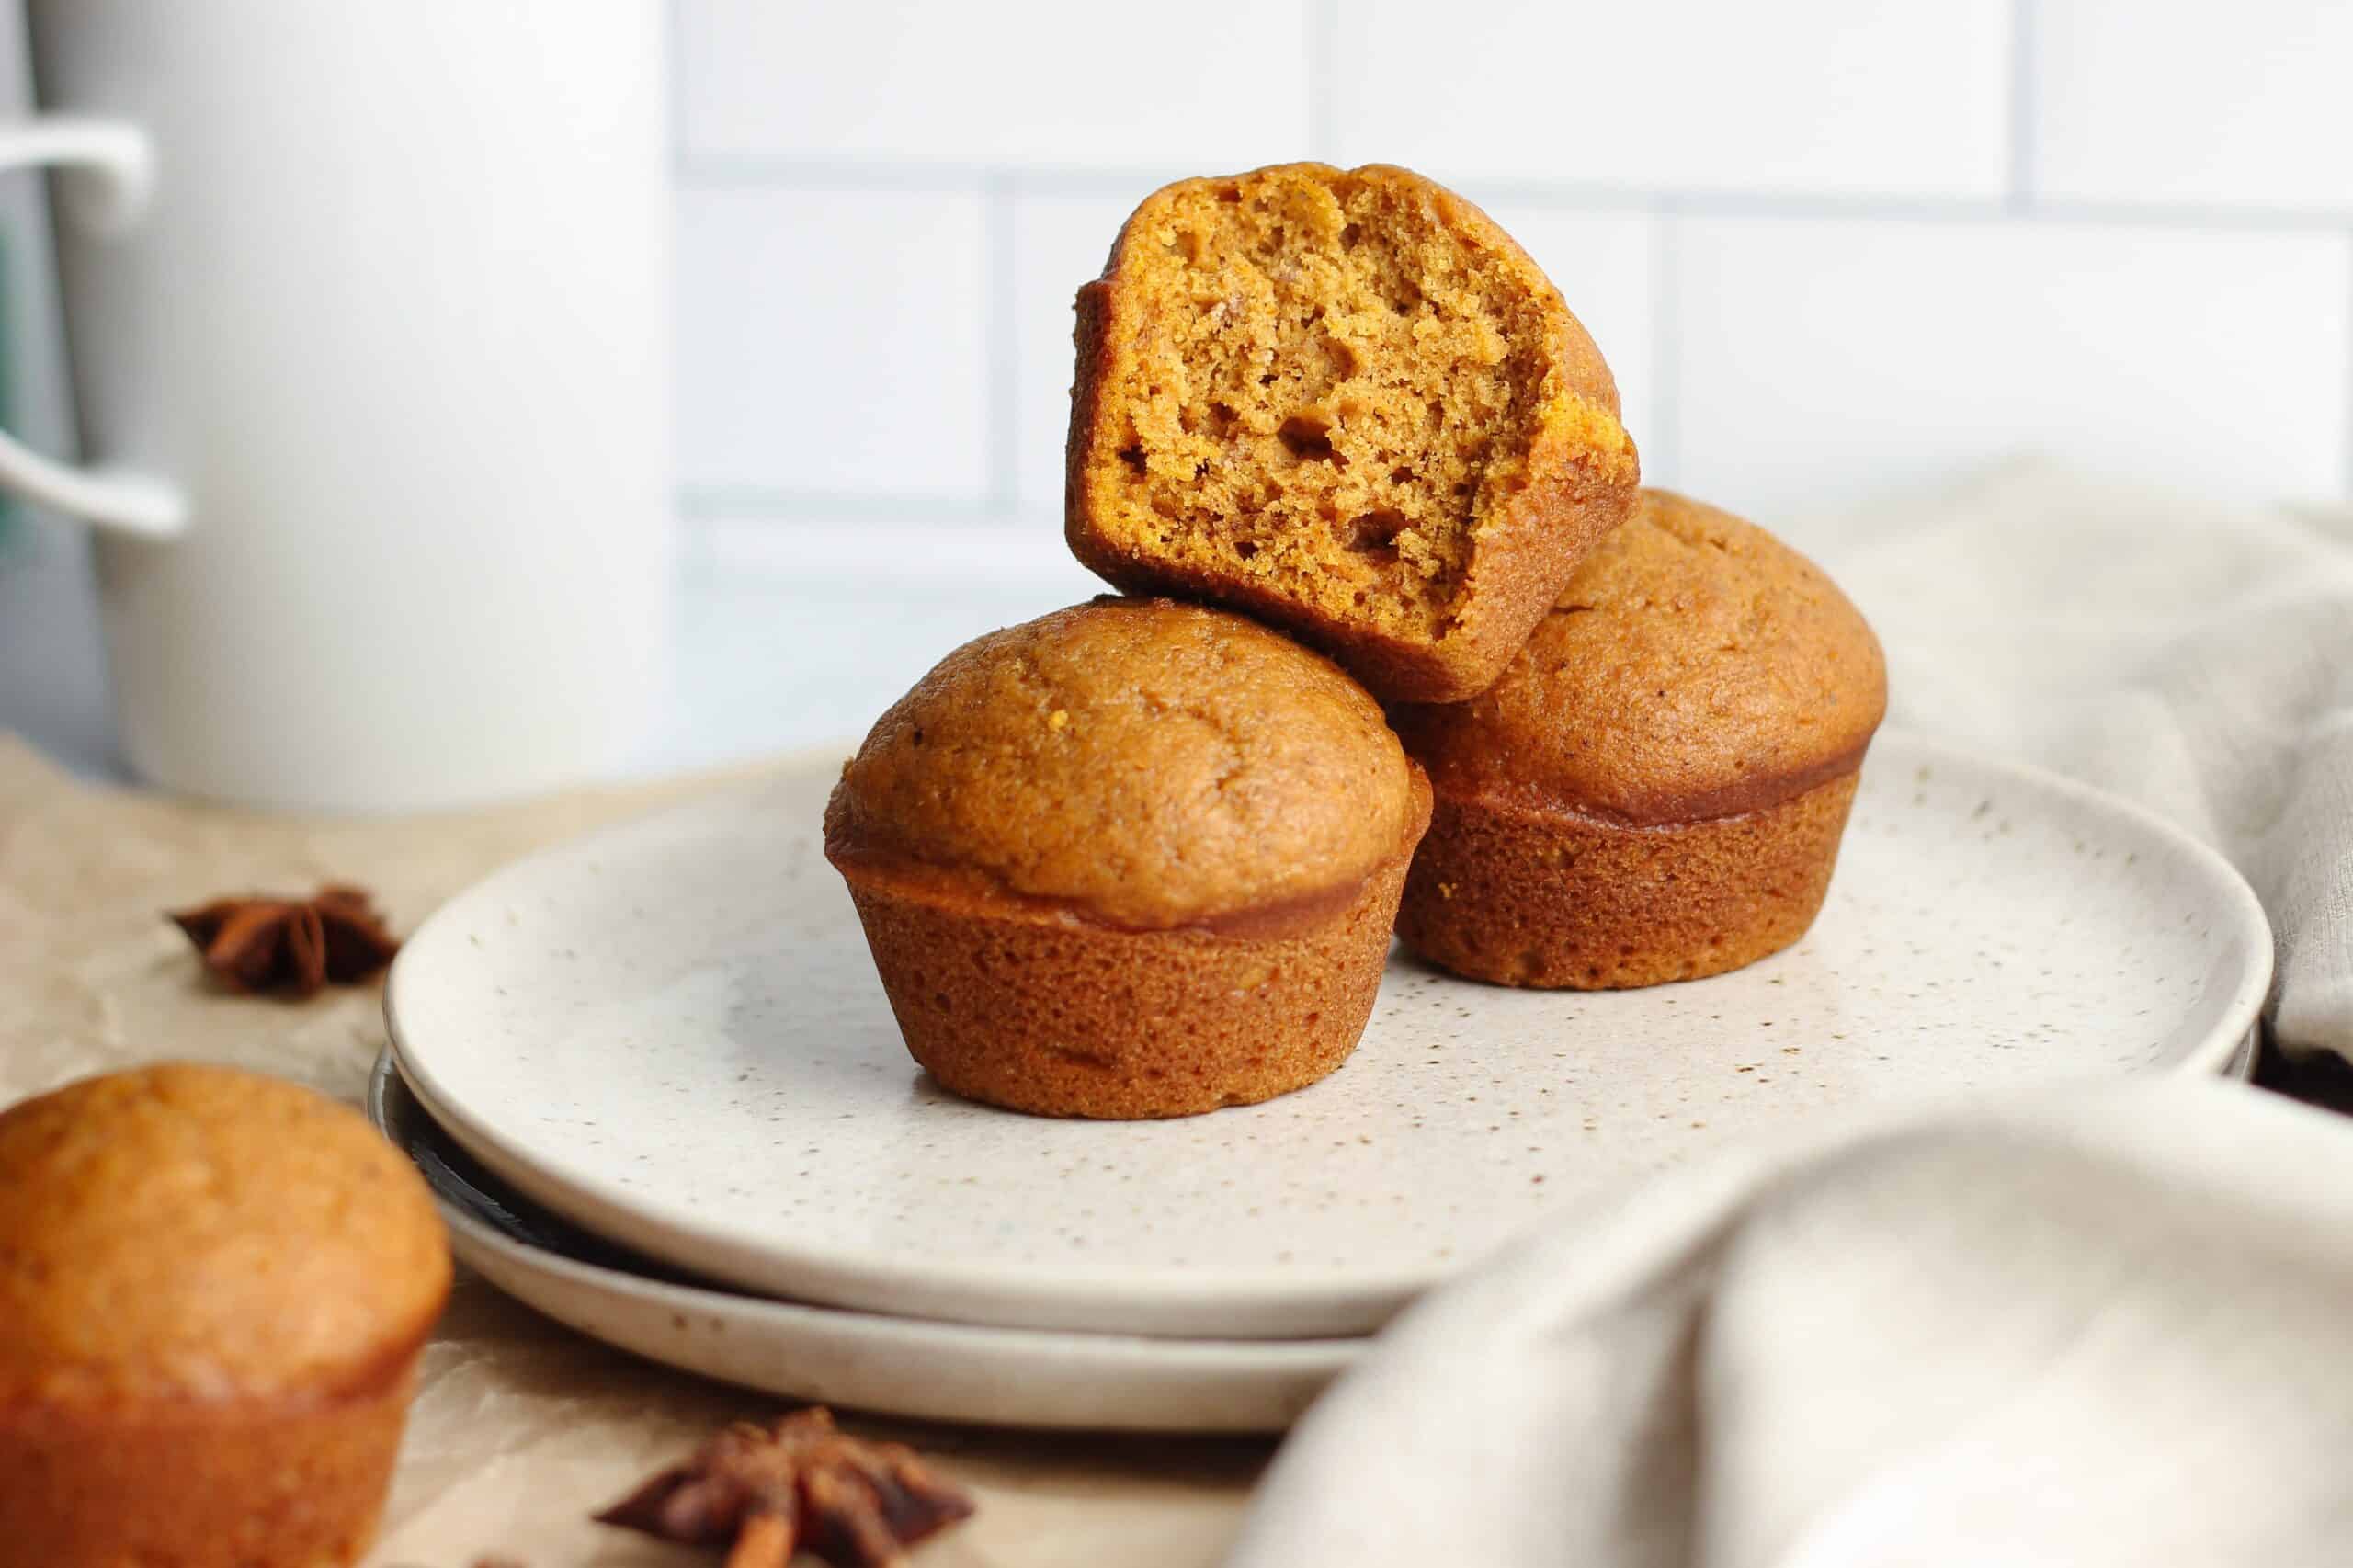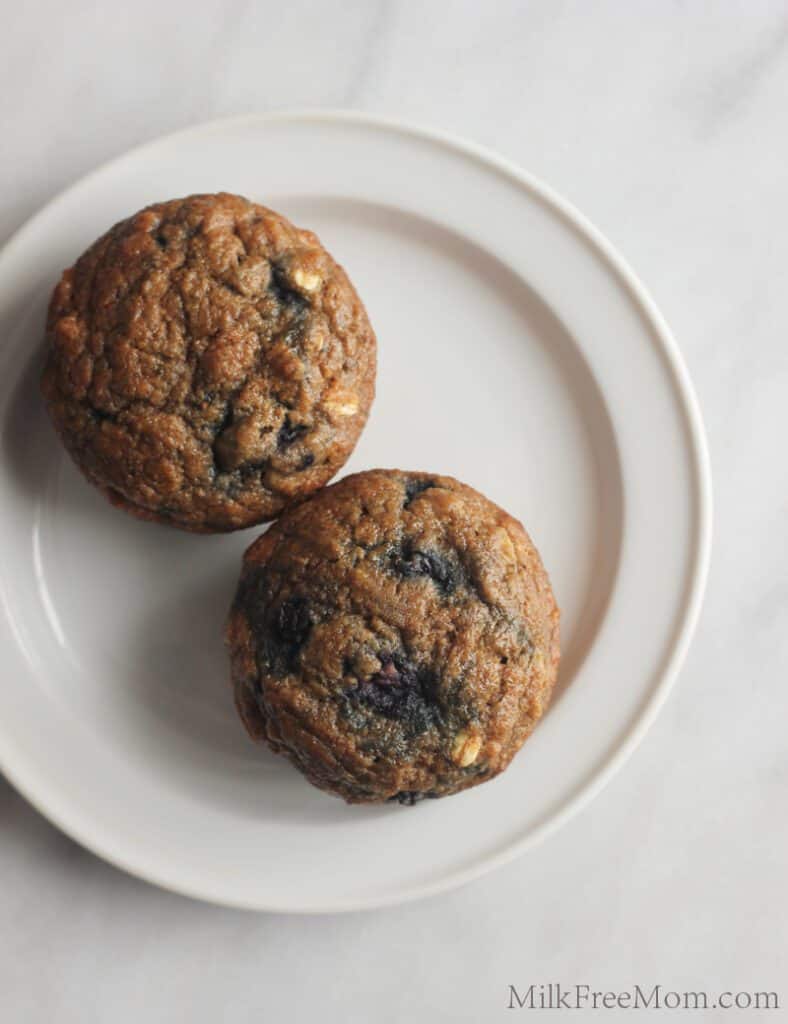
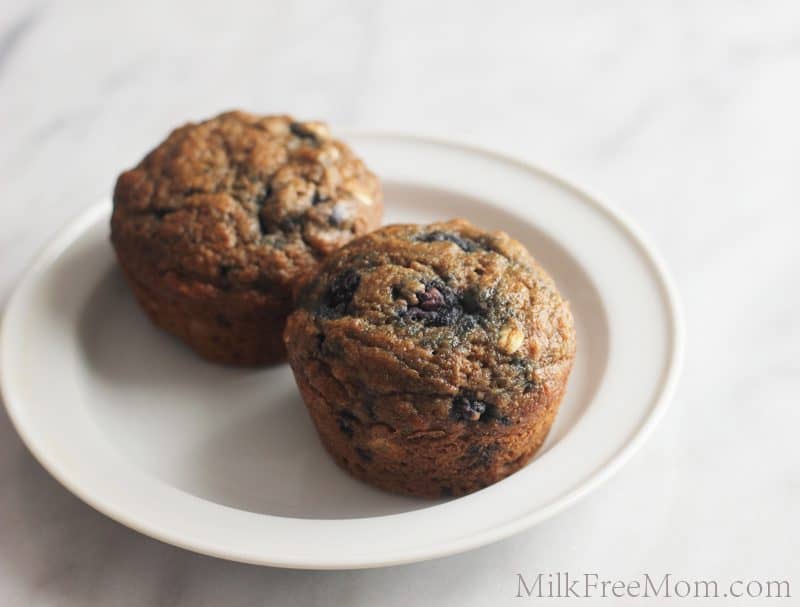
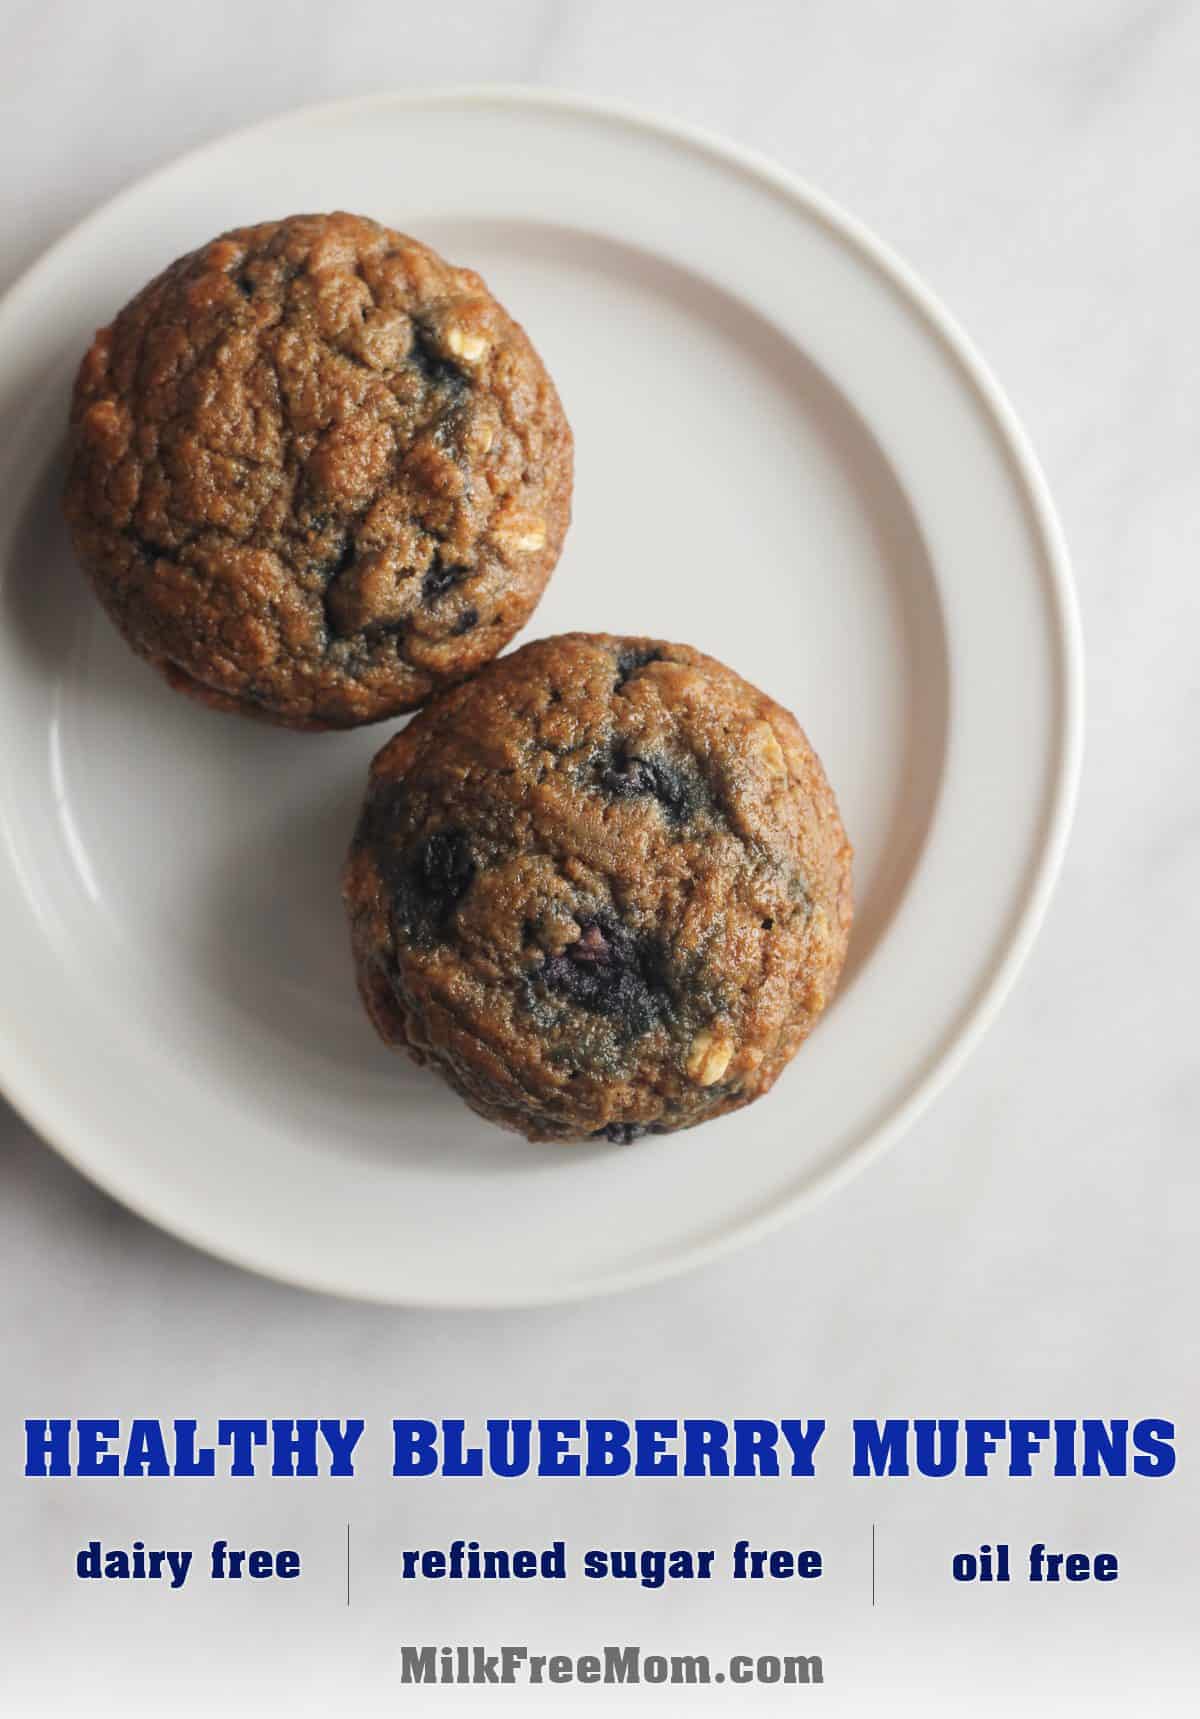
We all need a go-to dairy-free muffin recipe, and this one is mine! This dairy-free blueberry muffin recipe uses whole wheat flour, no refined sugar, no oil, and plenty of blueberries. It's a great recipe to make with the kids, and you only need a bowl and spoon to whip the ingredients together. They bake beautifully with or without eggs, which gives you the option to easily make them vegan.
These are a part of my weekly meal prep, and my little guy loves bringing them to school for a snack or as part of his lunch. They're nut-free, which makes them an easy, school-friendly lunchbox staple. I usually make a double batch and freeze half for when I need something in a pinch.
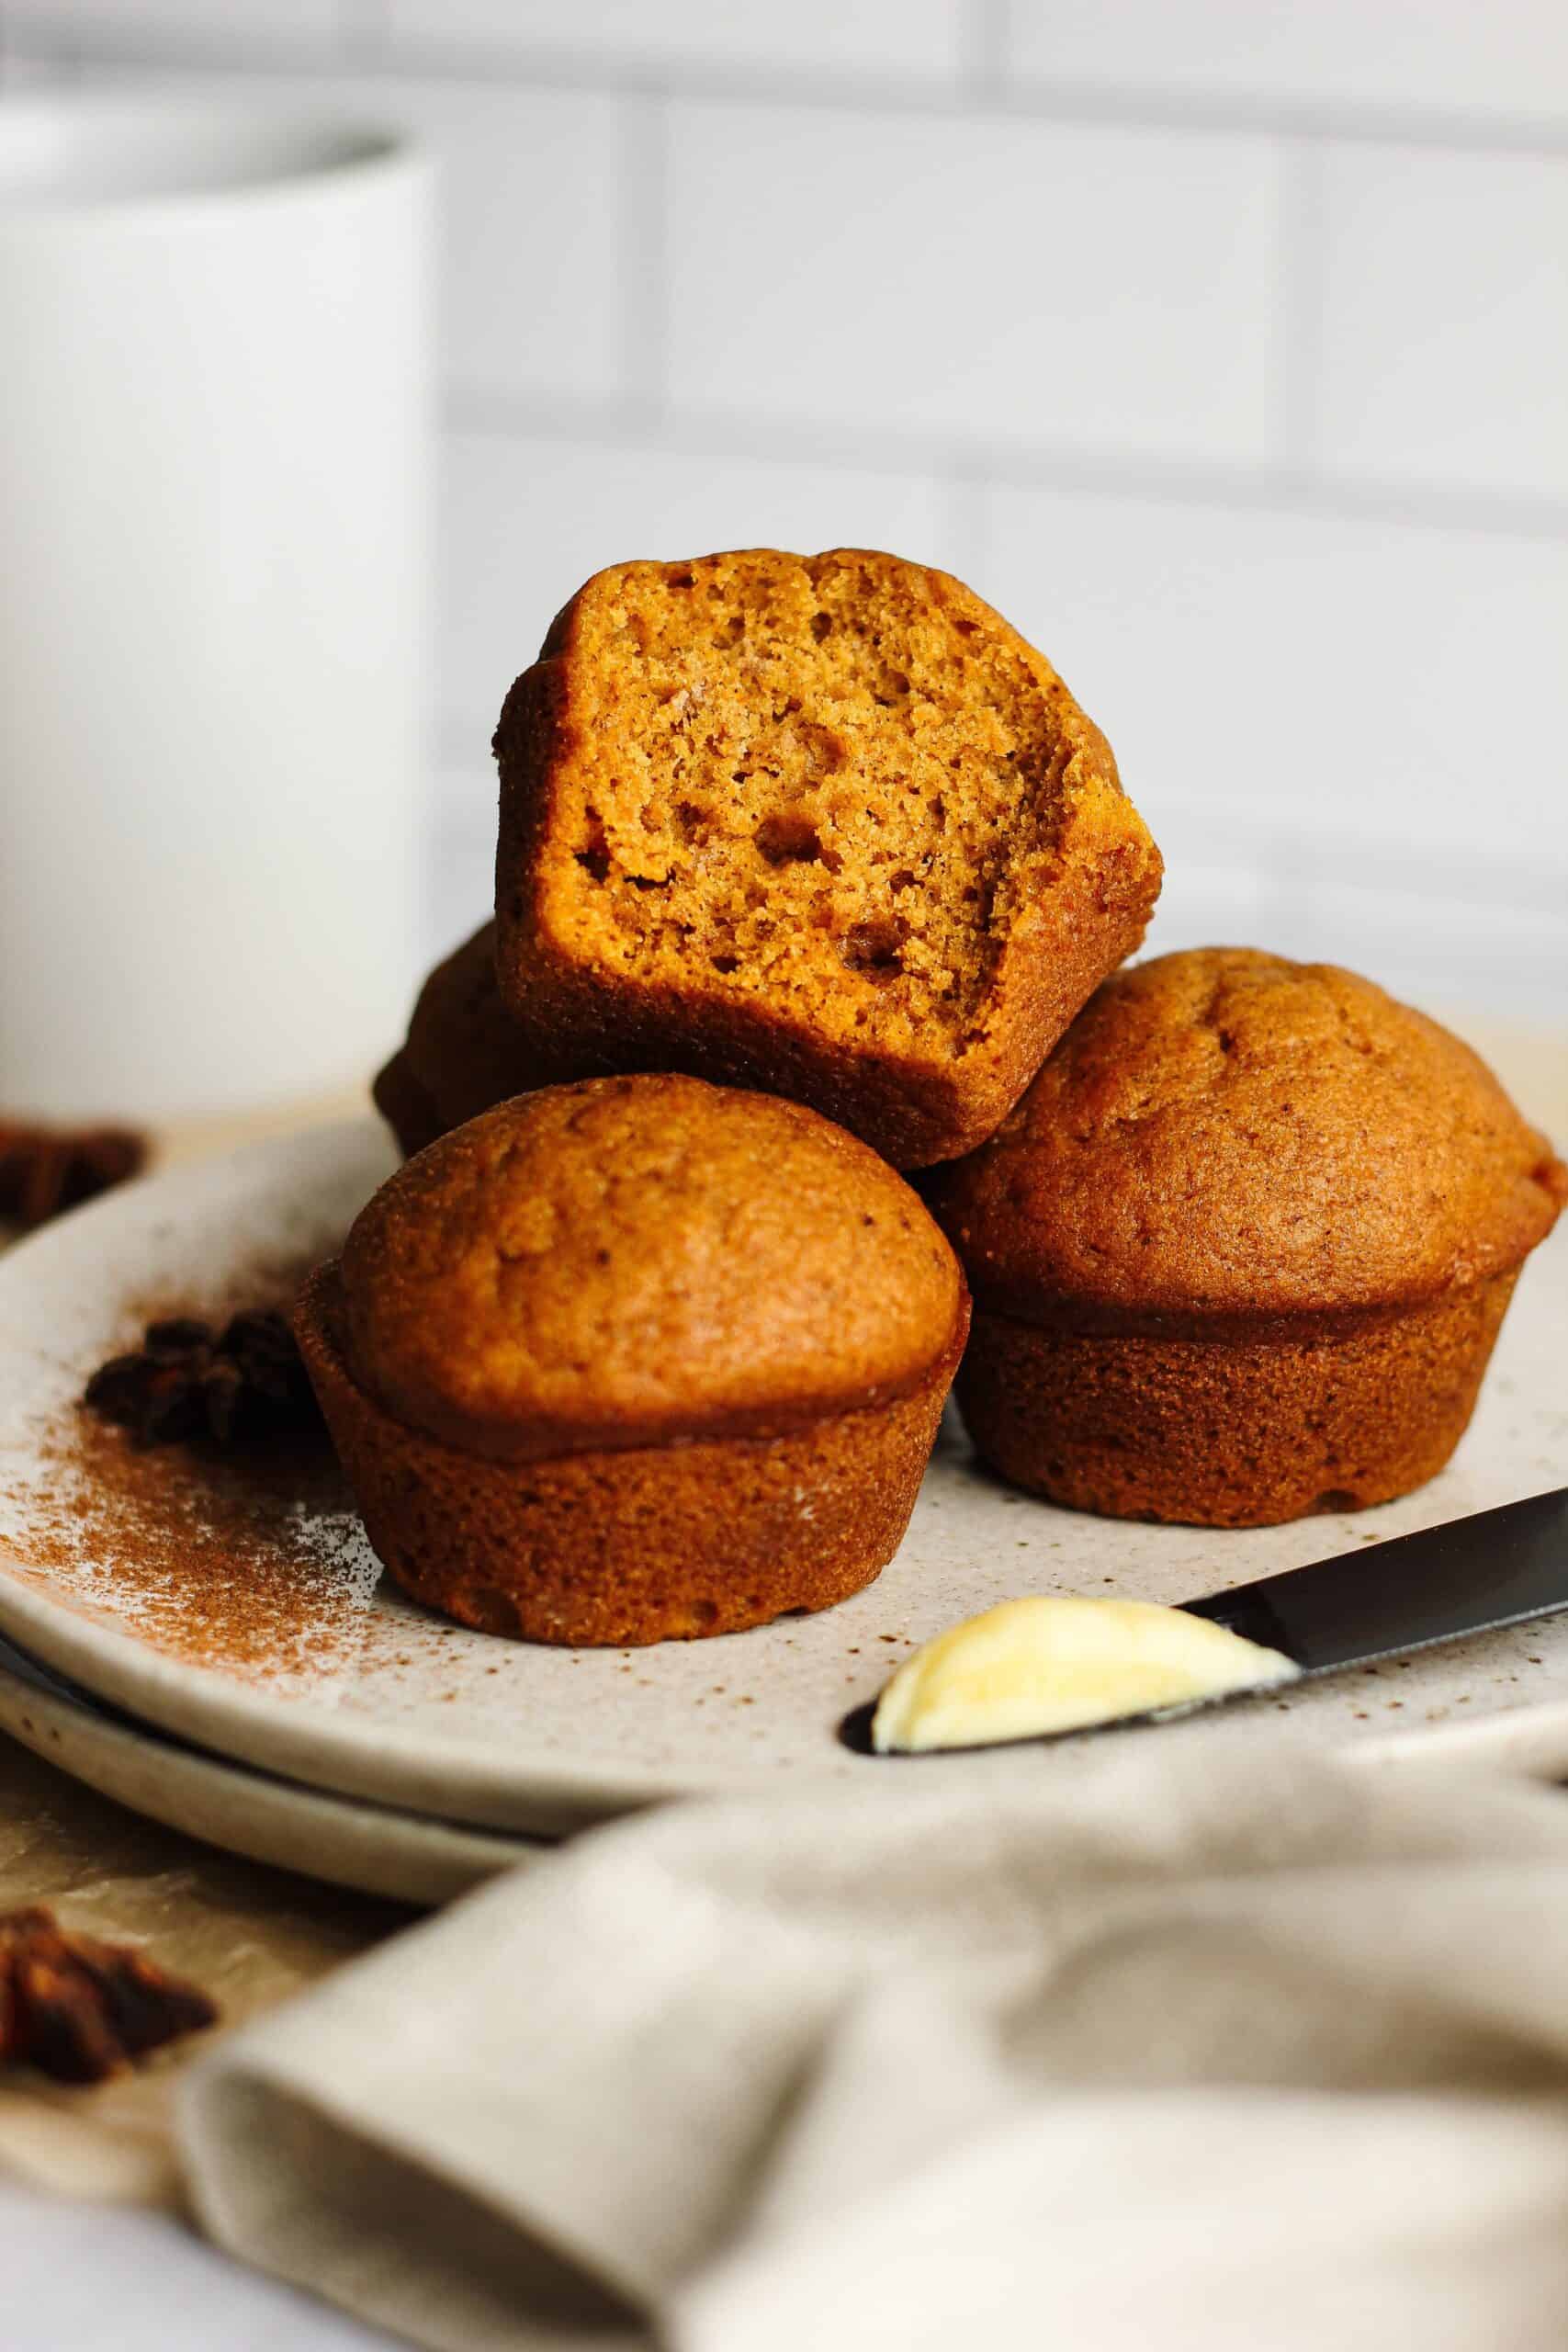
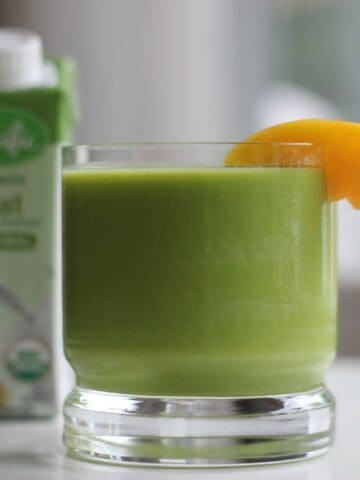
I also love these muffins as an easy breakfast option for busy mornings. I usually have one with my favorite green smoothie, or alongside my baked spinach mushroom omelette. They're also a delicious addition to your holiday brunch table, or to have available for overnight guests.

Dairy-Free Healthier Blueberry Muffins
Ingredients
- ½ cup 100% pure maple syrup
- 2 tablespoons ground flax mixed with ¼ cup plus 1 tablespoon water if you can eat eggs, you can use 2 eggs instead
- 1 cup unsweetened apple sauce
- ¼ cup water
- 1 teaspoon baking soda
- 1 teaspoon vanilla extract
- ½ teaspoon salt
- ½ teaspoon cinnamon
- 1 ¾ cup whole wheat flour
- ⅓ cups oats plus some to sprinkle on top of muffins
- 1 cup blueberries I used frozen
Instructions
- Preheat your oven to 325°F, and line or grease your muffin tin.
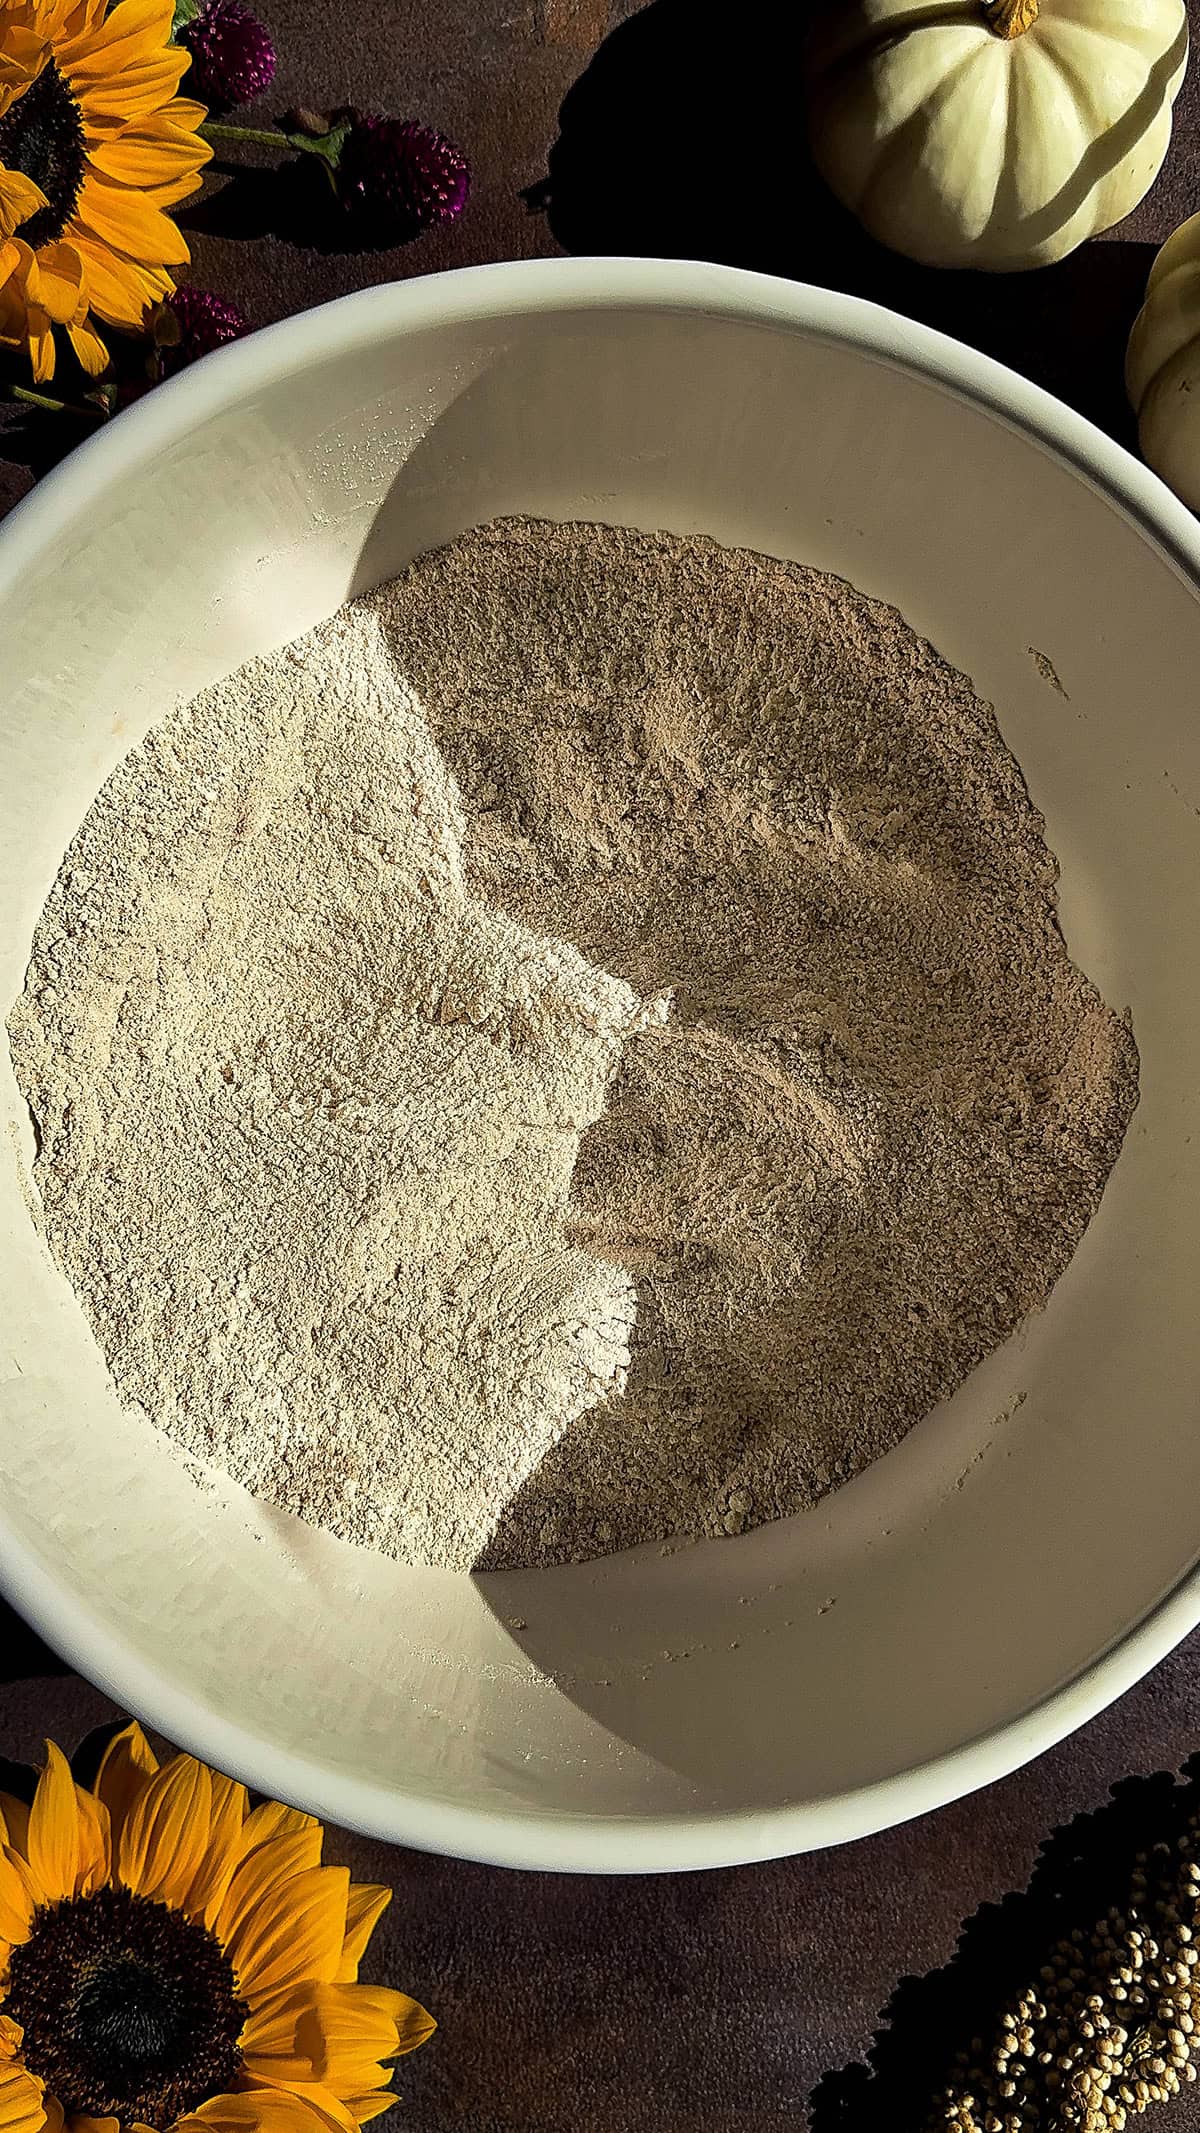
- Mix your dry ingredients in a large bowl.
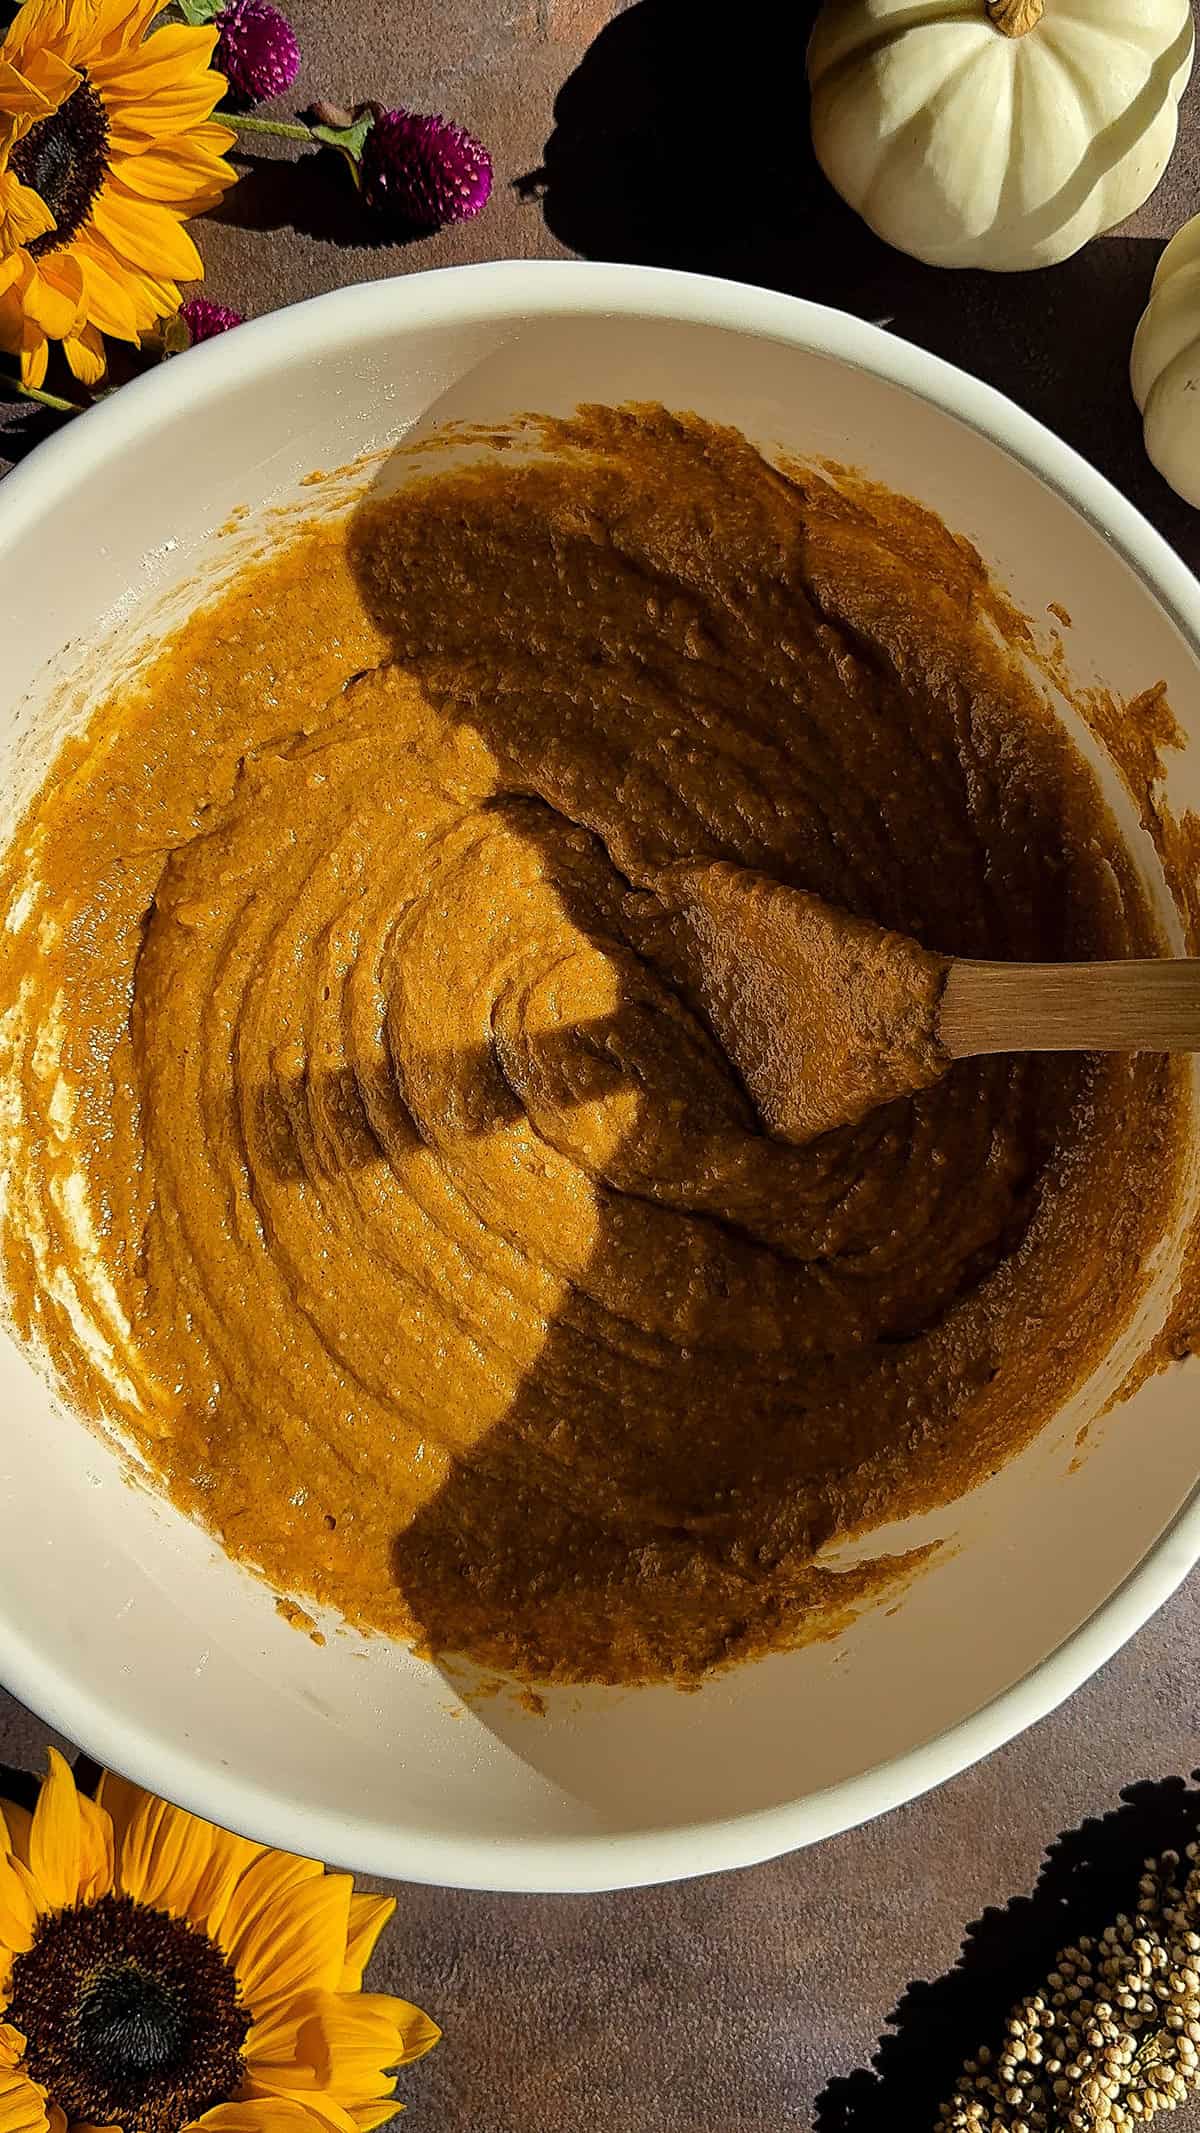
- Using a fork, mix in your wet ingredients, but don’t overmix.
- Gently fold in your blueberries using a spatula.
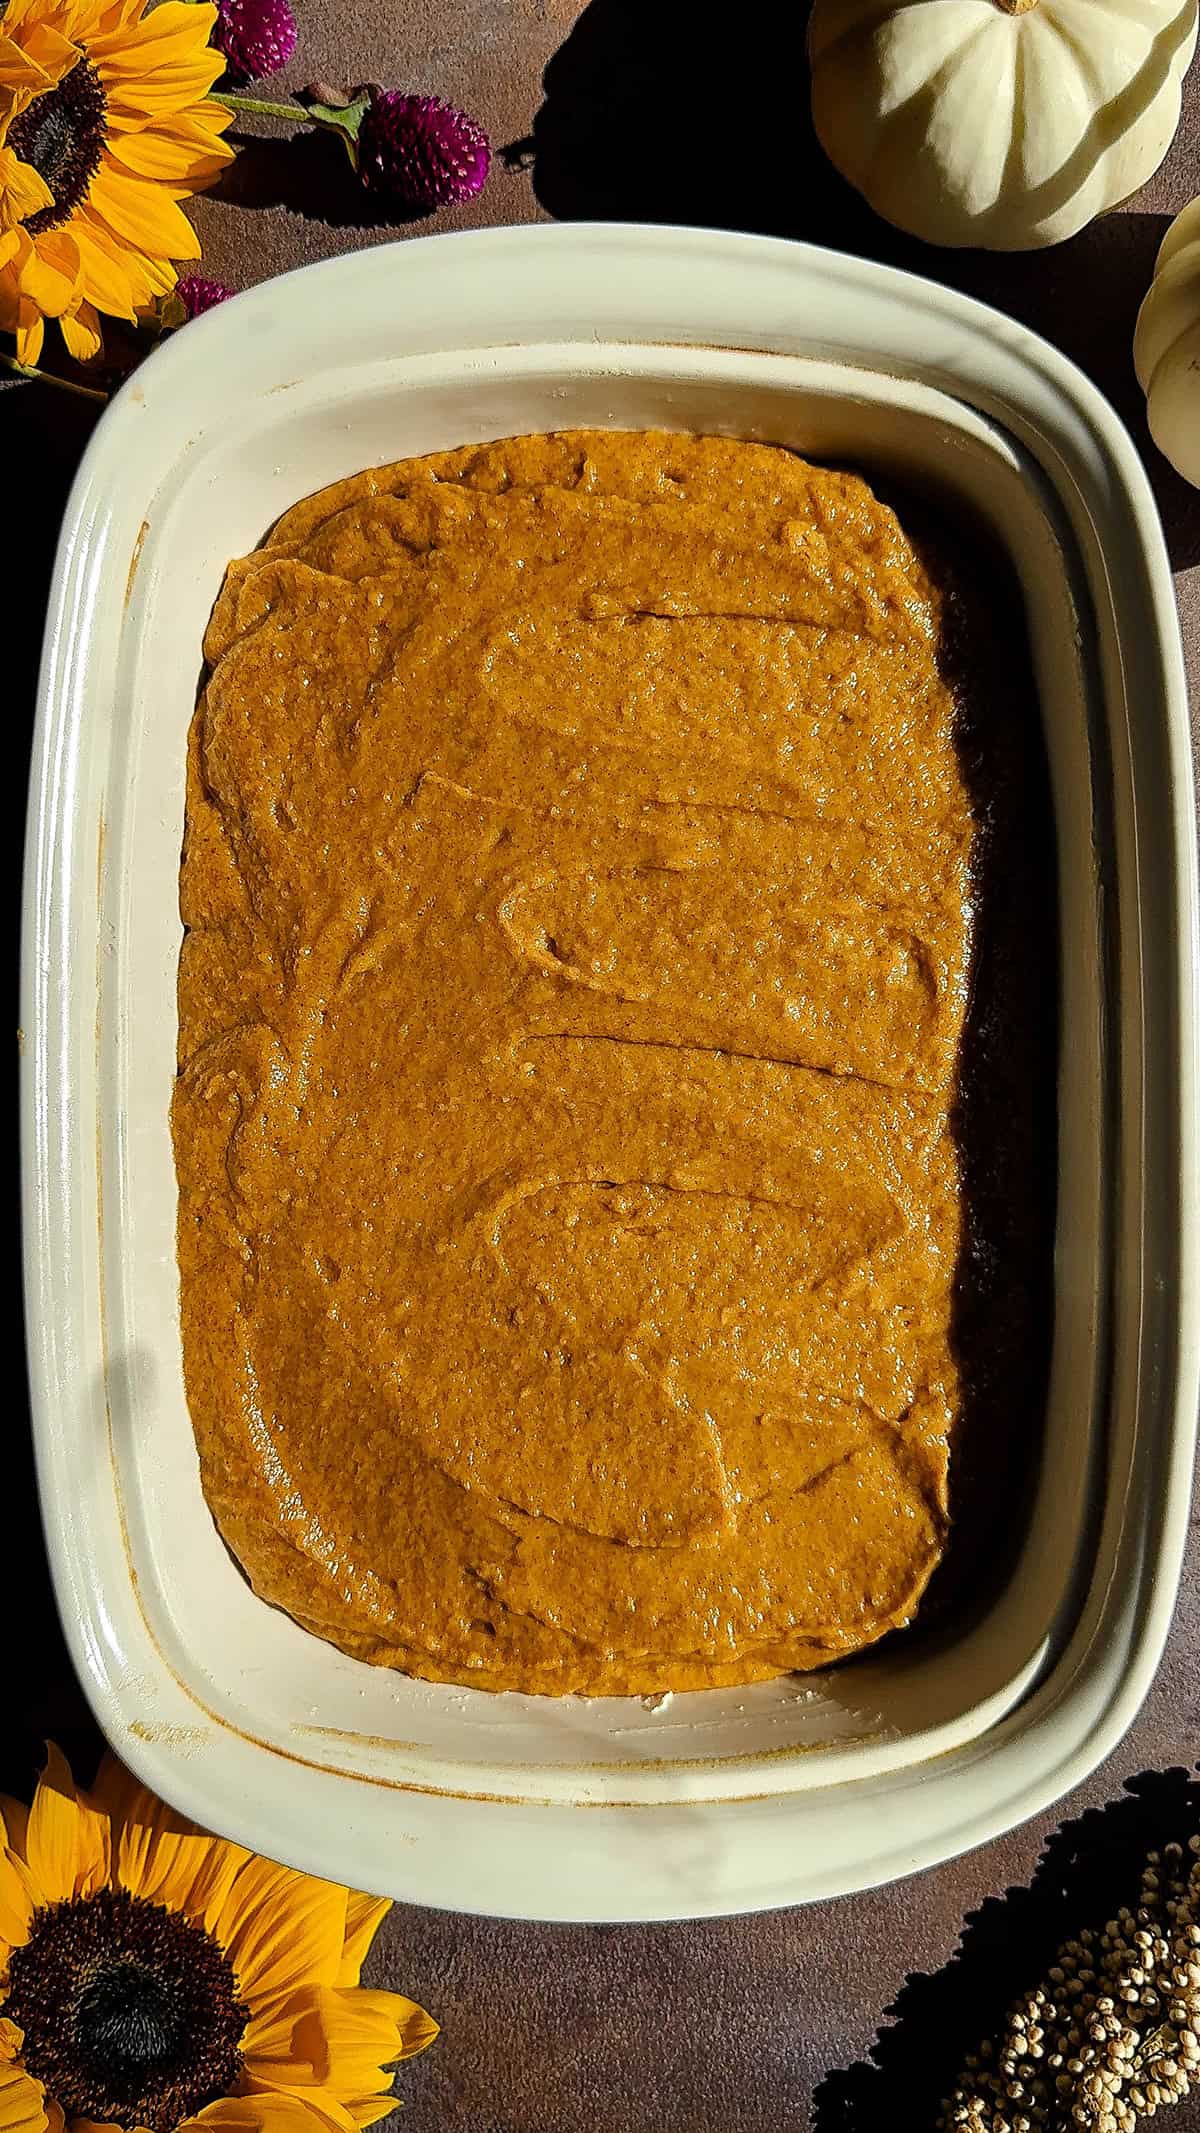
- Fill each cup of your muffin tin about halfway. Sprinkle with more oats on top, if you’d like.
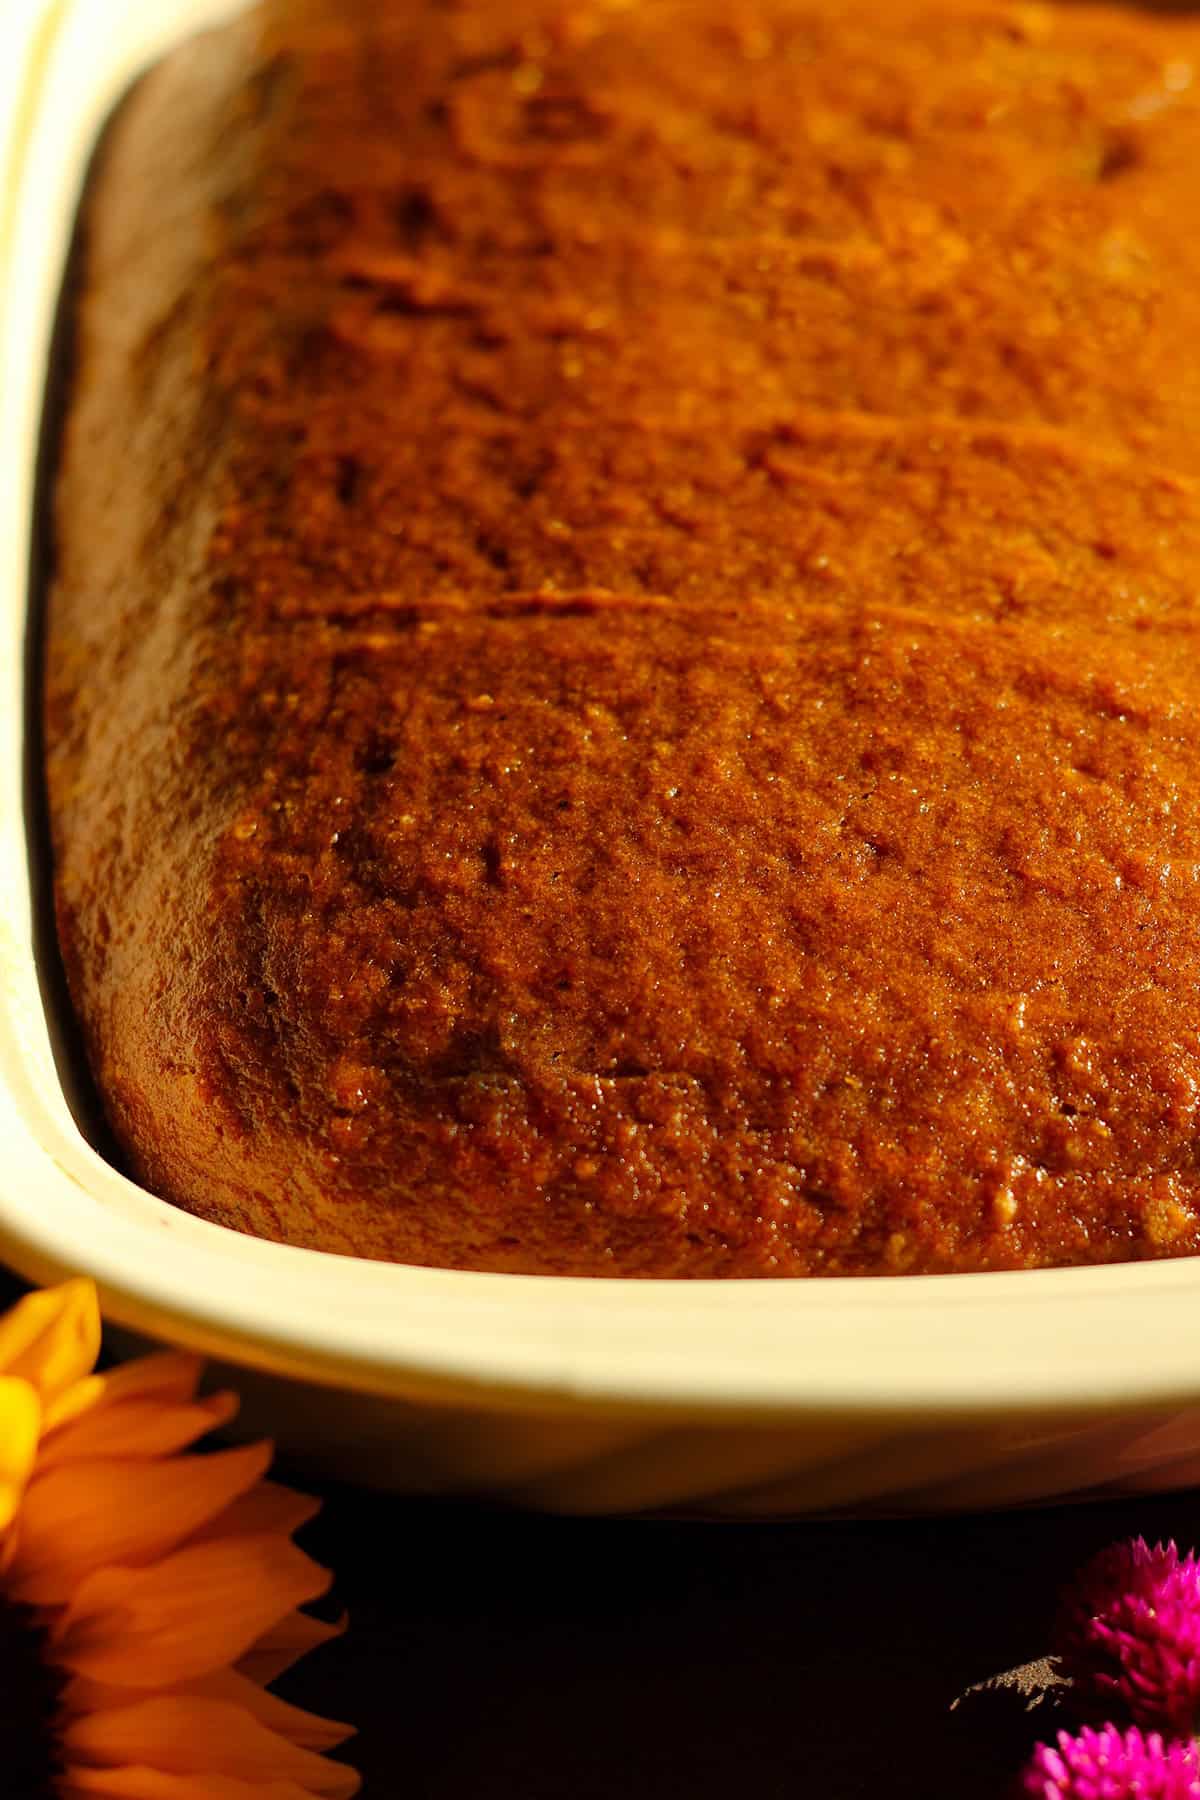
- Bake 20 – 25 minutes, or until tester comes out clean. Cool 5 minutes in tin on wire rack, then remove the muffins from the tin and cool completely on rack.
Notes
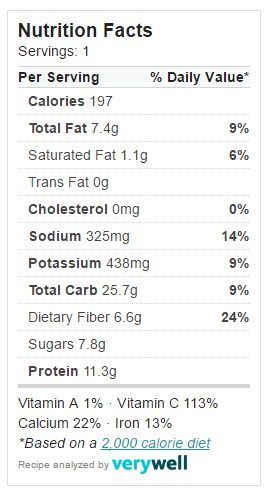
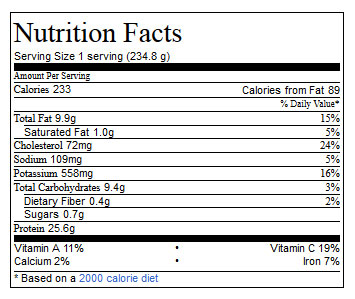
Nutrition
Did you make this dairy-free blueberry muffin recipe?
Please let me know how it turned out for you! Leave a comment below and tag @milkfreemom on Instagram and hashtag it #milkfreemom. Don't forget to pin it for later!